
Counting Down the Days
For Christmas this year, my partner and I are hosting his family at our new place. To avoid the stress of each person having to get an individual gift for every other person, his family does a Yankee Swap (not to be confused with White Elephant!) On the one hand, now I don't have to think of individual gifts for each person. On the other hand...I have to make a gift that anyone would like should they get it.
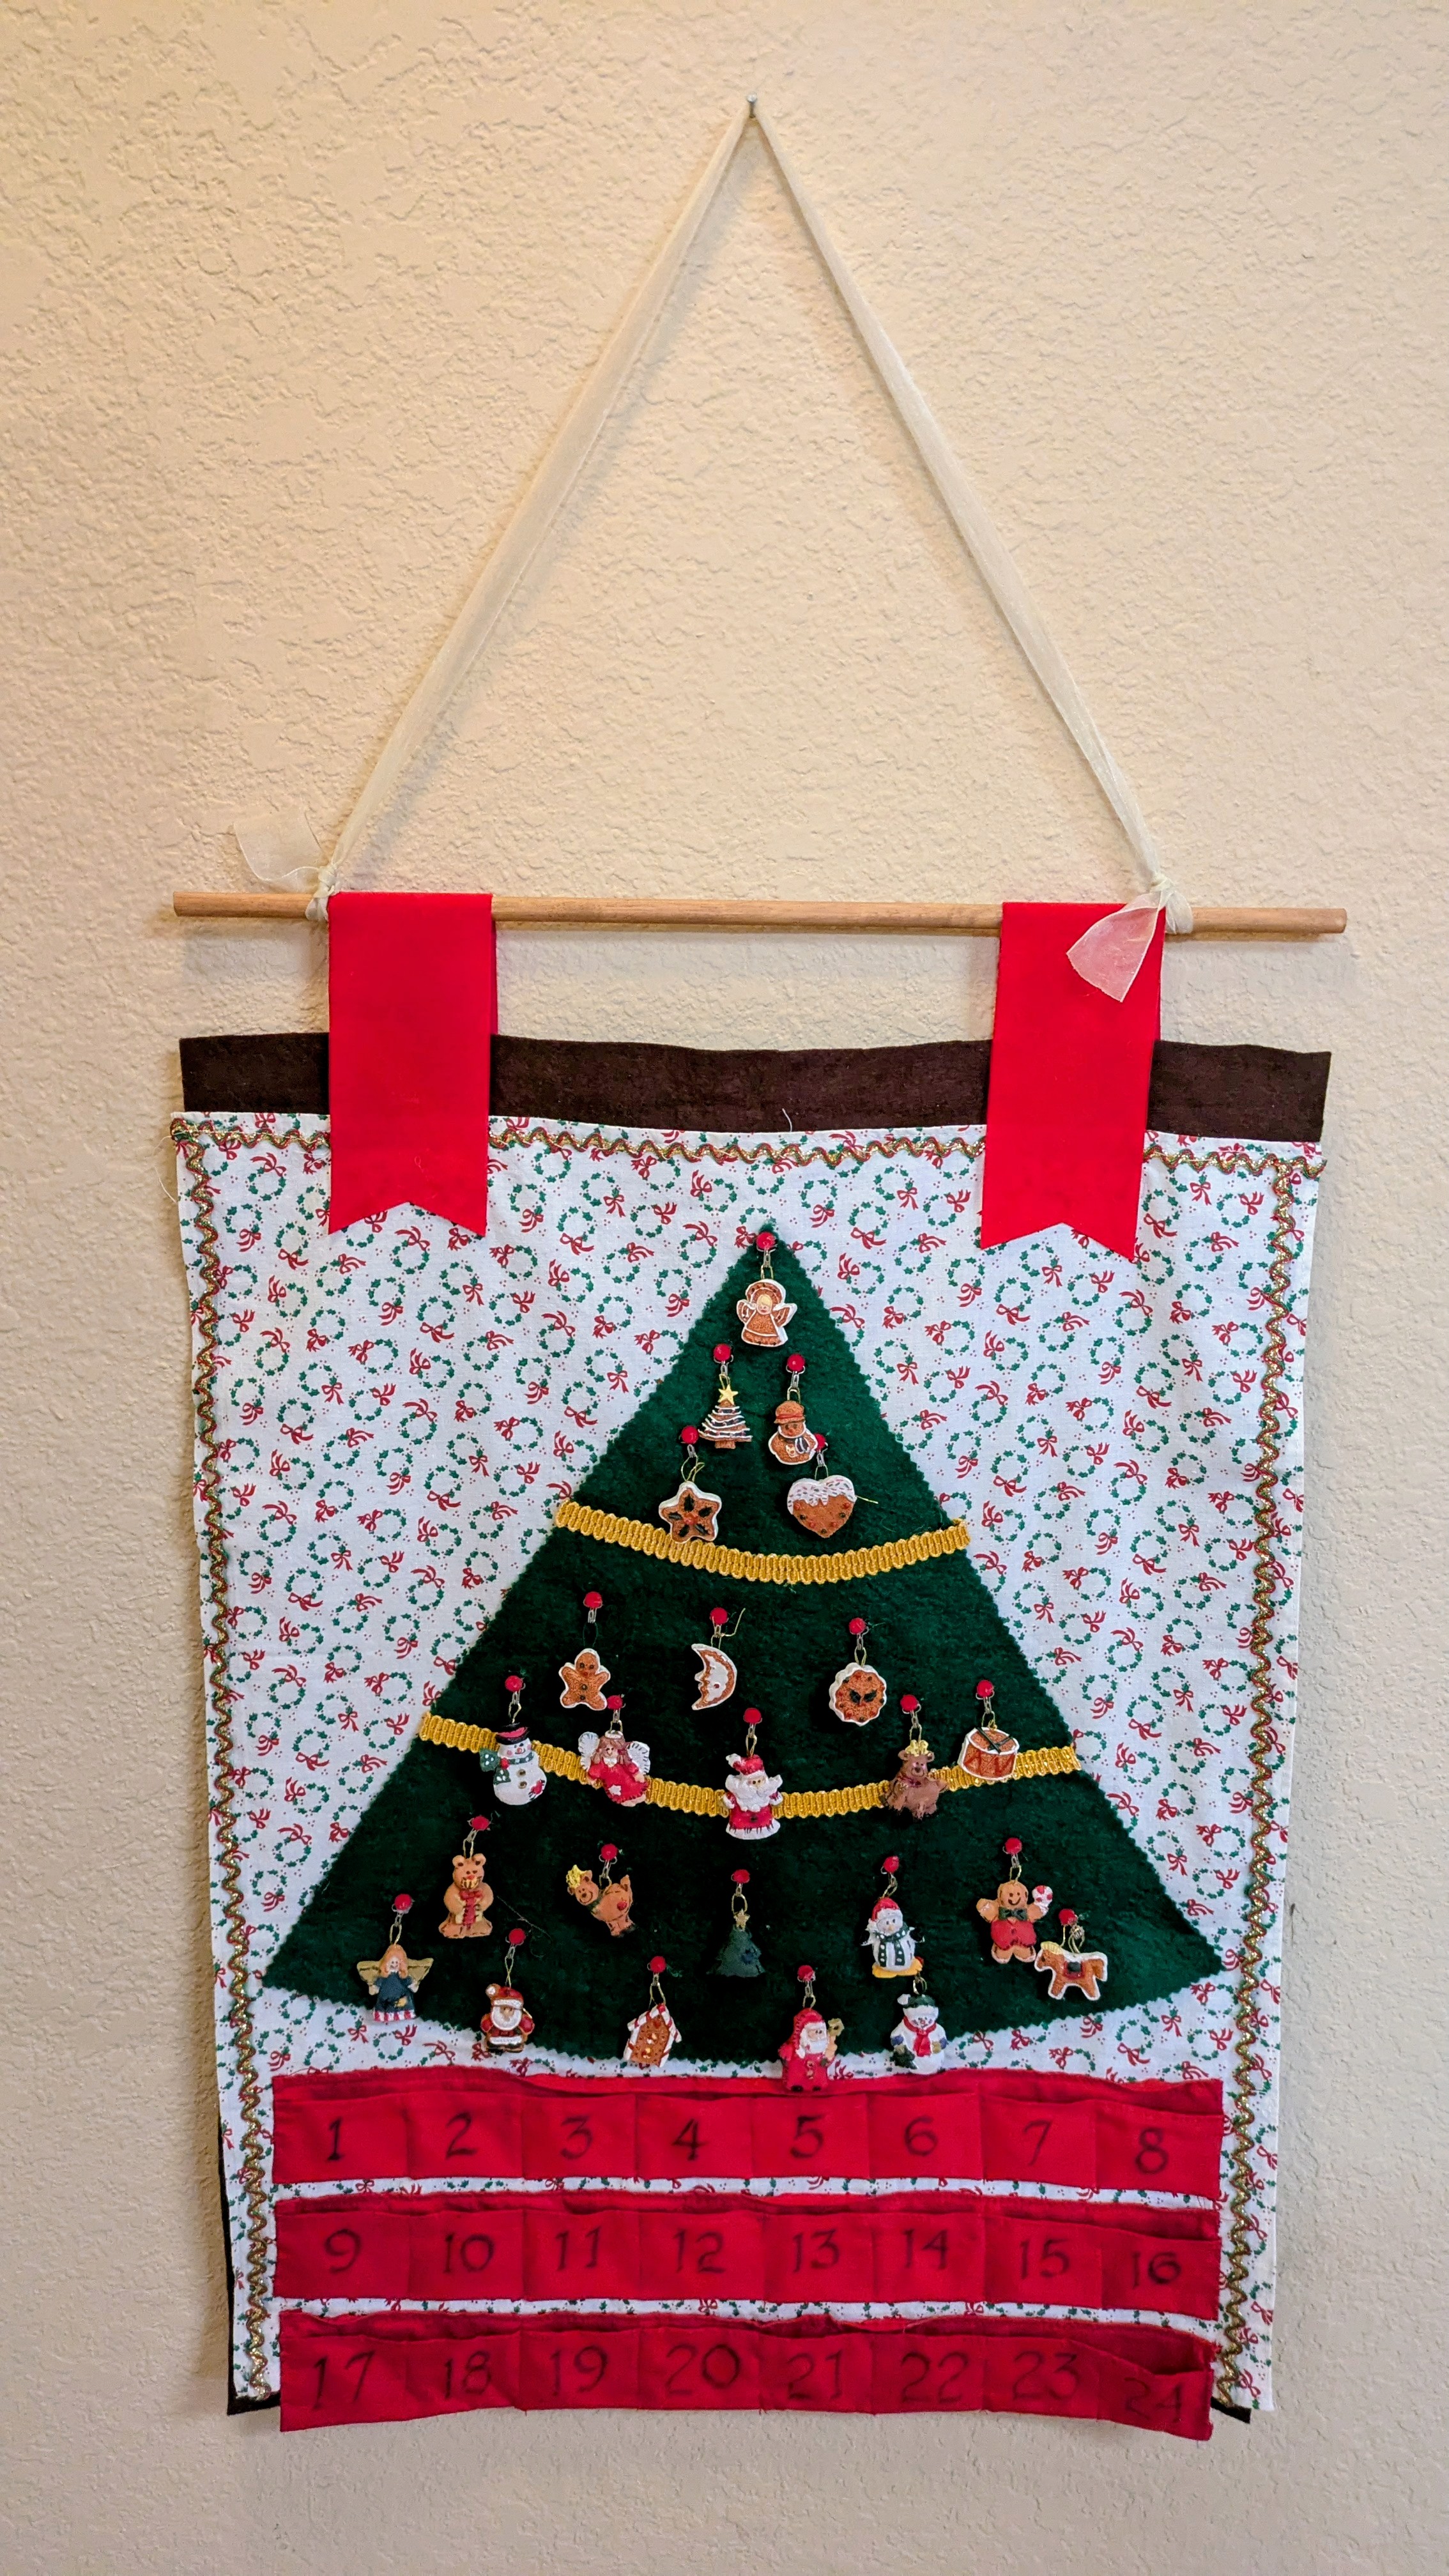
One of the staples of Christmas at my house growing up was an advent calendar my grandma made. Every day leading up to Christmas, my brother and I would trade off taking an ornament from its pocket and hanging it on the tree above. I really liked this tradition, so when I was racking my brain for possible gifts, this came to mind. Below you can see the calendar my grandma made:
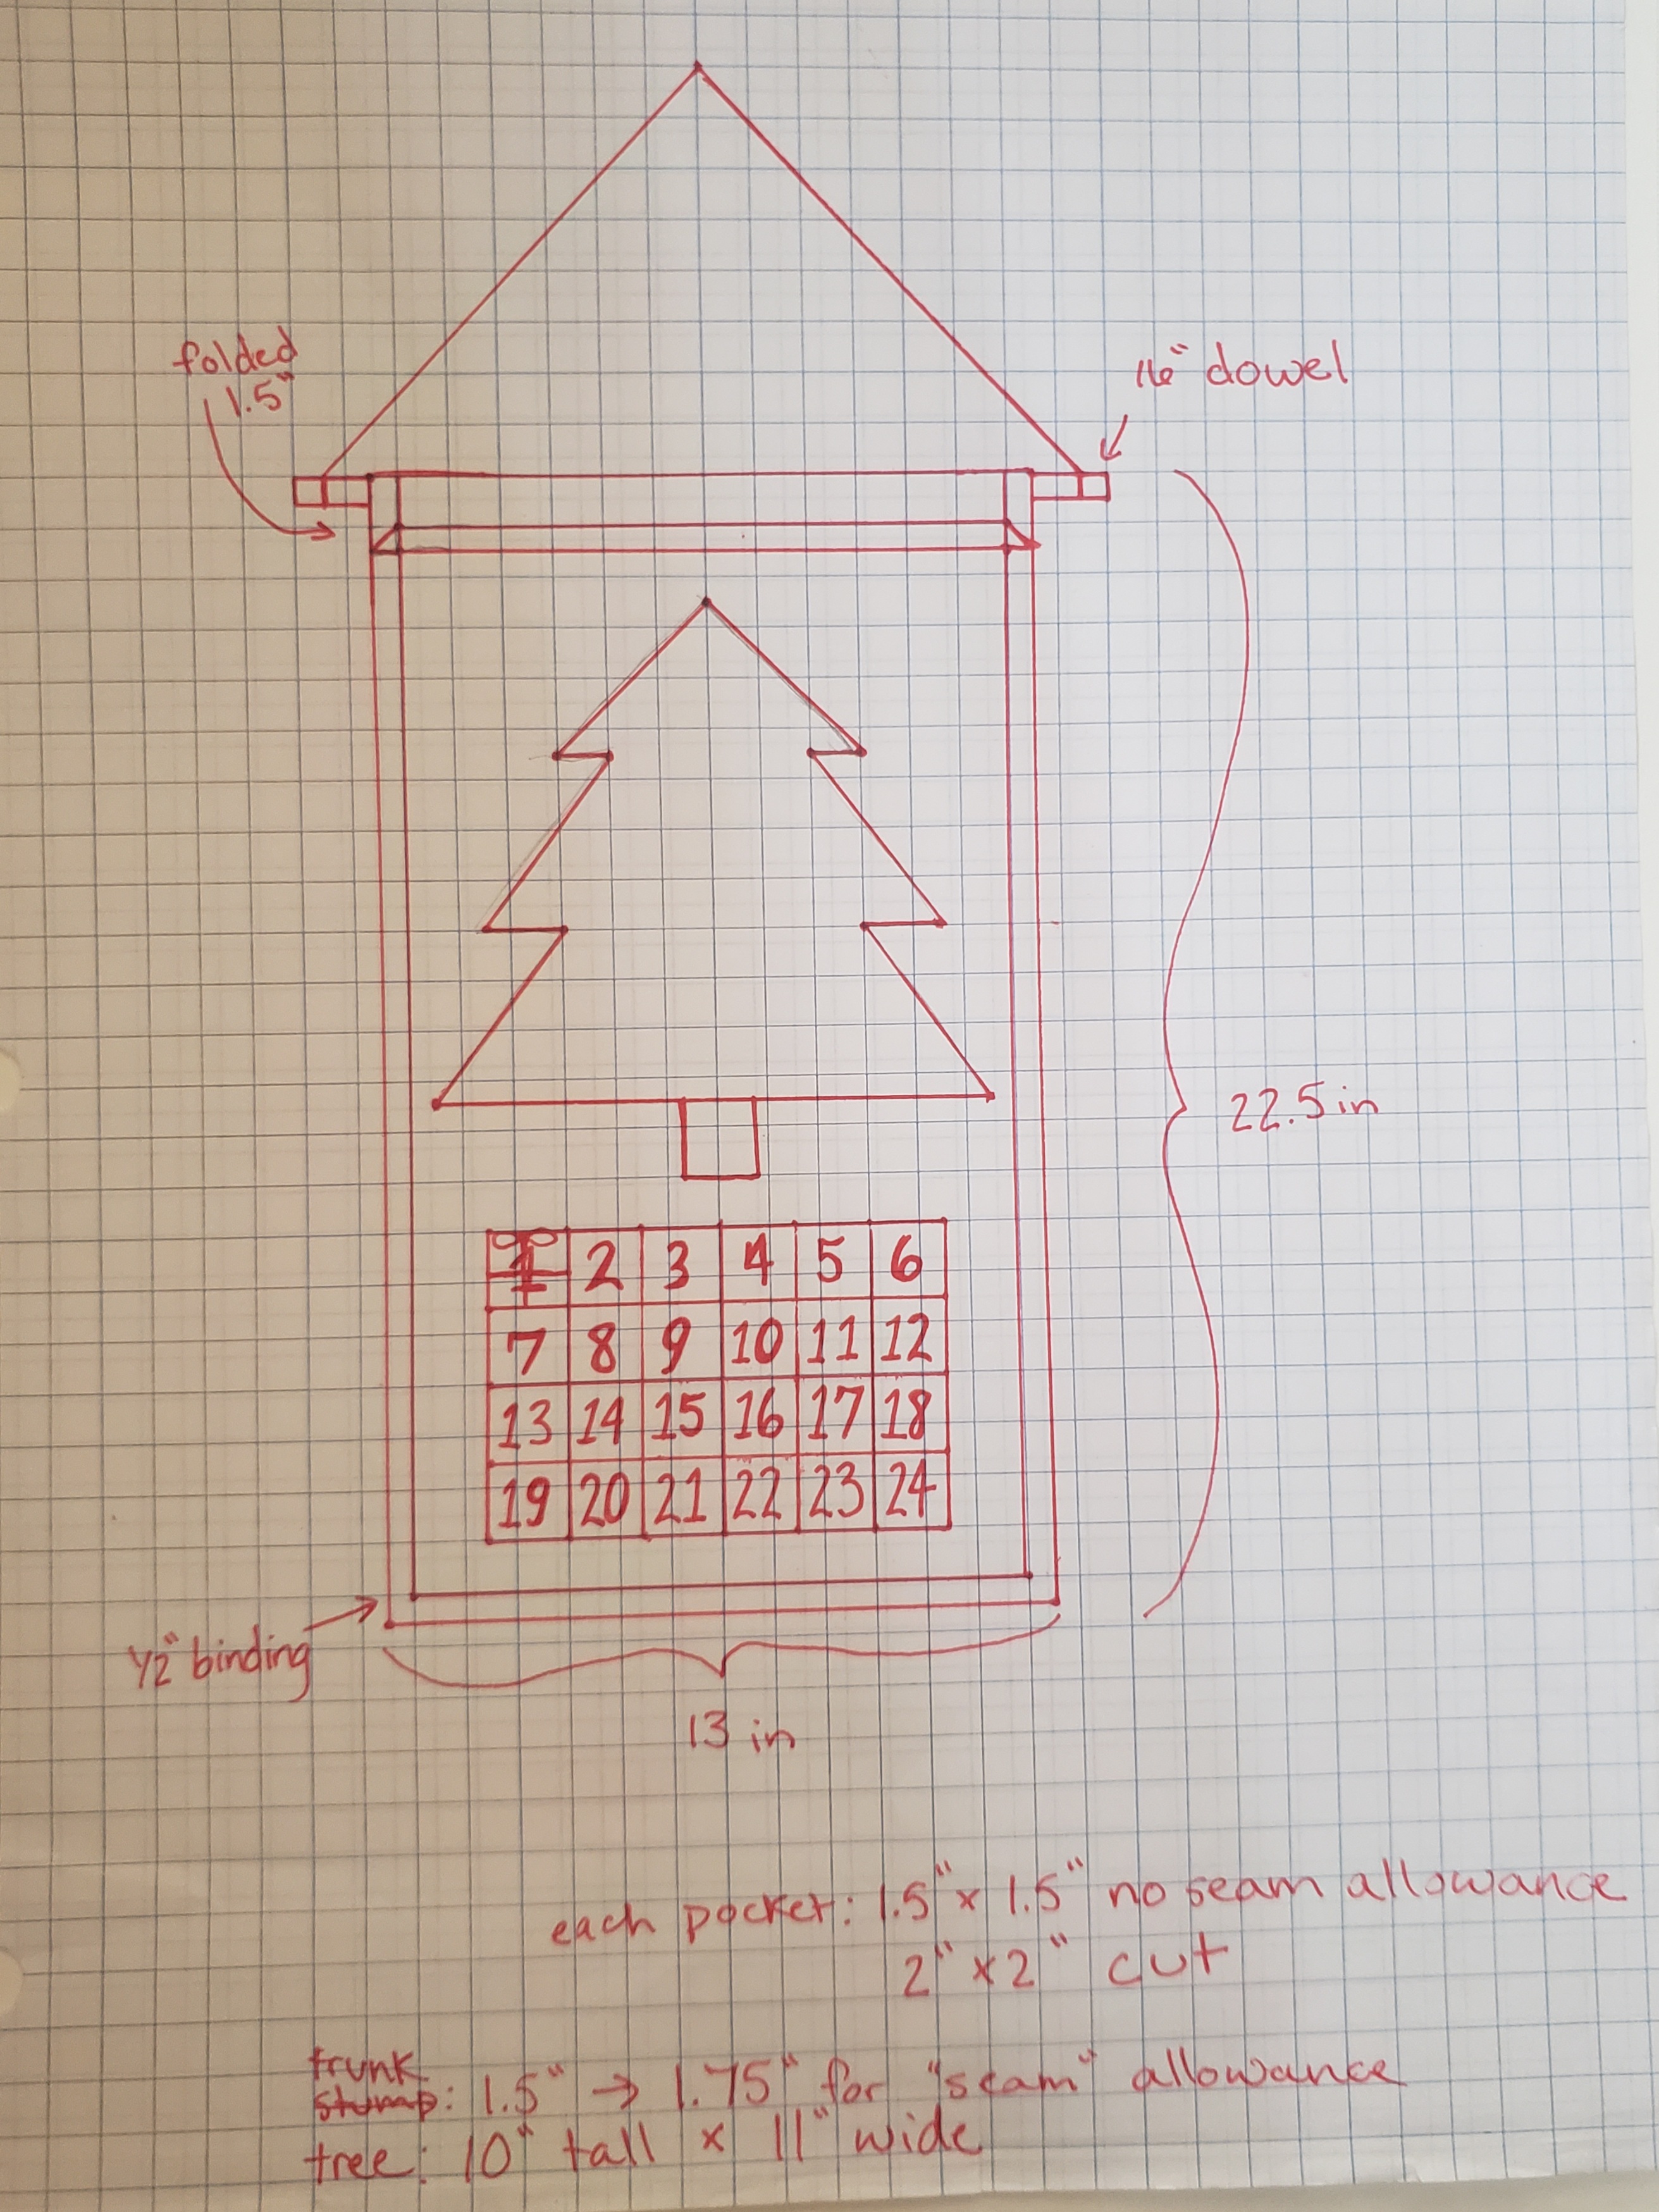
I started by planning out the dimensions of my own calendar on some grid paper
I went to Joann's for most of the supplies. I found a perfect pre-quilted fabric with different fabrics used on the front and back. Bonus reverse side! For the pockets, I got four different quilting cottons with gift-wrap-esque designs. The binding is a candystripe, double-fold bias tape, and I chose gold, silver, and red 1/8" ribbons to wrap the "presents." The dowel was obtained from a quick trip to the hardware store, and I ordered a pack of 25 Christmas themed wine charms online for the ornaments. The tree is made from the scraps leftover from reupholstering an old victorian couch.
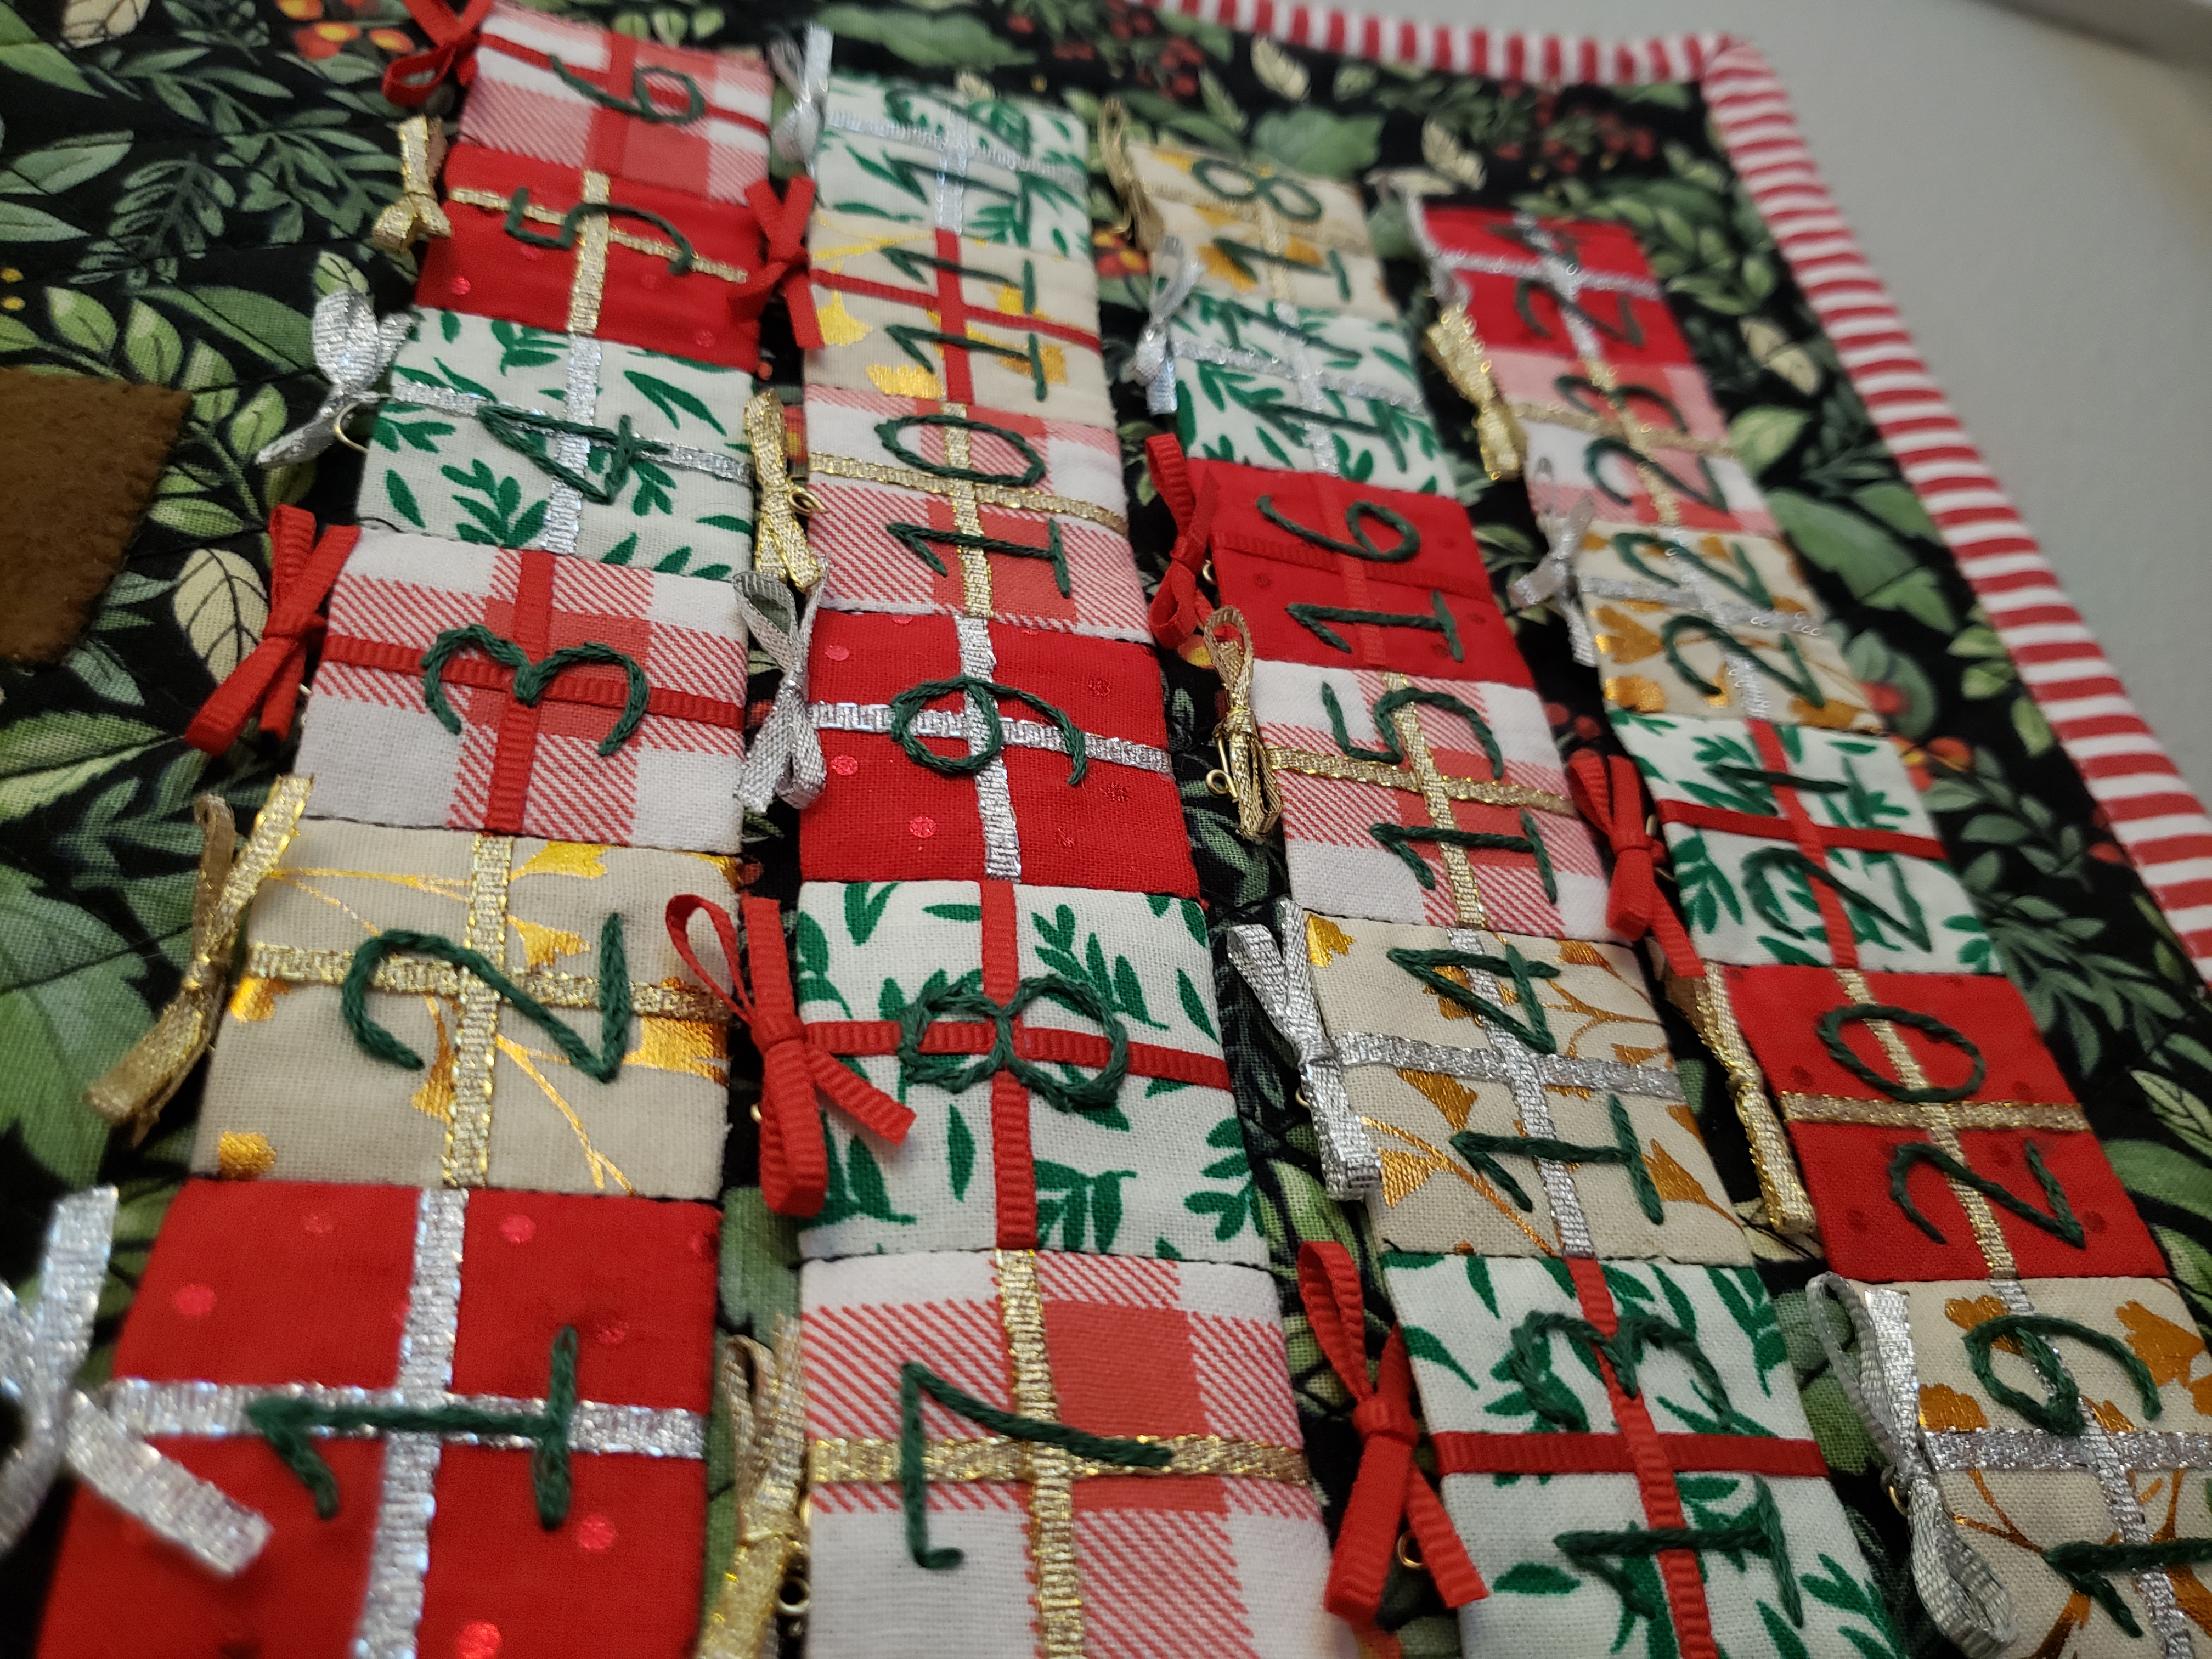
Now that I had my supplies, I got to work putting it all together. I cut 24 rectangles measuring 2" x 4.5". On each I used a bit of eva glue to temporarily attach the ribbon (they would be permanently secured in the process of sewing them all together.)

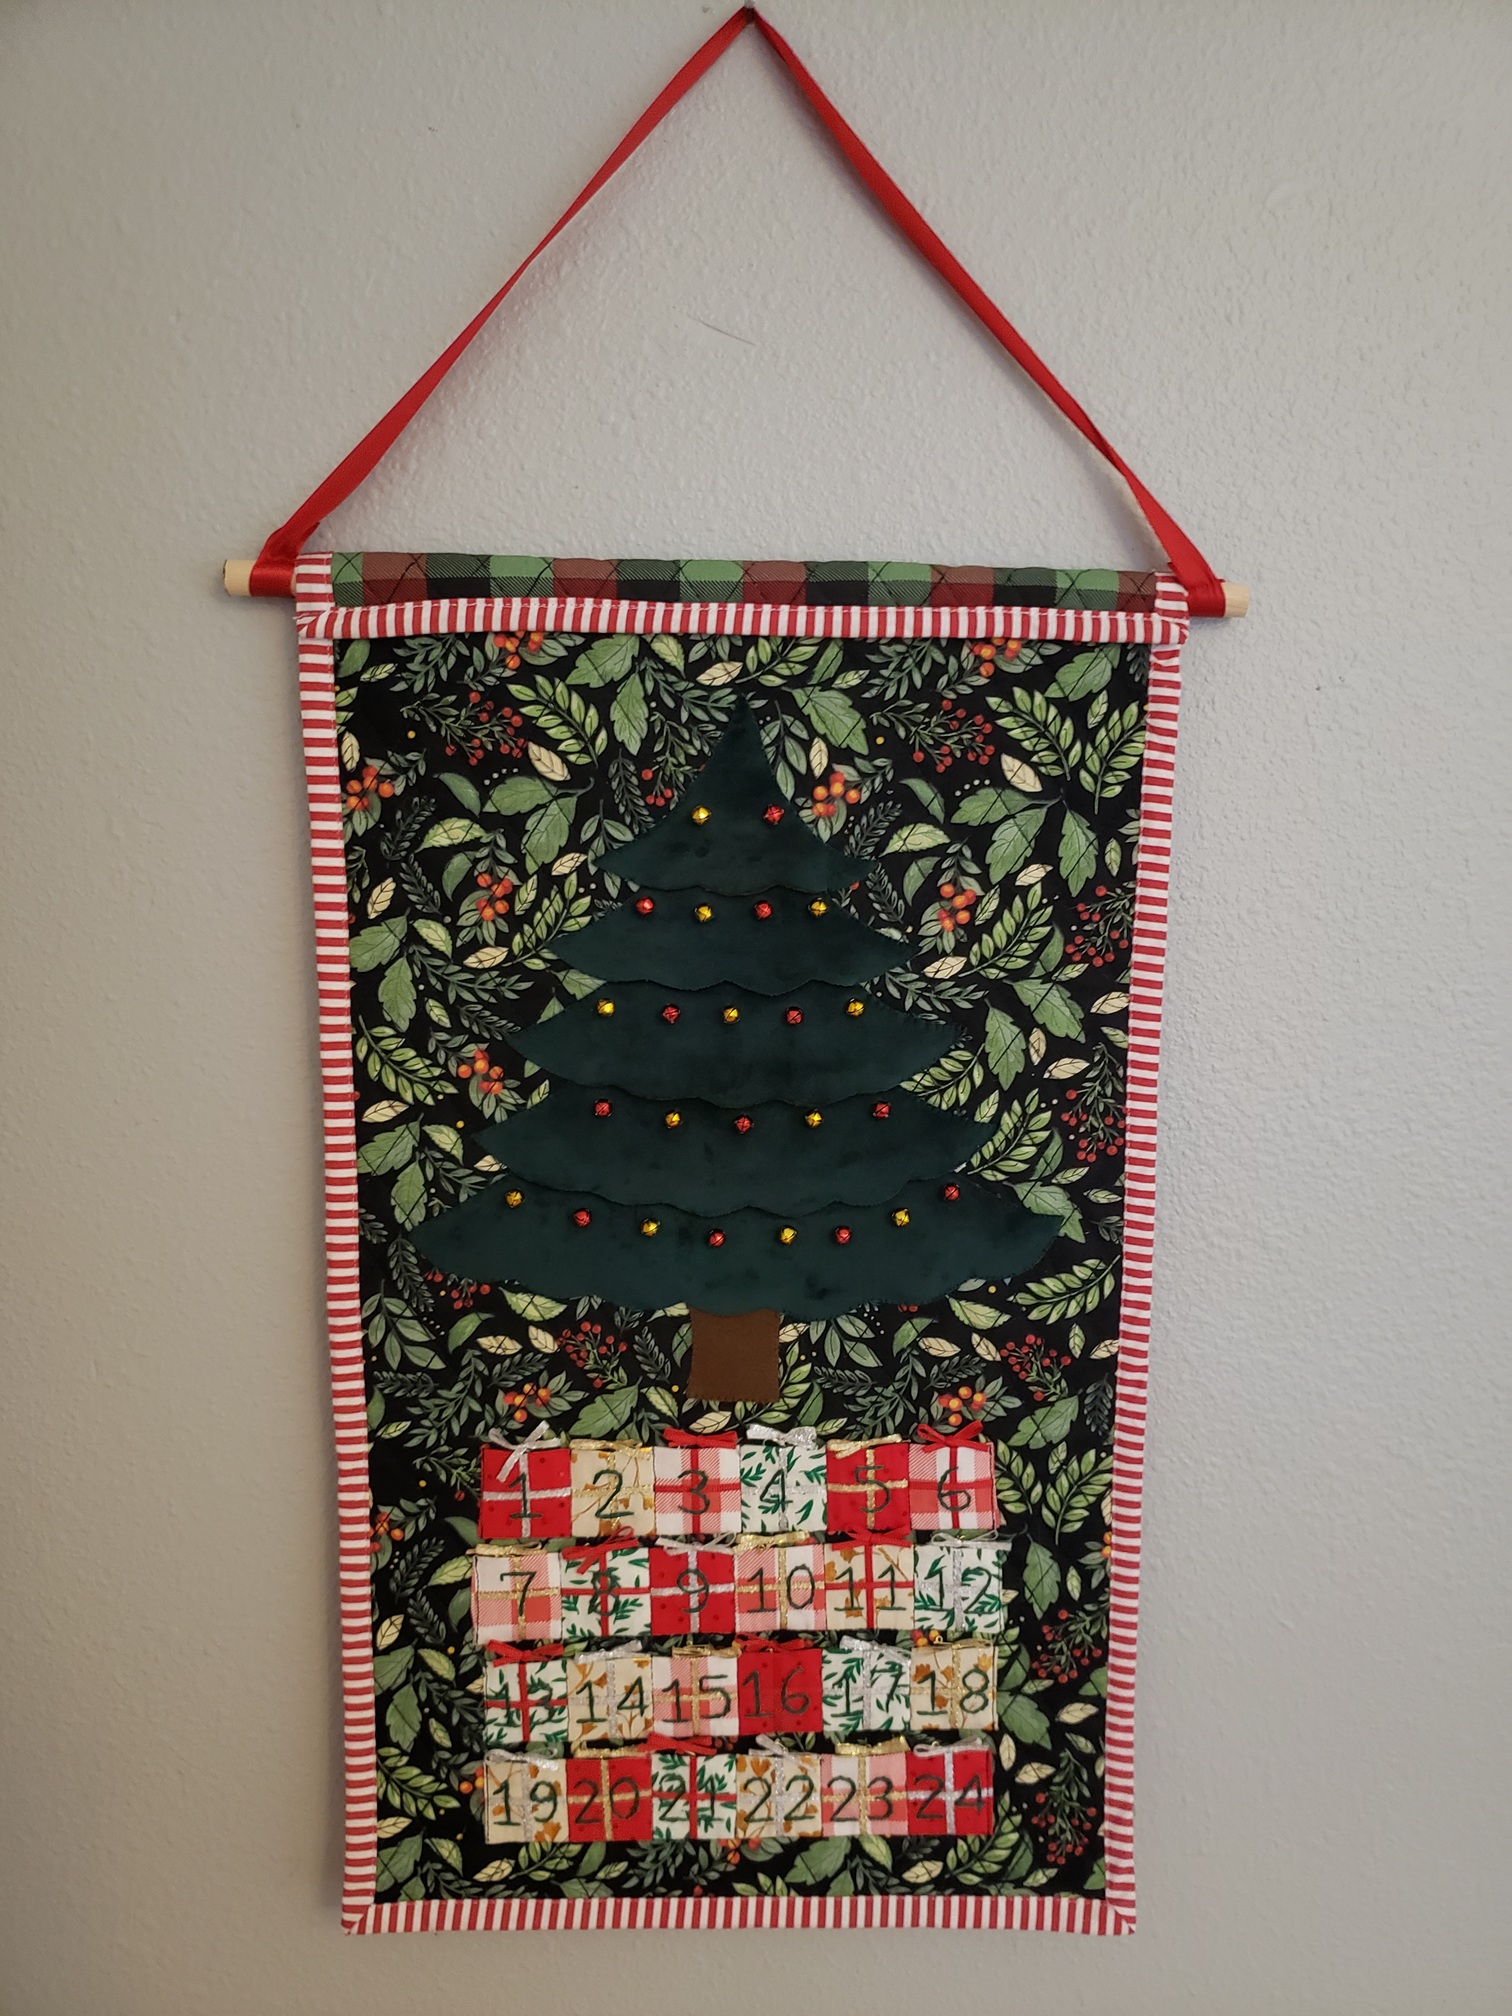
These were folded in half and sewn together in rows. Before attaching them to the background, I embroidered the numbers 1-24 in green thread. By sewing the bottom of each row and flipping it up, I encased the raw edges, then stitched in the ditch to separate each pocket.

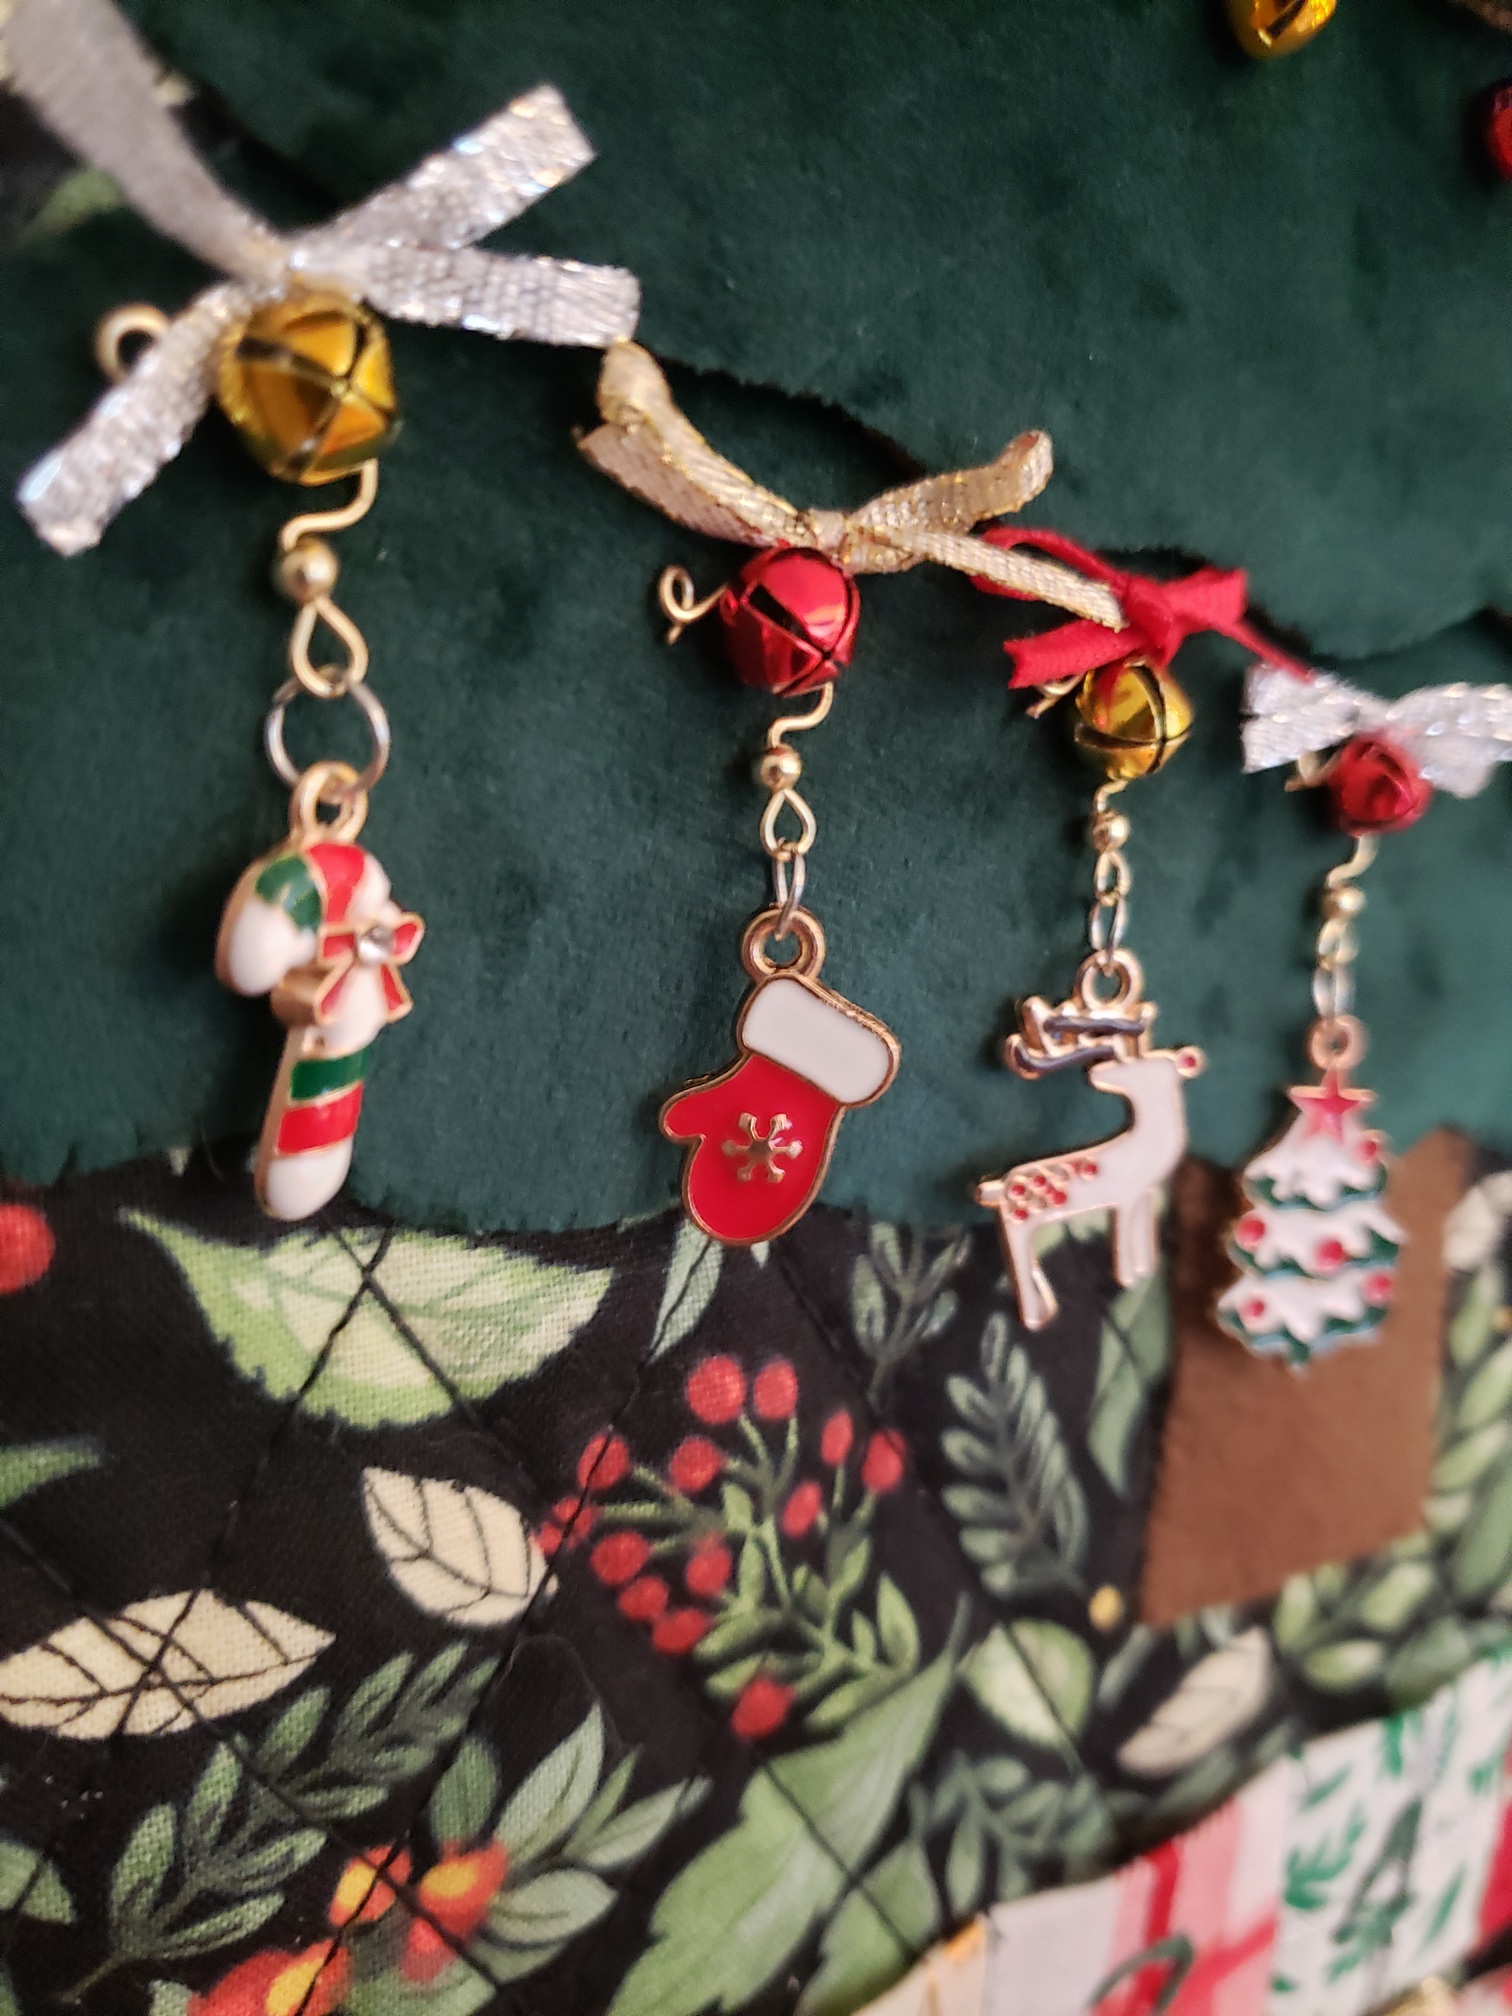
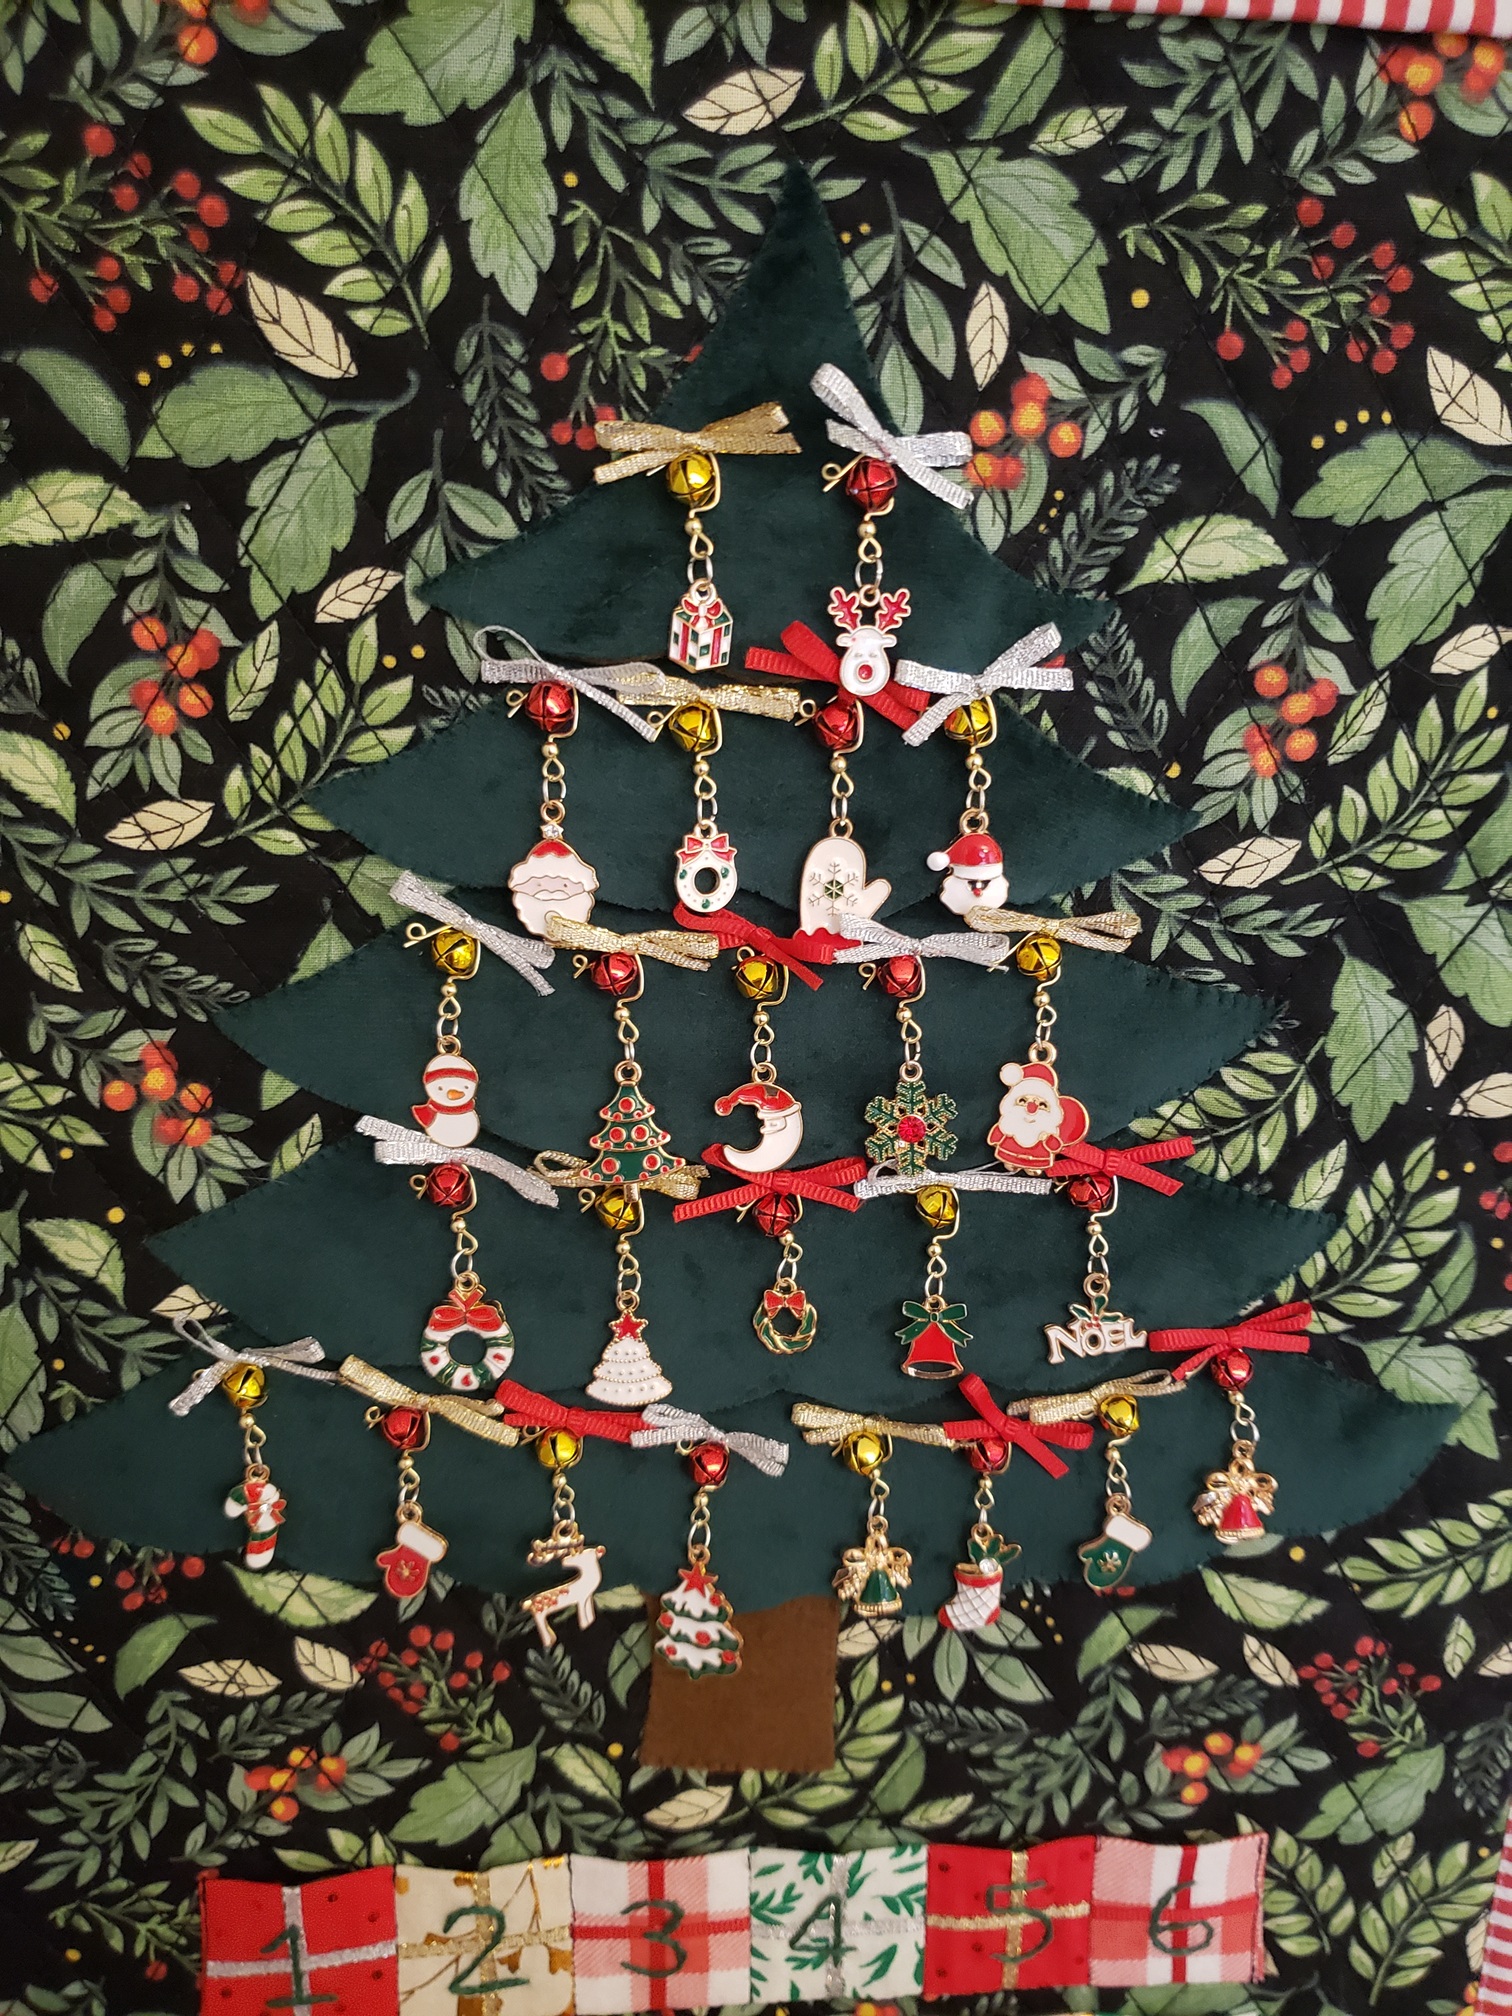
The wine charms conveniently had little jingle bells on them, which I removed to use on the tree. I replaced the original ring clasps with earring hooks. Little bows were tied on each hook, so that when they were in the pockets, they looked like the bow on the top of a present! The ends of the earring hooks were curled to prevent the bows from sliding off.
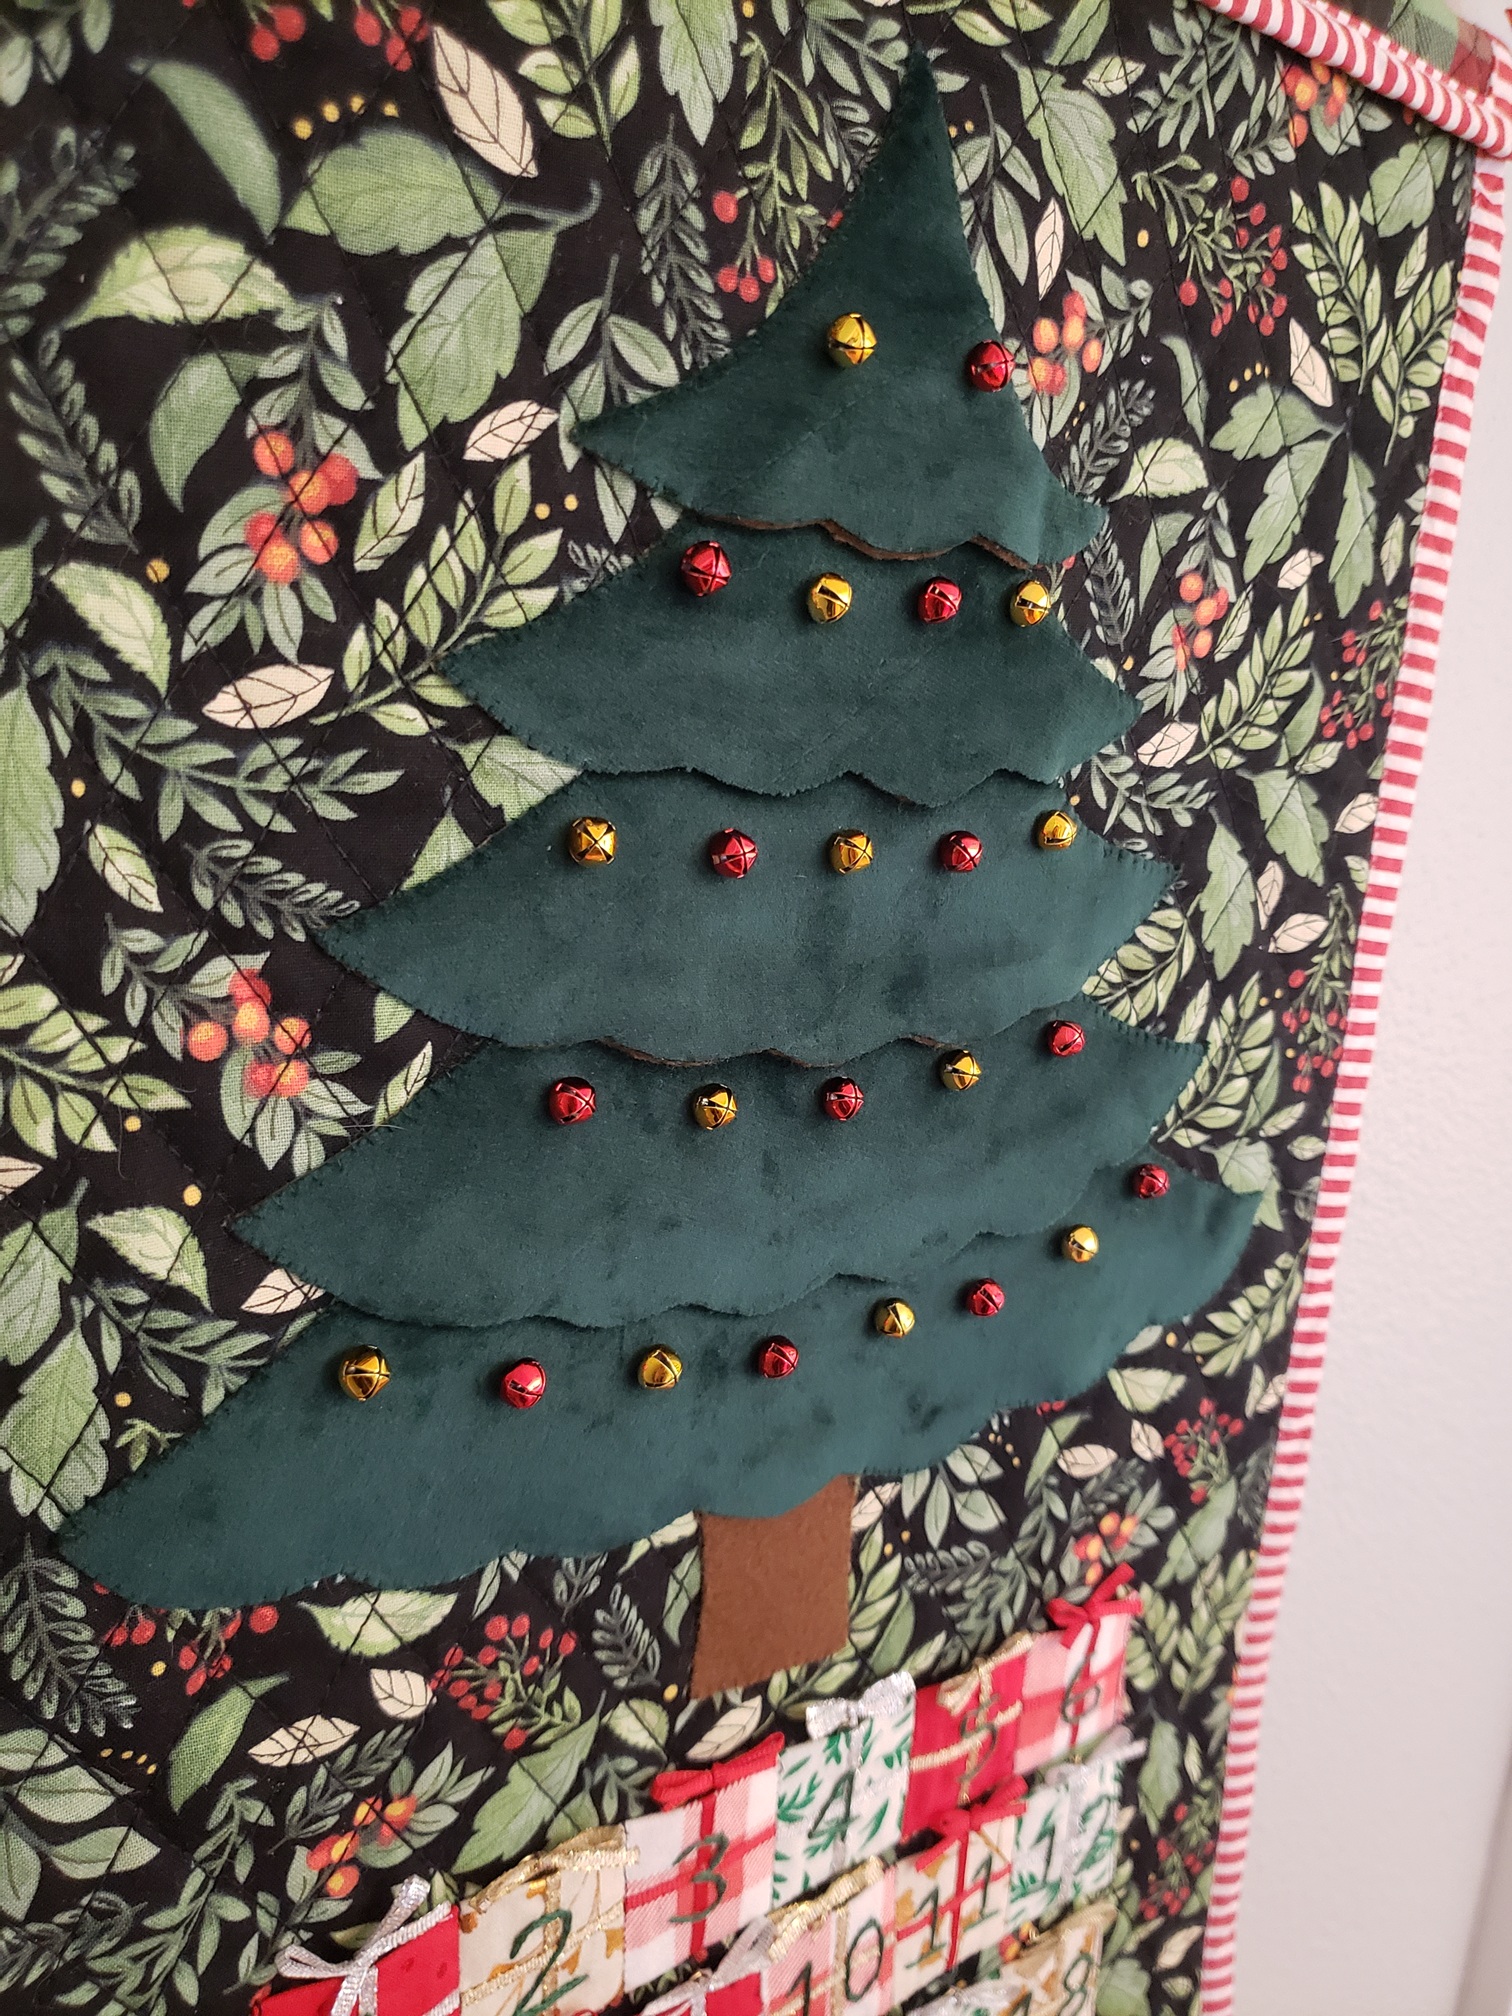
For the tree, I found an image of a clipart tree I liked—scaled, printed, and traced the tiers onto green velvet upholstery fabric. Luckily, it is non-fraying, but for a bit of extra stability and ease for sewing onto the background later, I used fusible interfacing on the back to fuse the five tiers of the tree together. Then it was just a matter of sewing the jingle bells, and whip stitching the tree onto the quilted background.
I bound the edges with the candystripe bias tape, folded over the top edge, slid the dowel through the channel, and attached a ribbon for hanging. It was finally done!
During the Yankee Swap, it was stolen twice, but ultimately ended up with my partner's sister! This worked out because she and her partner are doing the van-life thing for a bit, and need compact Christmas decor. It doesn't take up much space at all when it is rolled up for storage!
Anywho, this was a fun project, and I have enough of the materials leftover to do a second one (which I probably will do because I want one for myself 😋).
Comments