
Masquerading

Very early on in my costume design for the haunted house, I decided I wanted all of the characters to wear masks. Since I was working with a very limited budget, I figured it was an easy way to make all of the characters look unsettling, while also making them all somewhat cohesive as a group. In my head, these masks represented how "lost" each of the characters were in the woods. The more lost they were, the less human they became, and the mask would change to reflect that. I kind of imagined that each character was once a lost human or soul who slowly became corrupted by the forest, at which point they would be given a mask—made from they very trees they were trapped within—to live out the rest of their lives as the role they were given. Did any of this make it into the writing or story? Not really. But it helped to give me some direction with the look of each character. Problem was, I've never made anything like this before.
As with most things I've never tried, I started on YouTube. I had heard of foam clay after seeing cosplayers use it for costume armor and helmets and such, and figured that seemed like a good material to start with. After searching for 'foam clay tutorial' on YouTube, I watched this video by Kamui Cosplay. I mostly followed the steps they laid out, with a few changes here and there for cost and skill level.
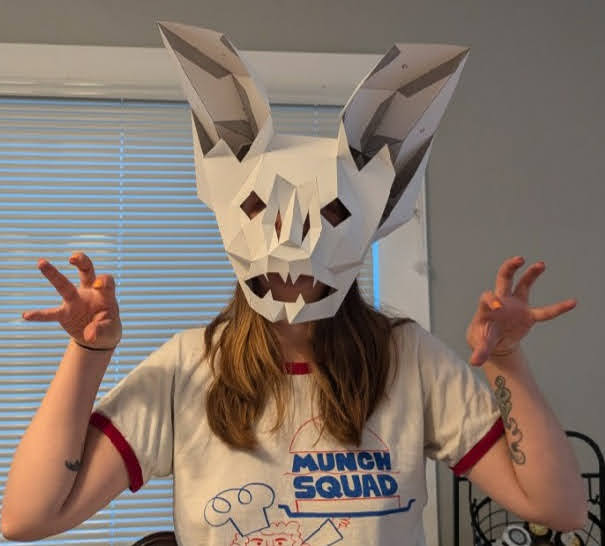
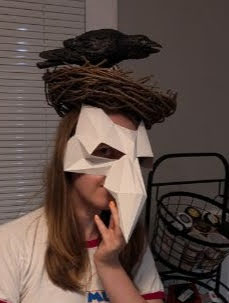
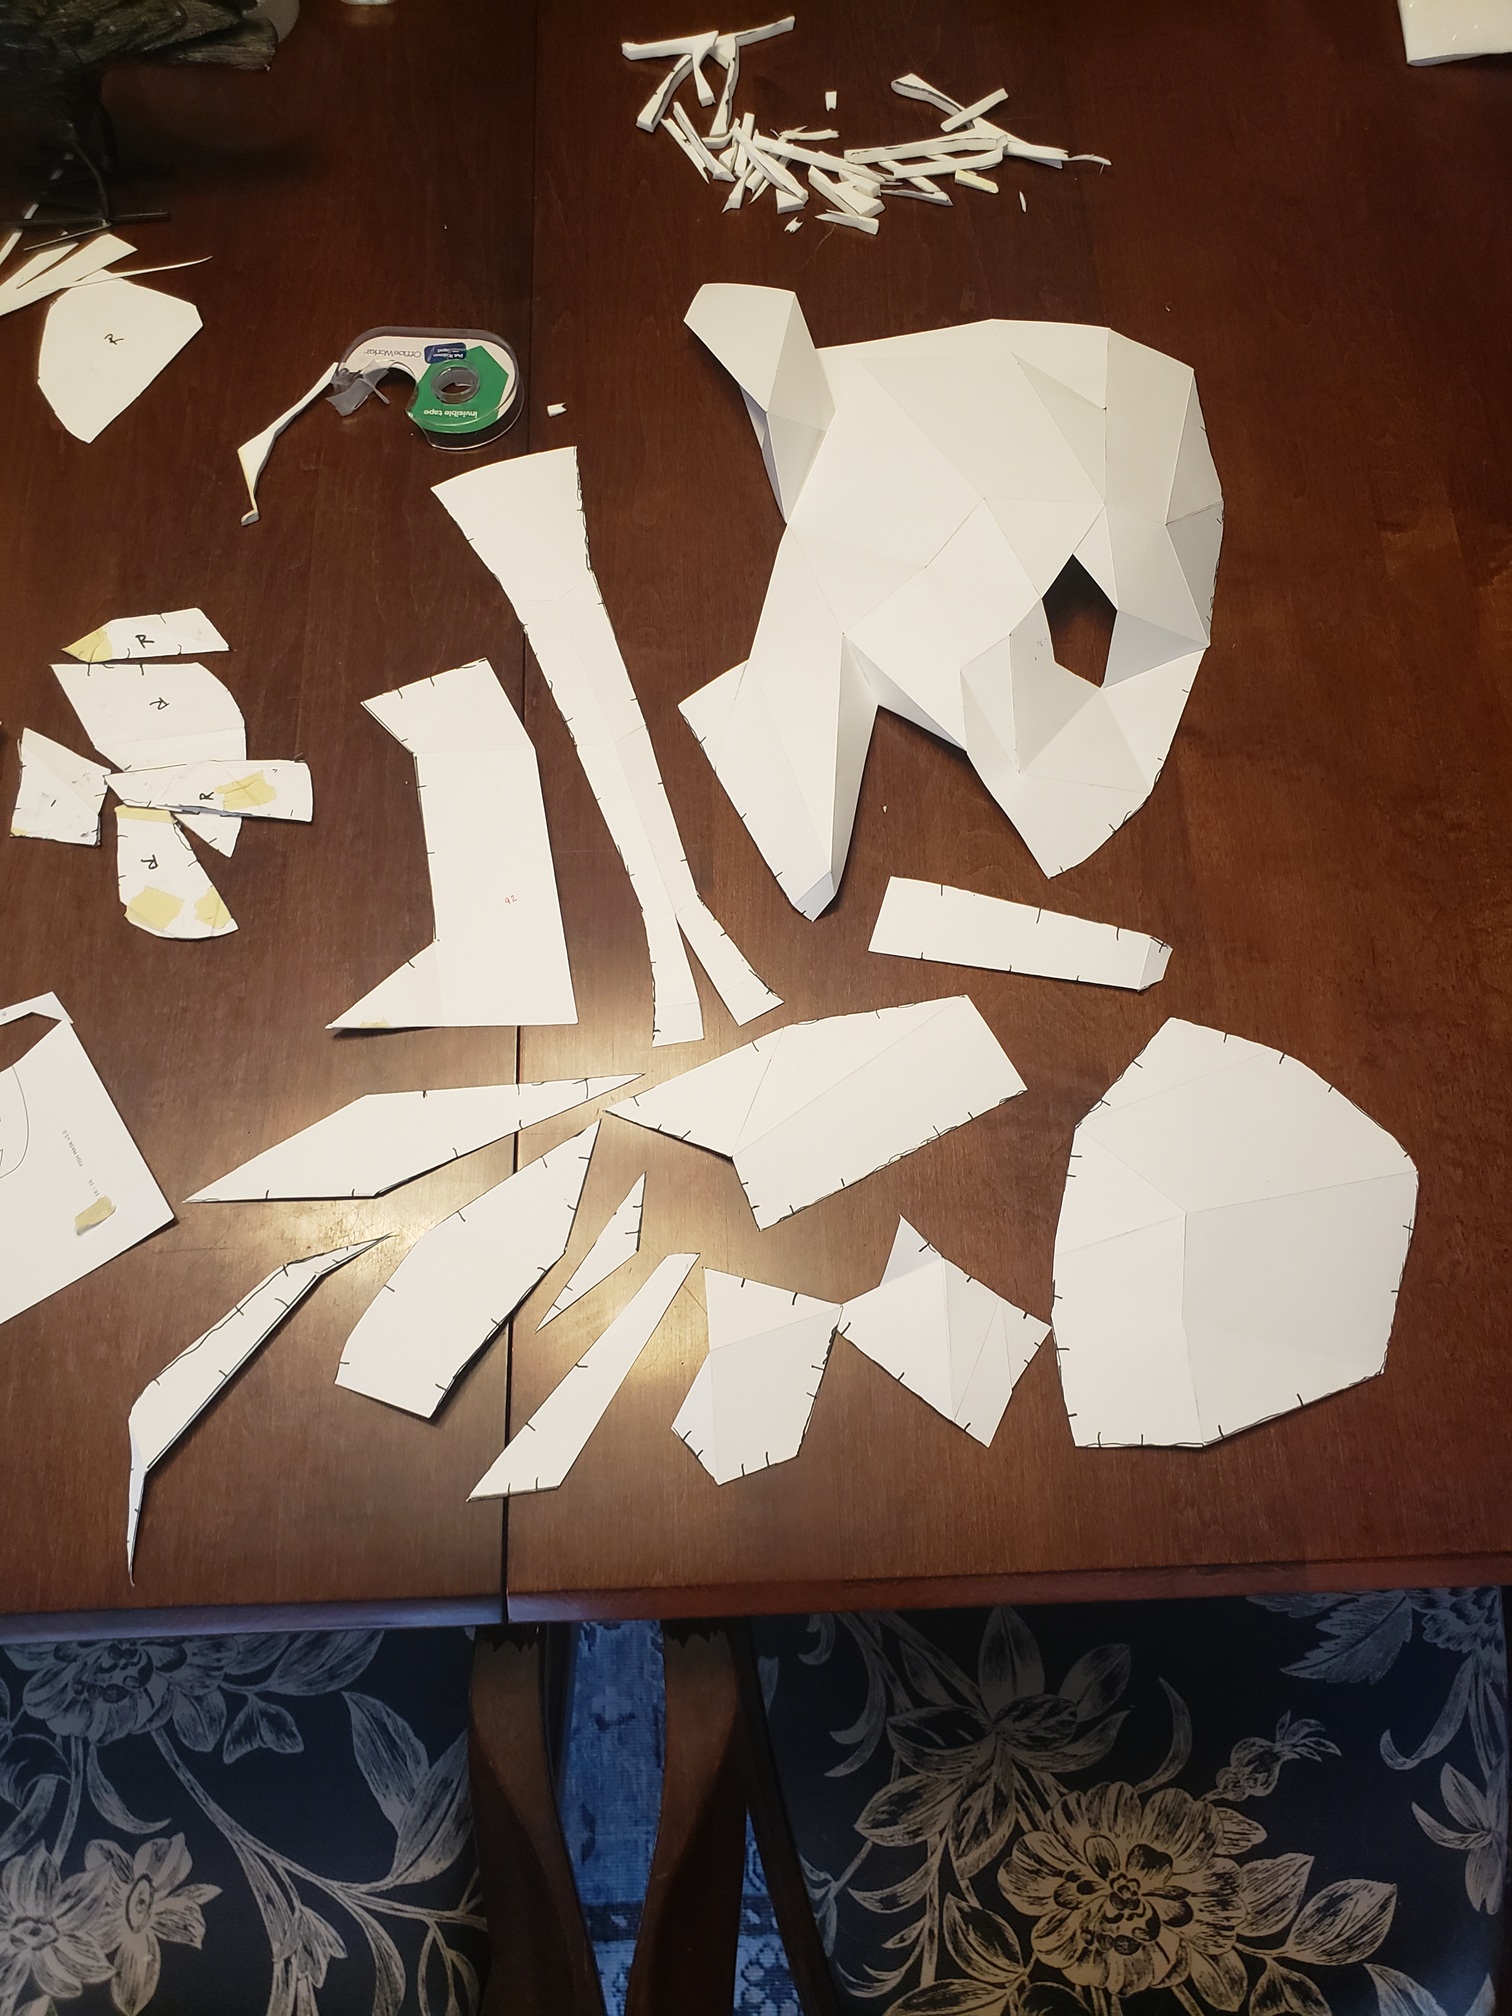
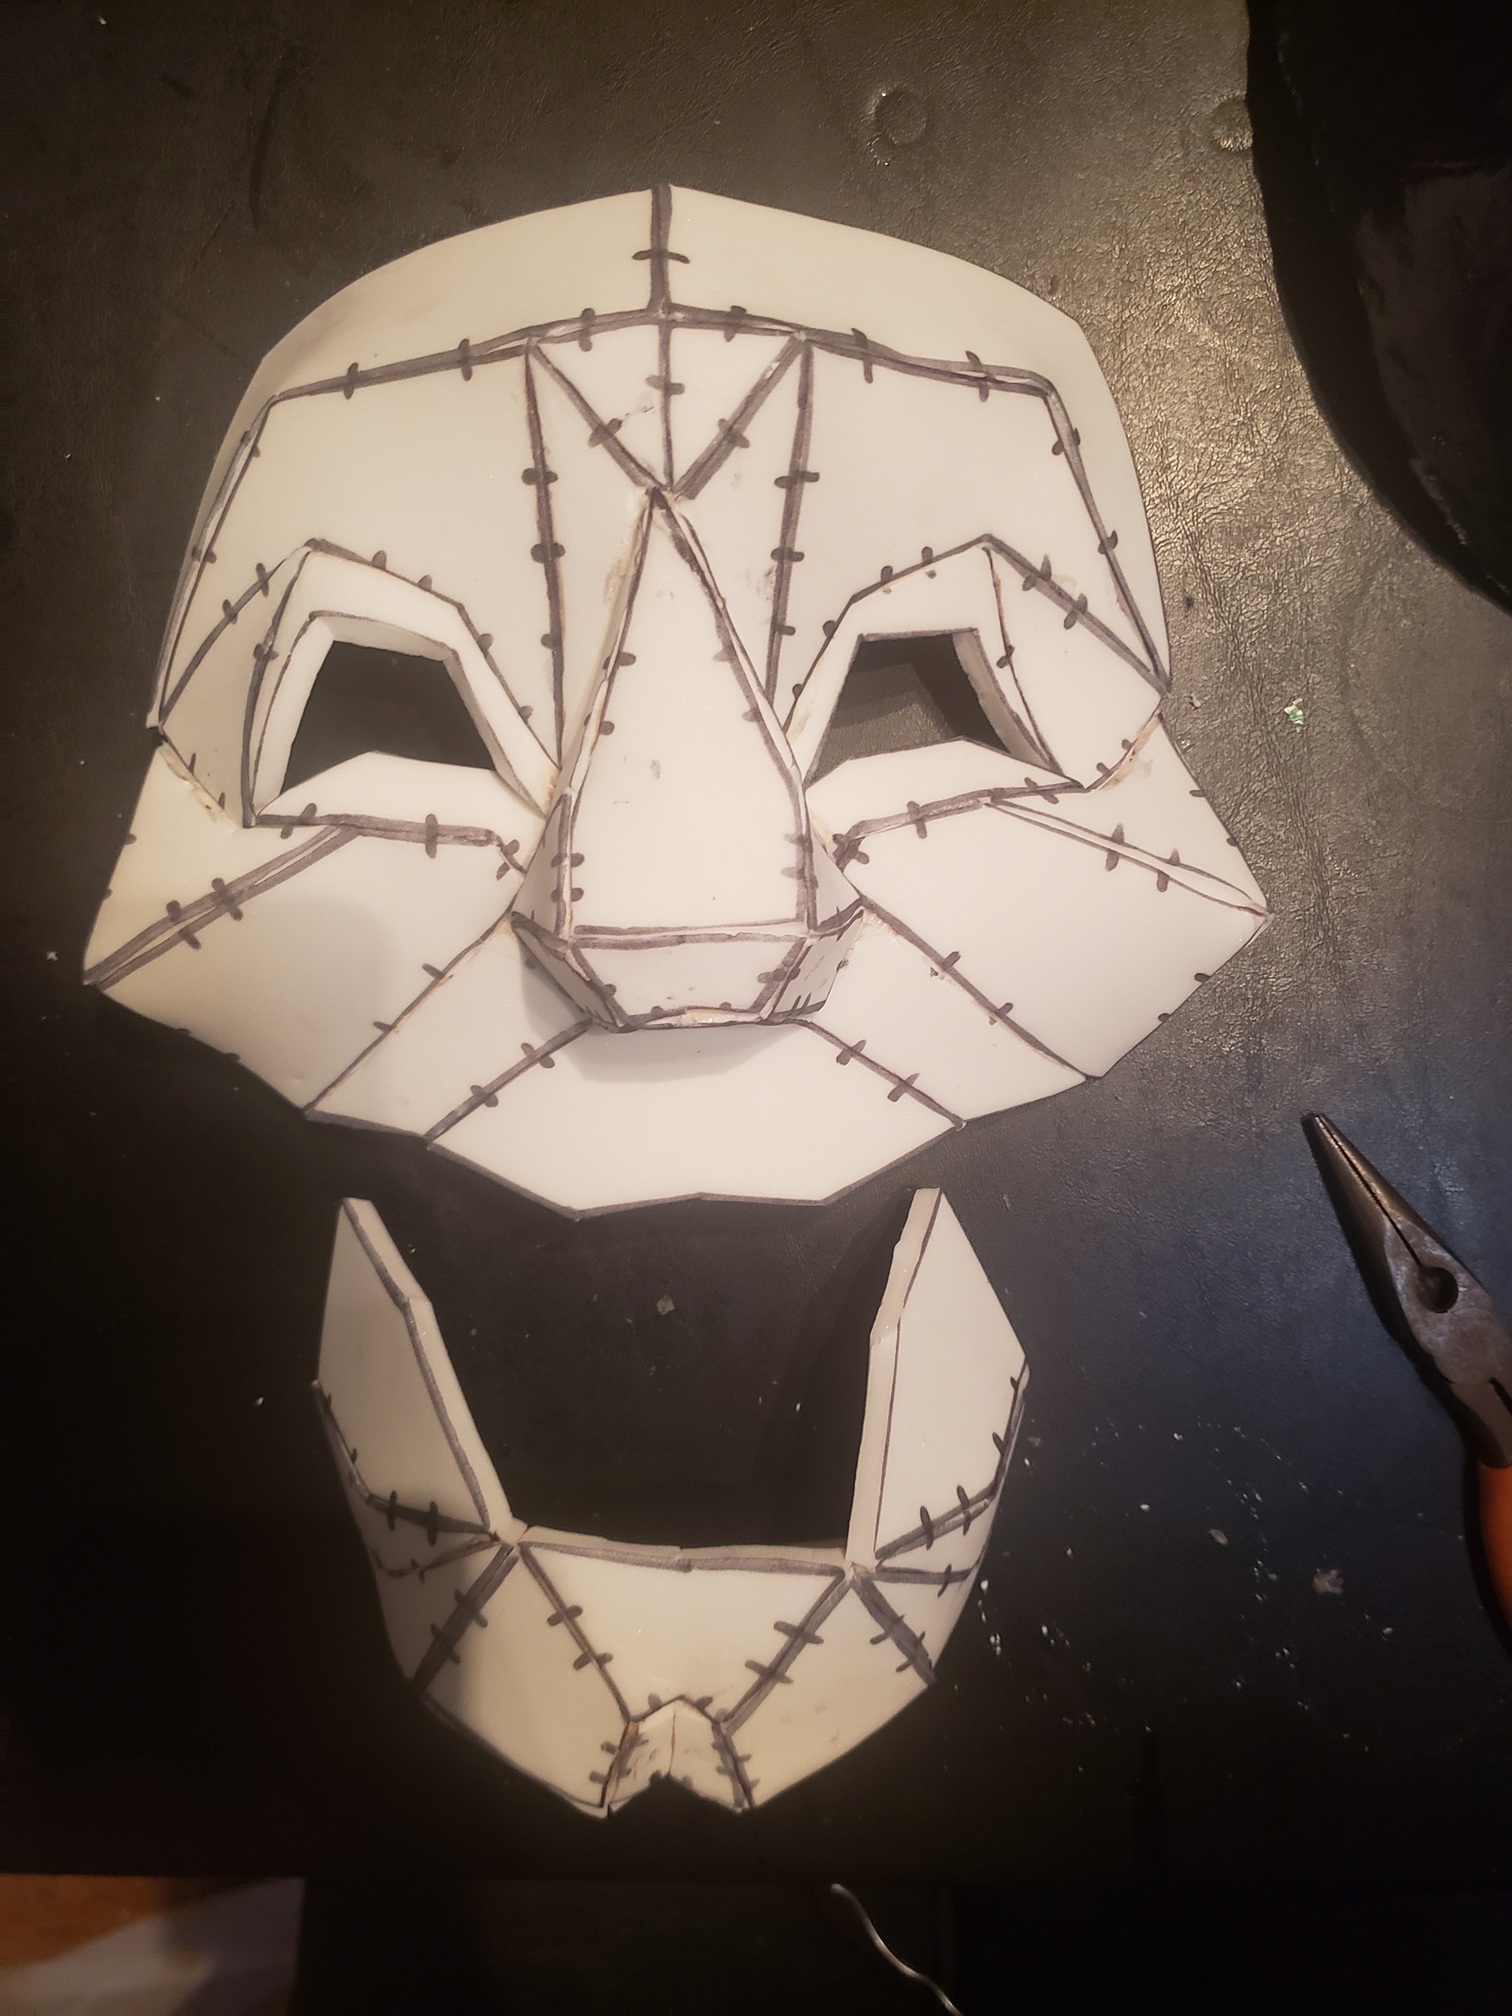
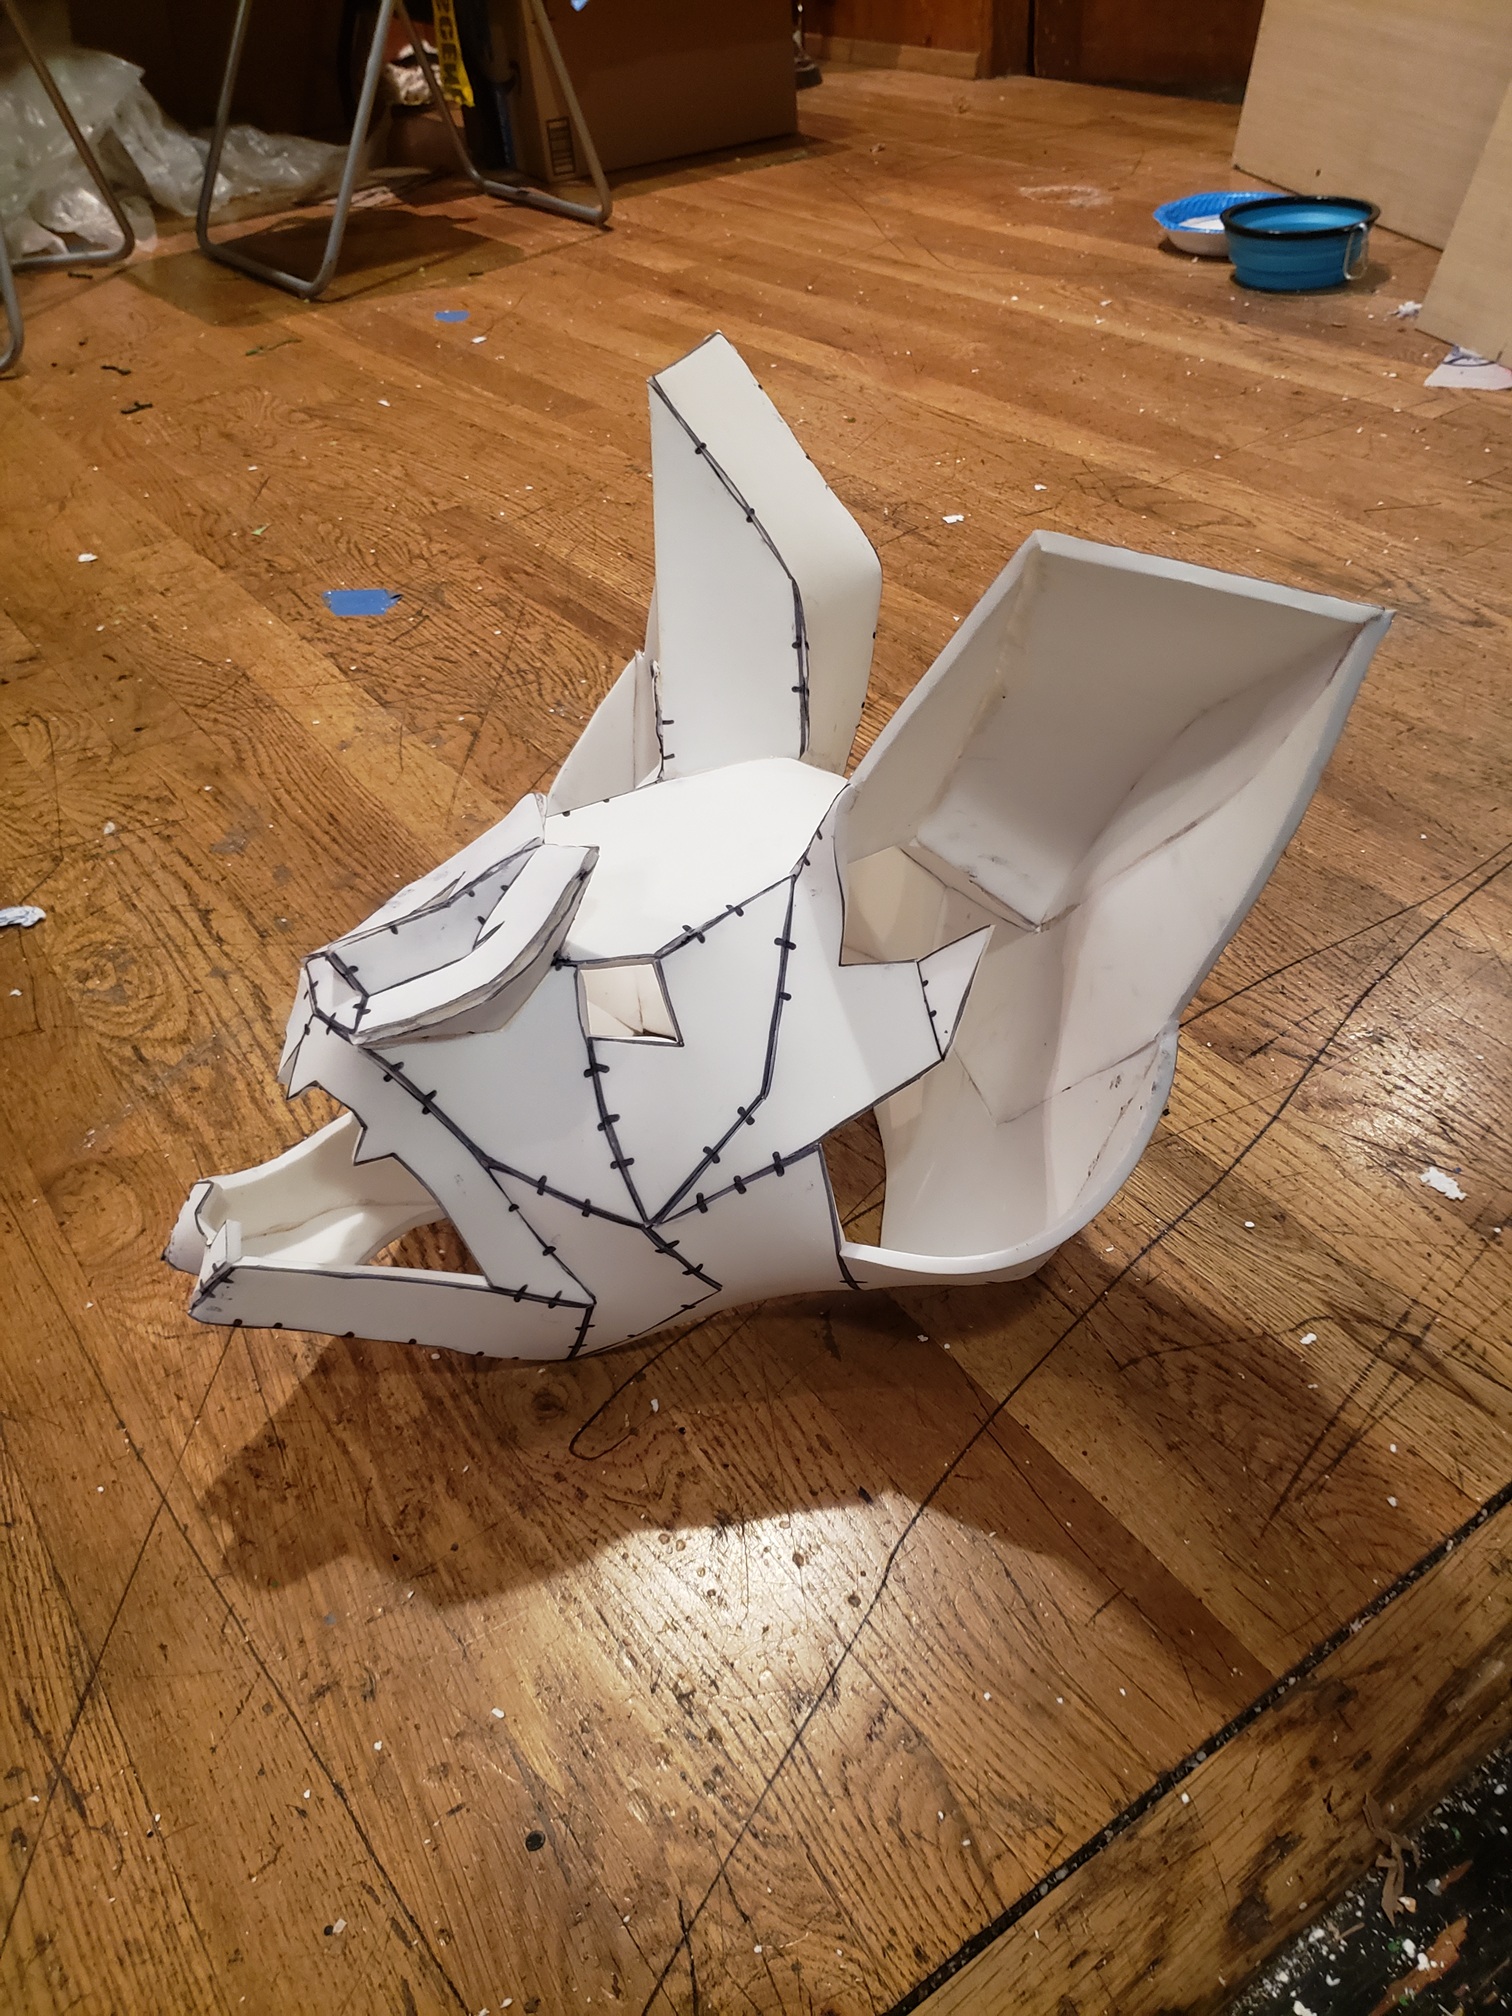
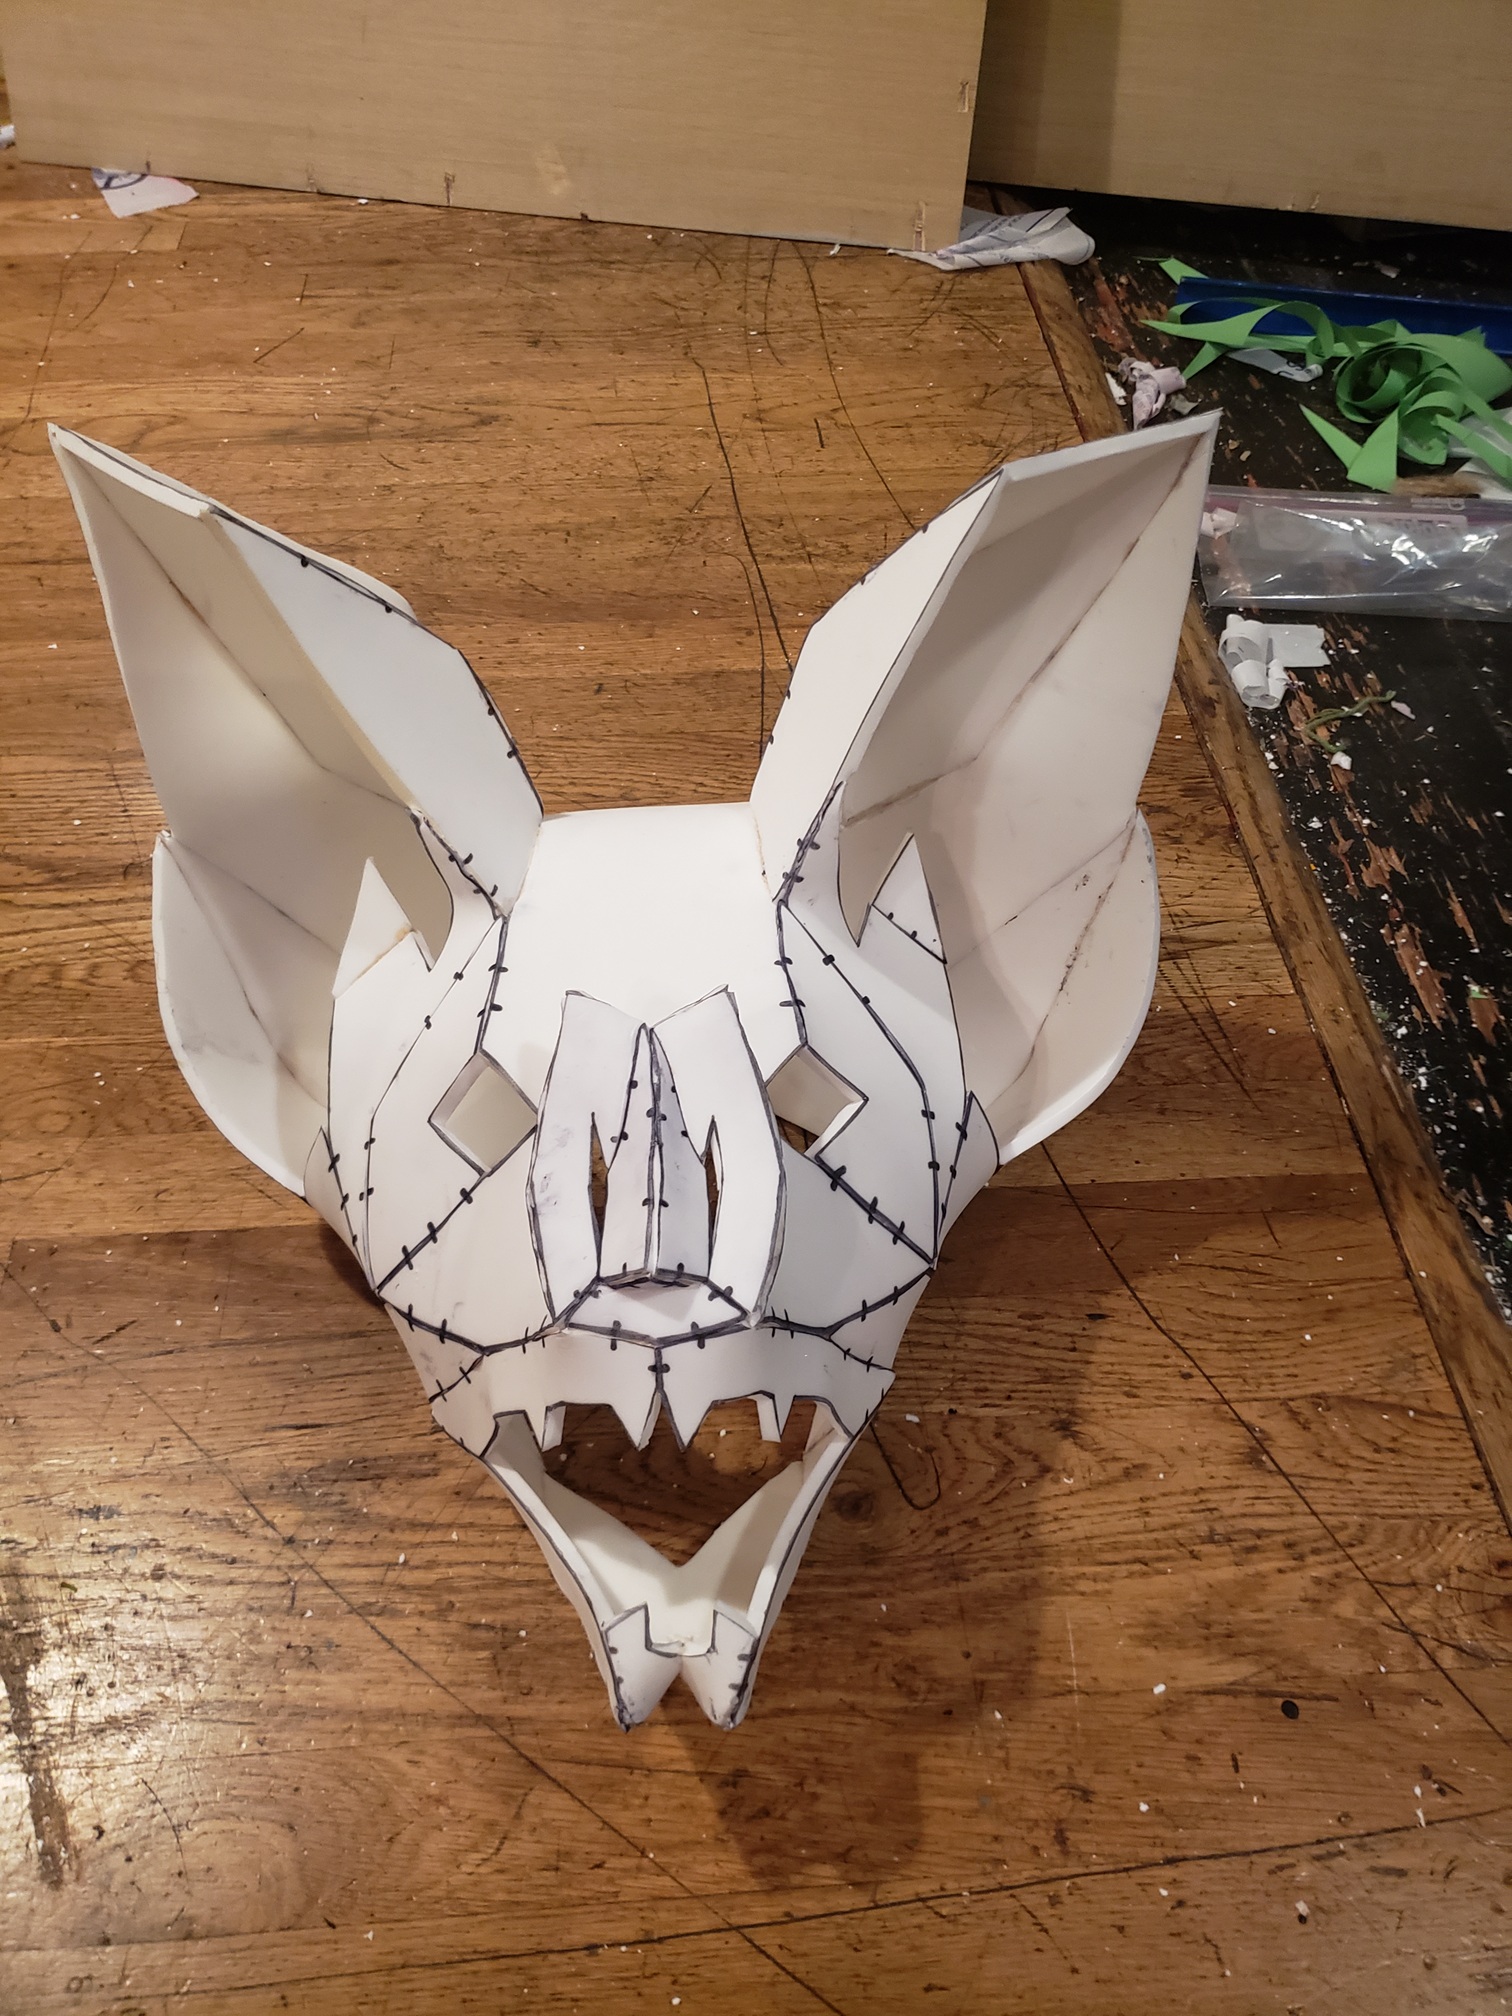
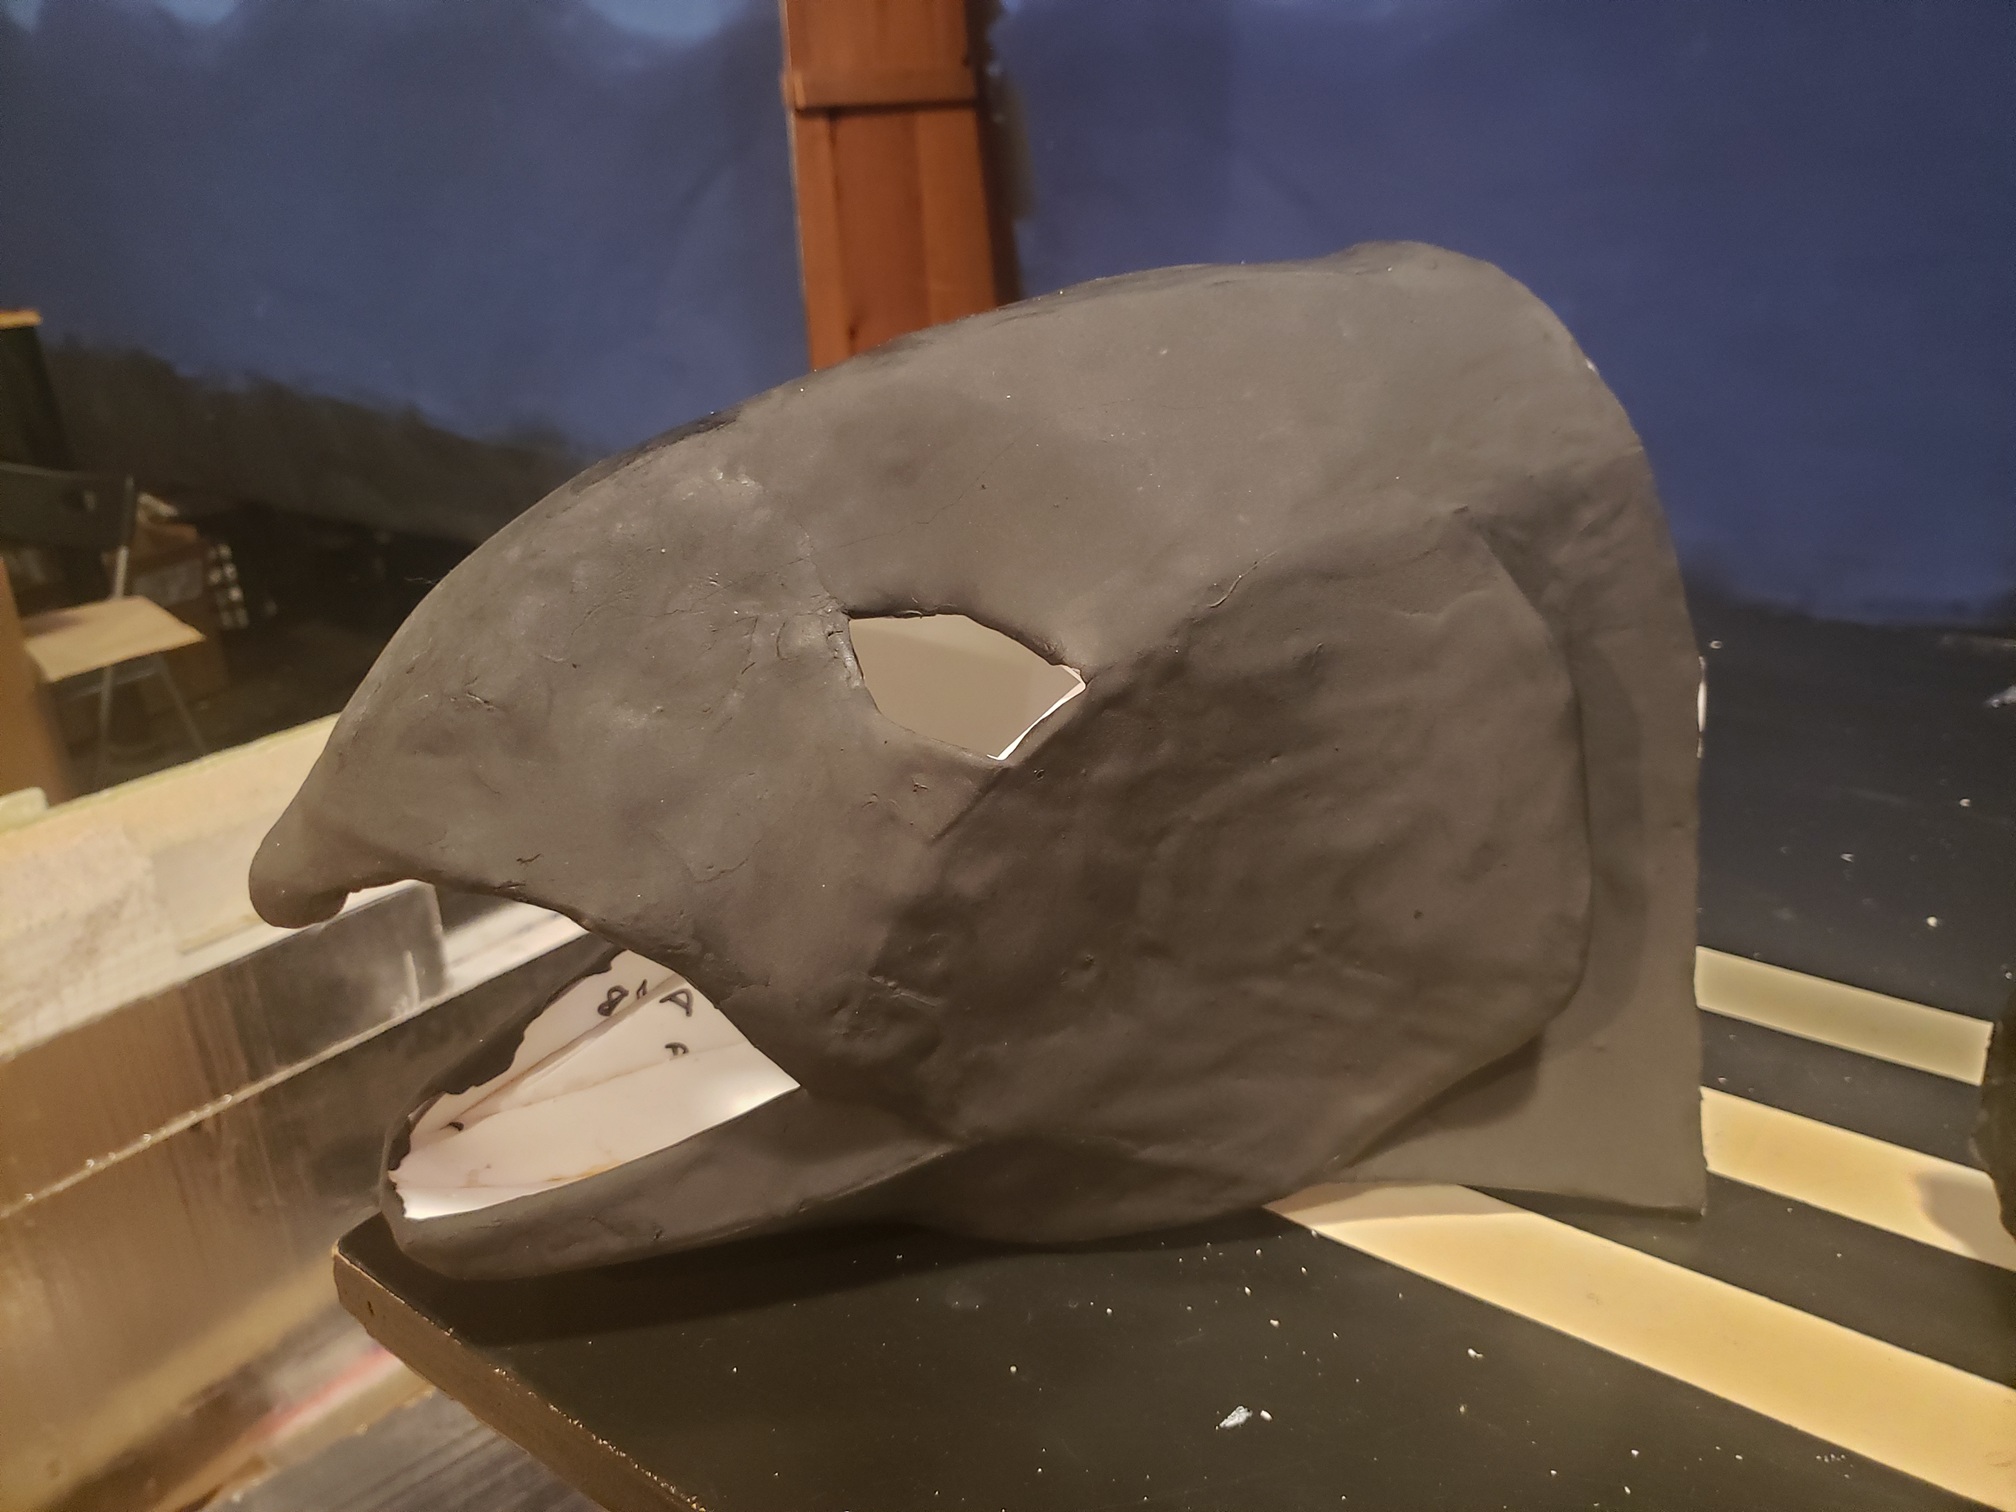
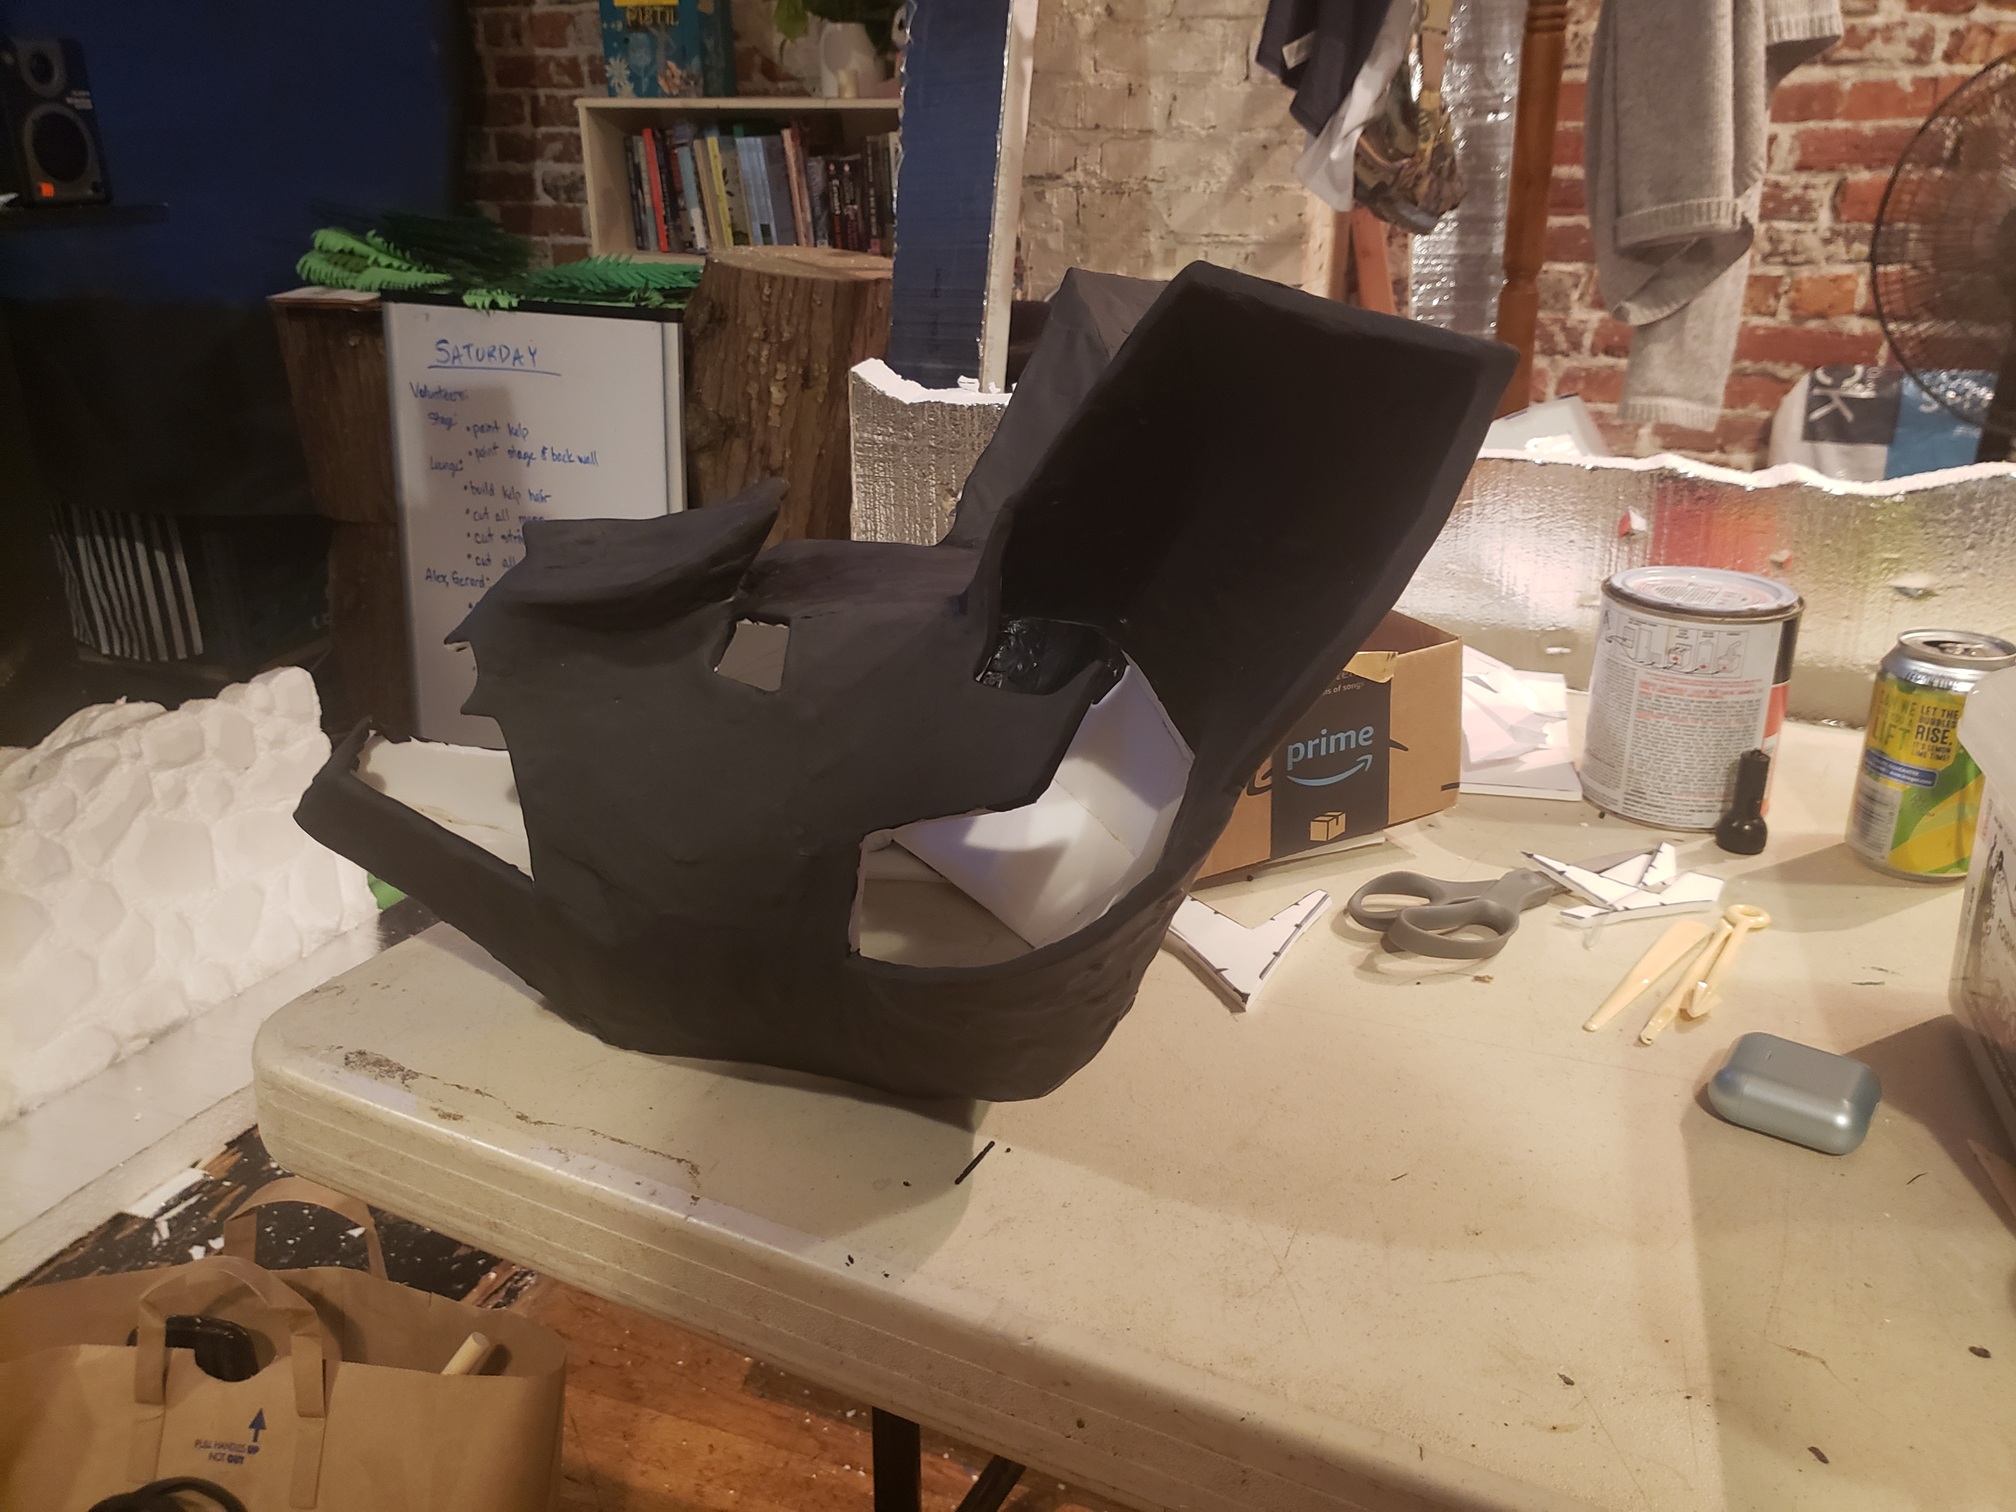
First, I gathered up my paper patterns; I got three off of etsy: the Raven, the Fish, and the Bat—and the last two were made by a friend with blender, and turned into a paper pattern using Pepakura. I printed them out on cardstock (100 lb weight), then folded and glued them. I used these paper versions to check the fit on the actors. The bat and fish masks had to be made more than once at different scales for a better fit.
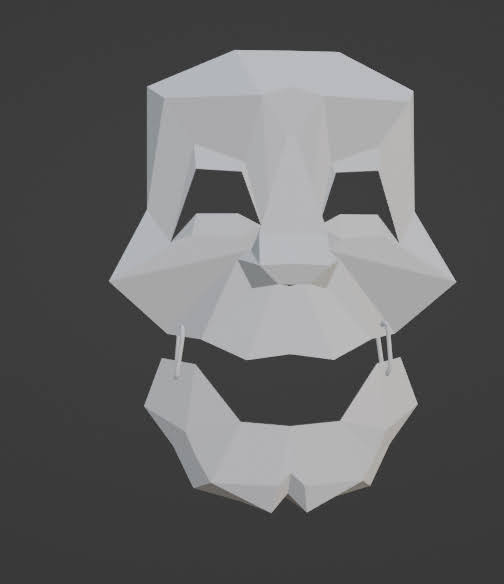
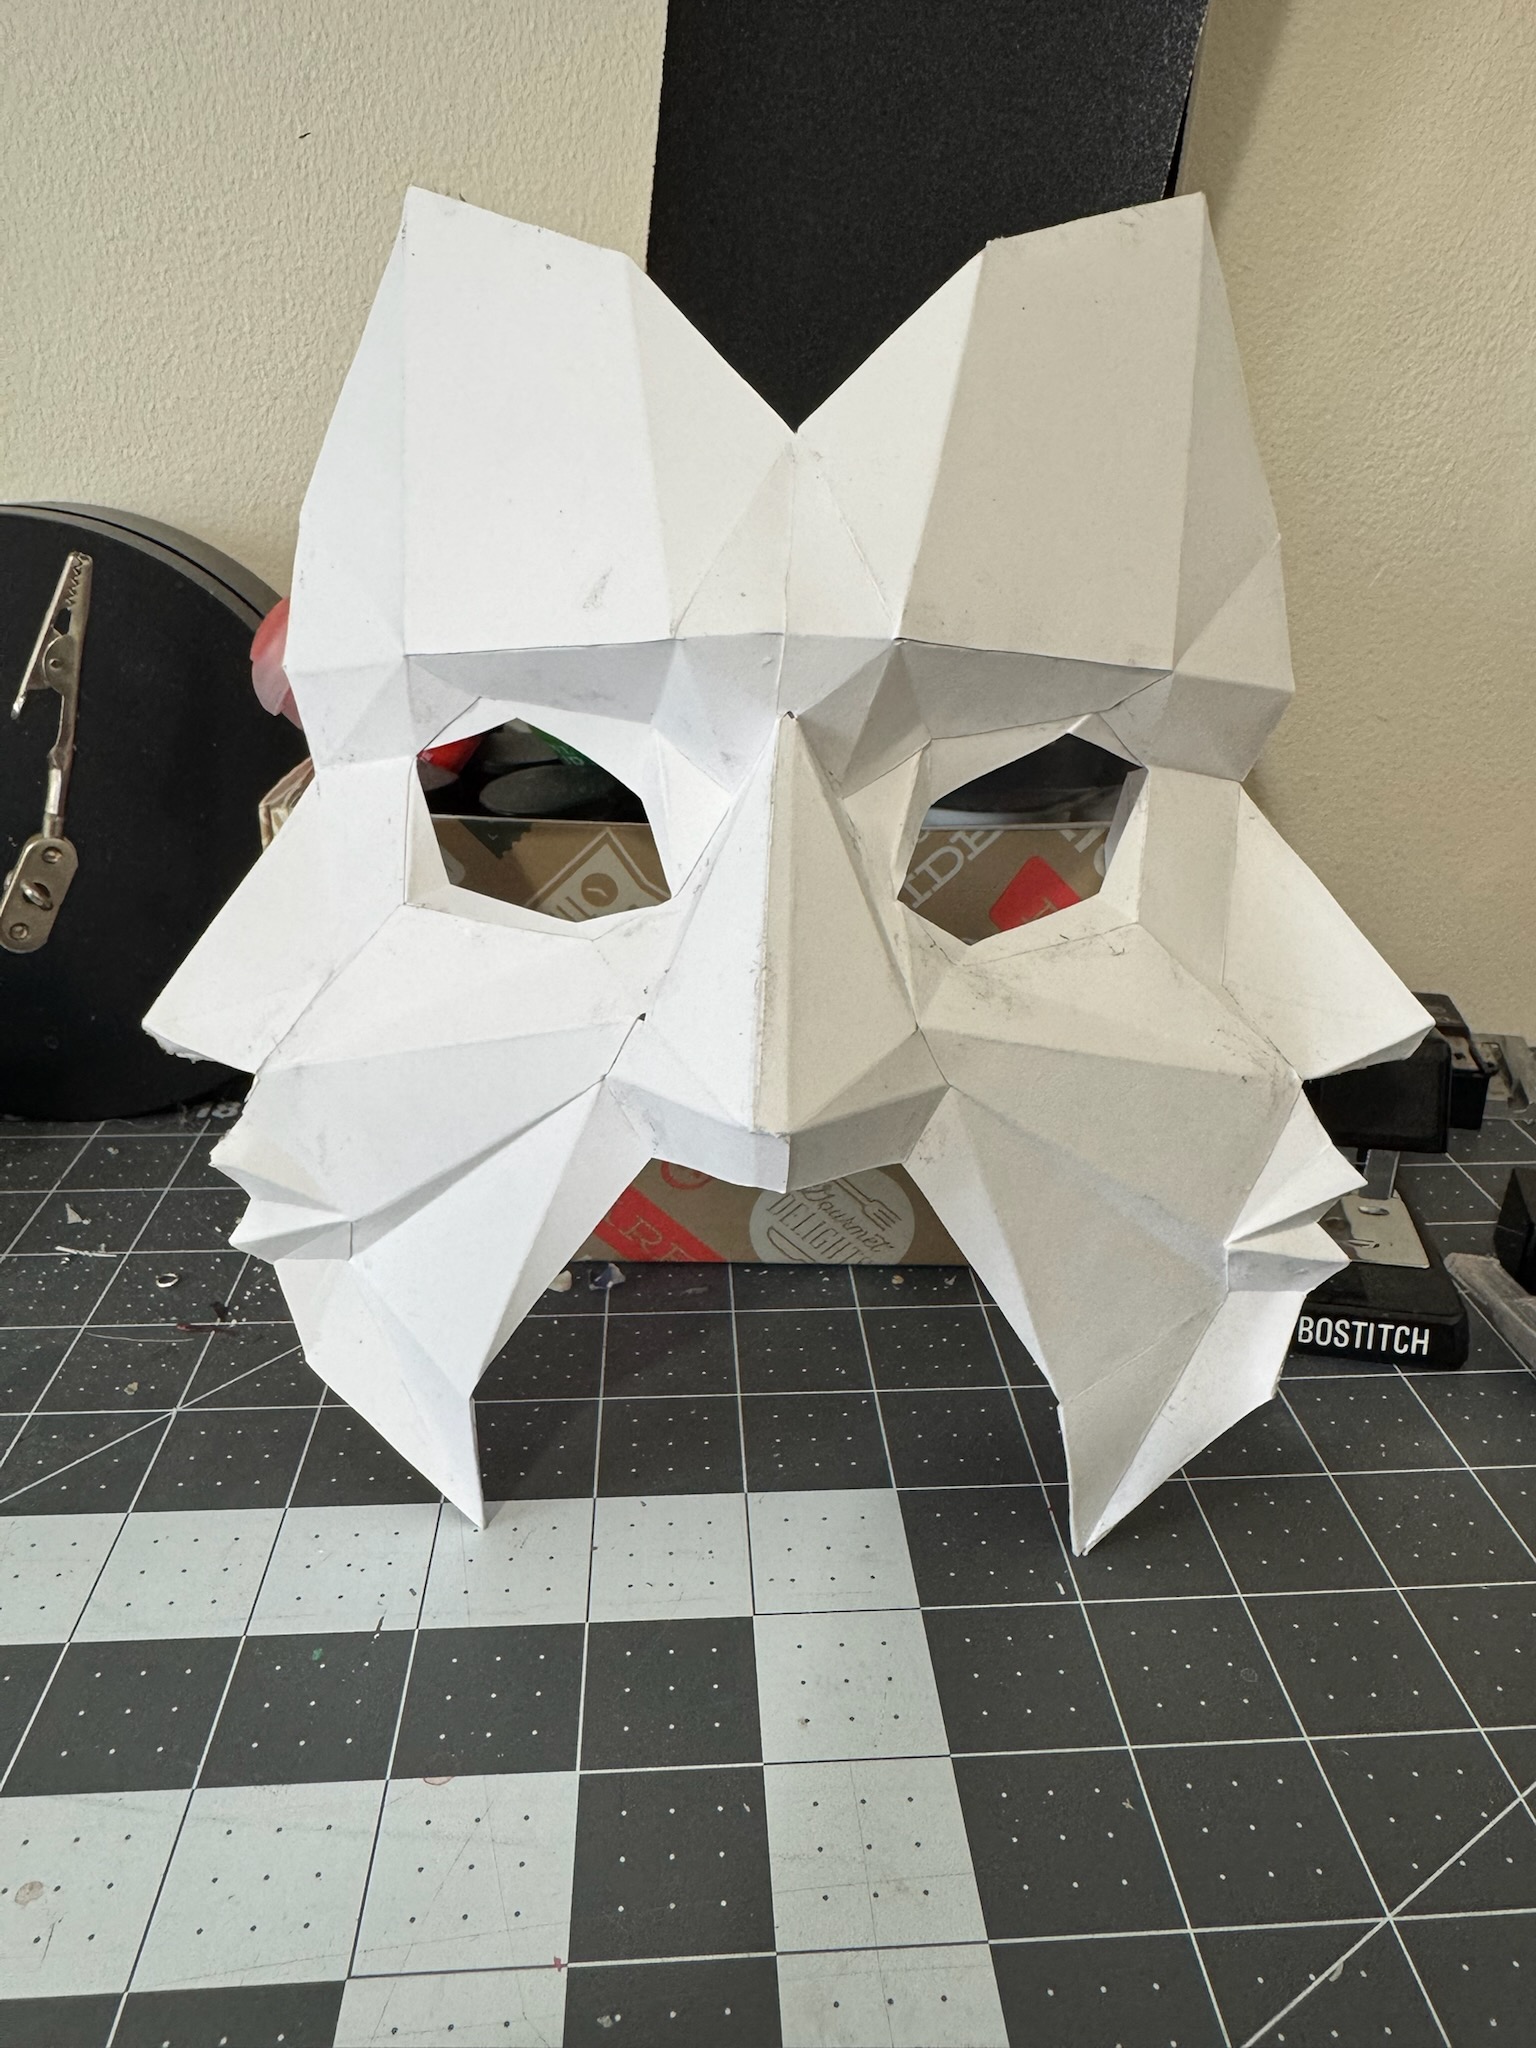
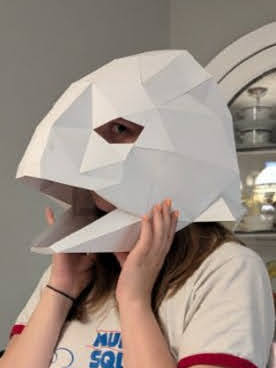
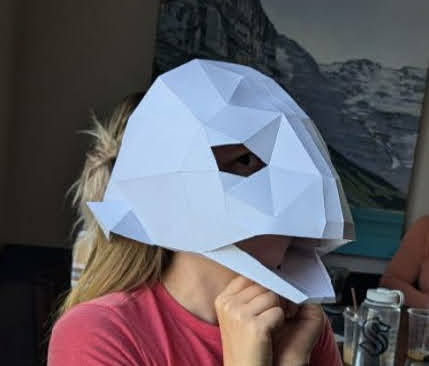
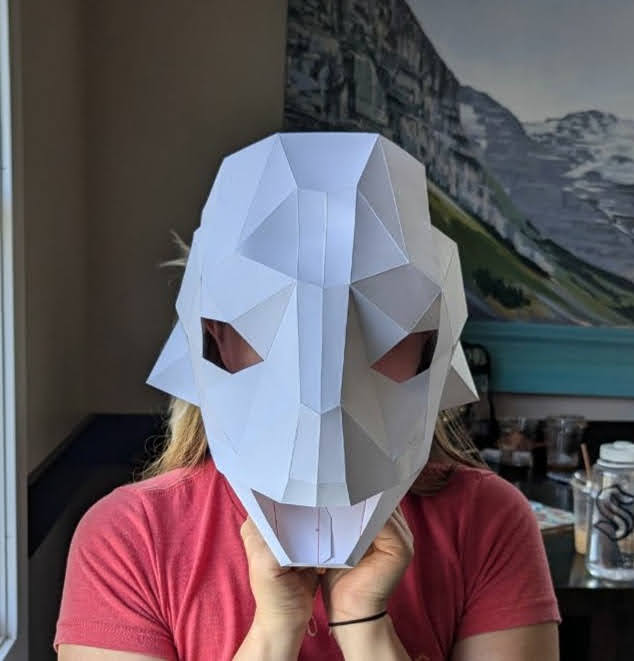
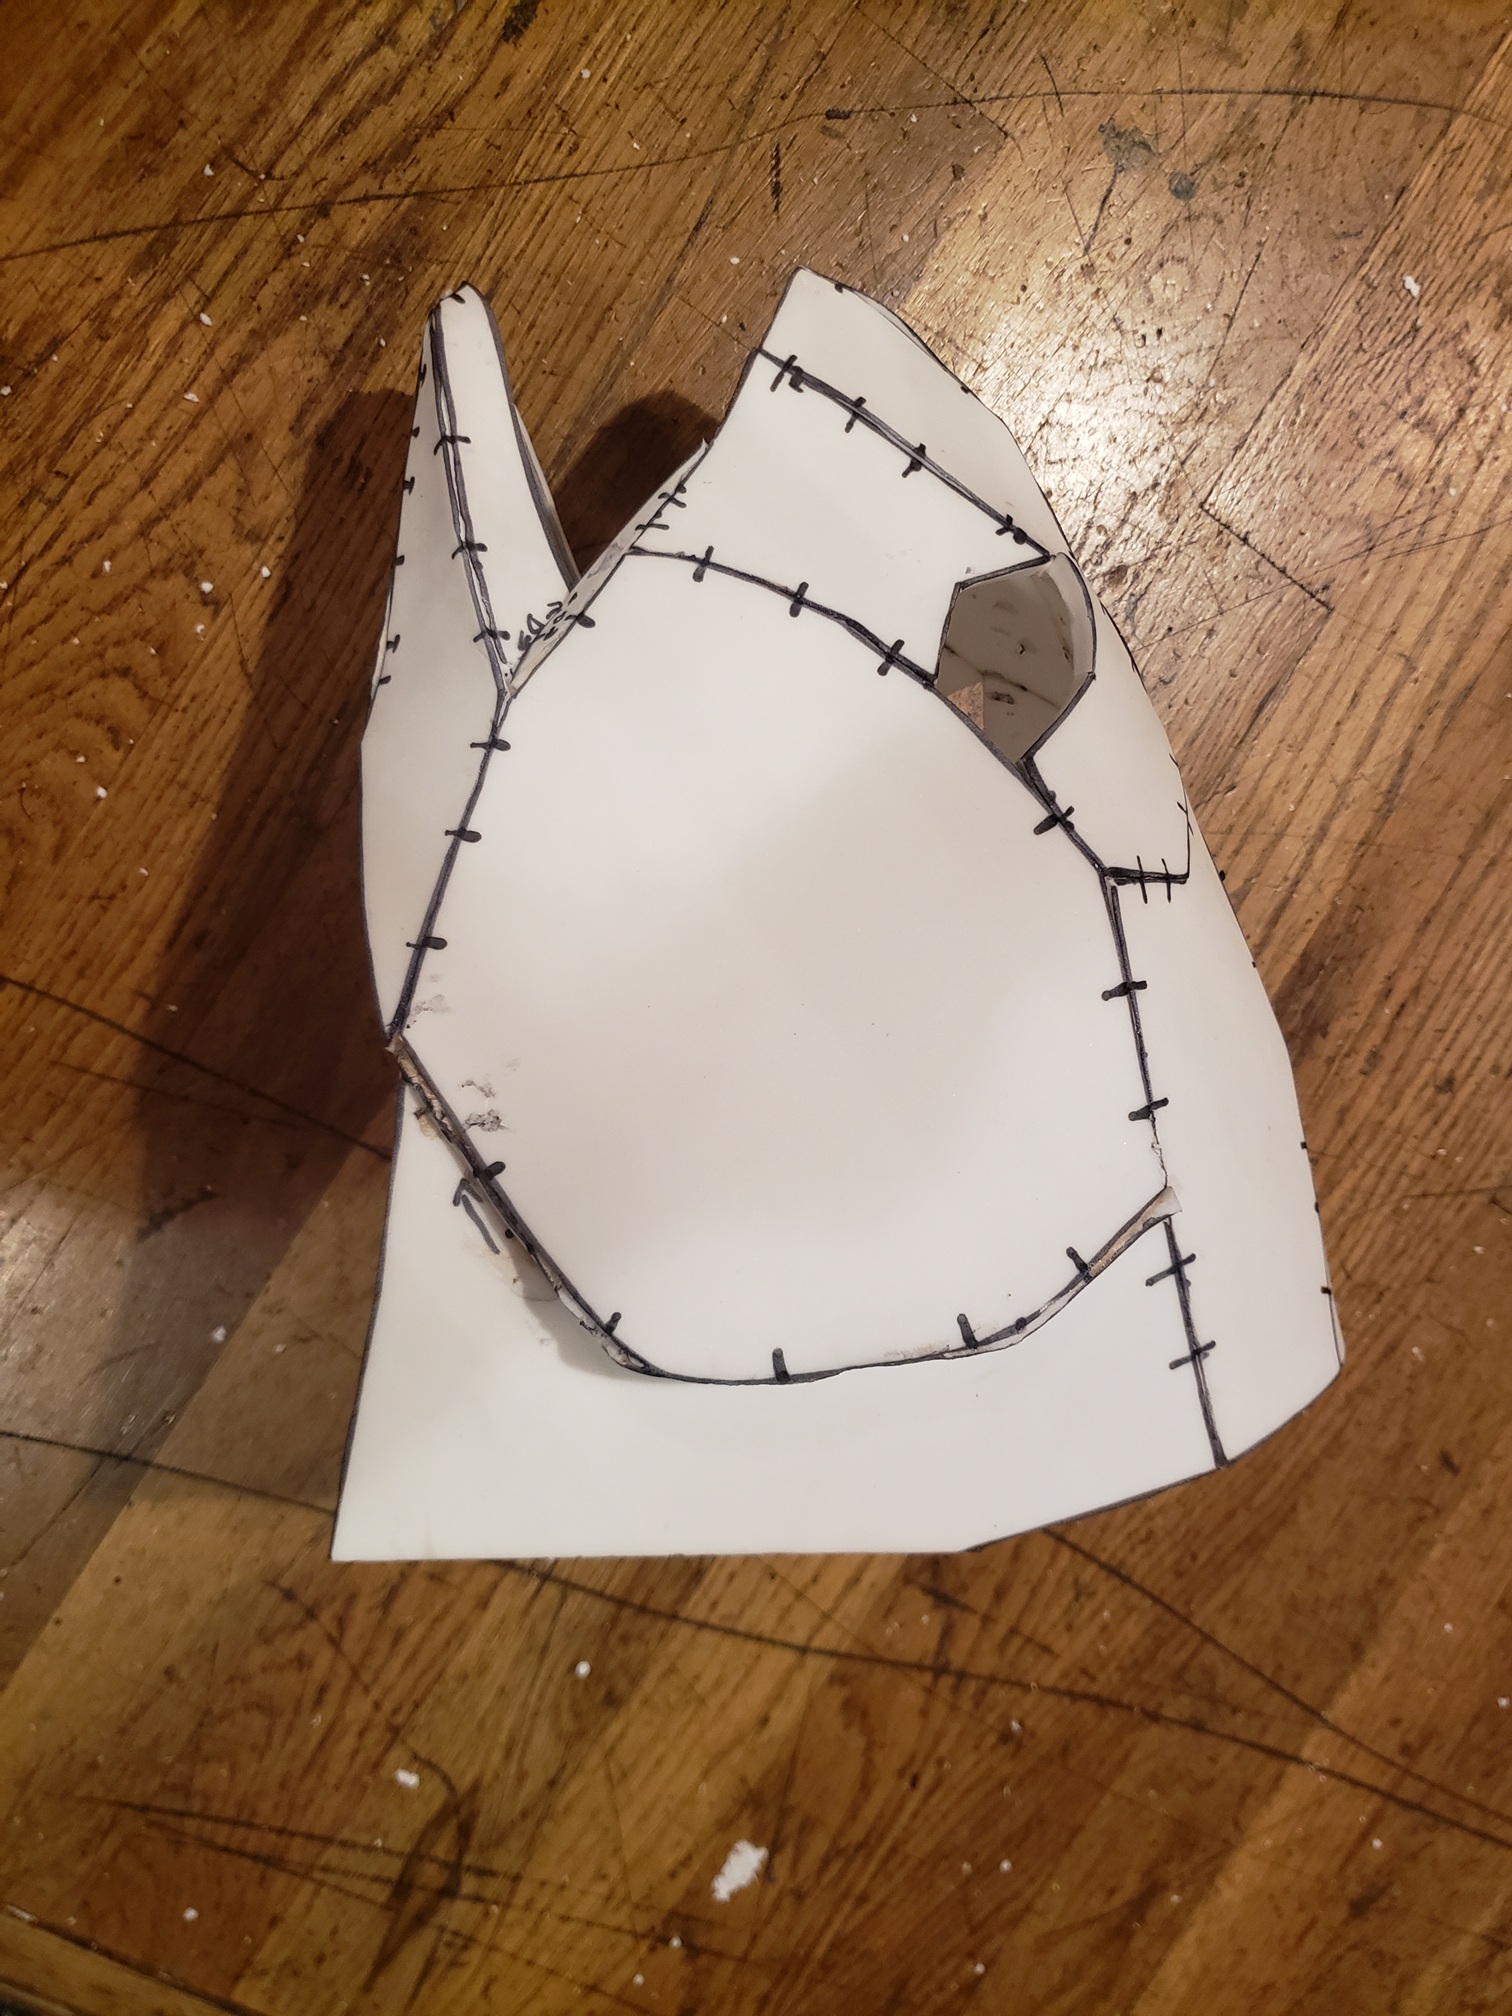
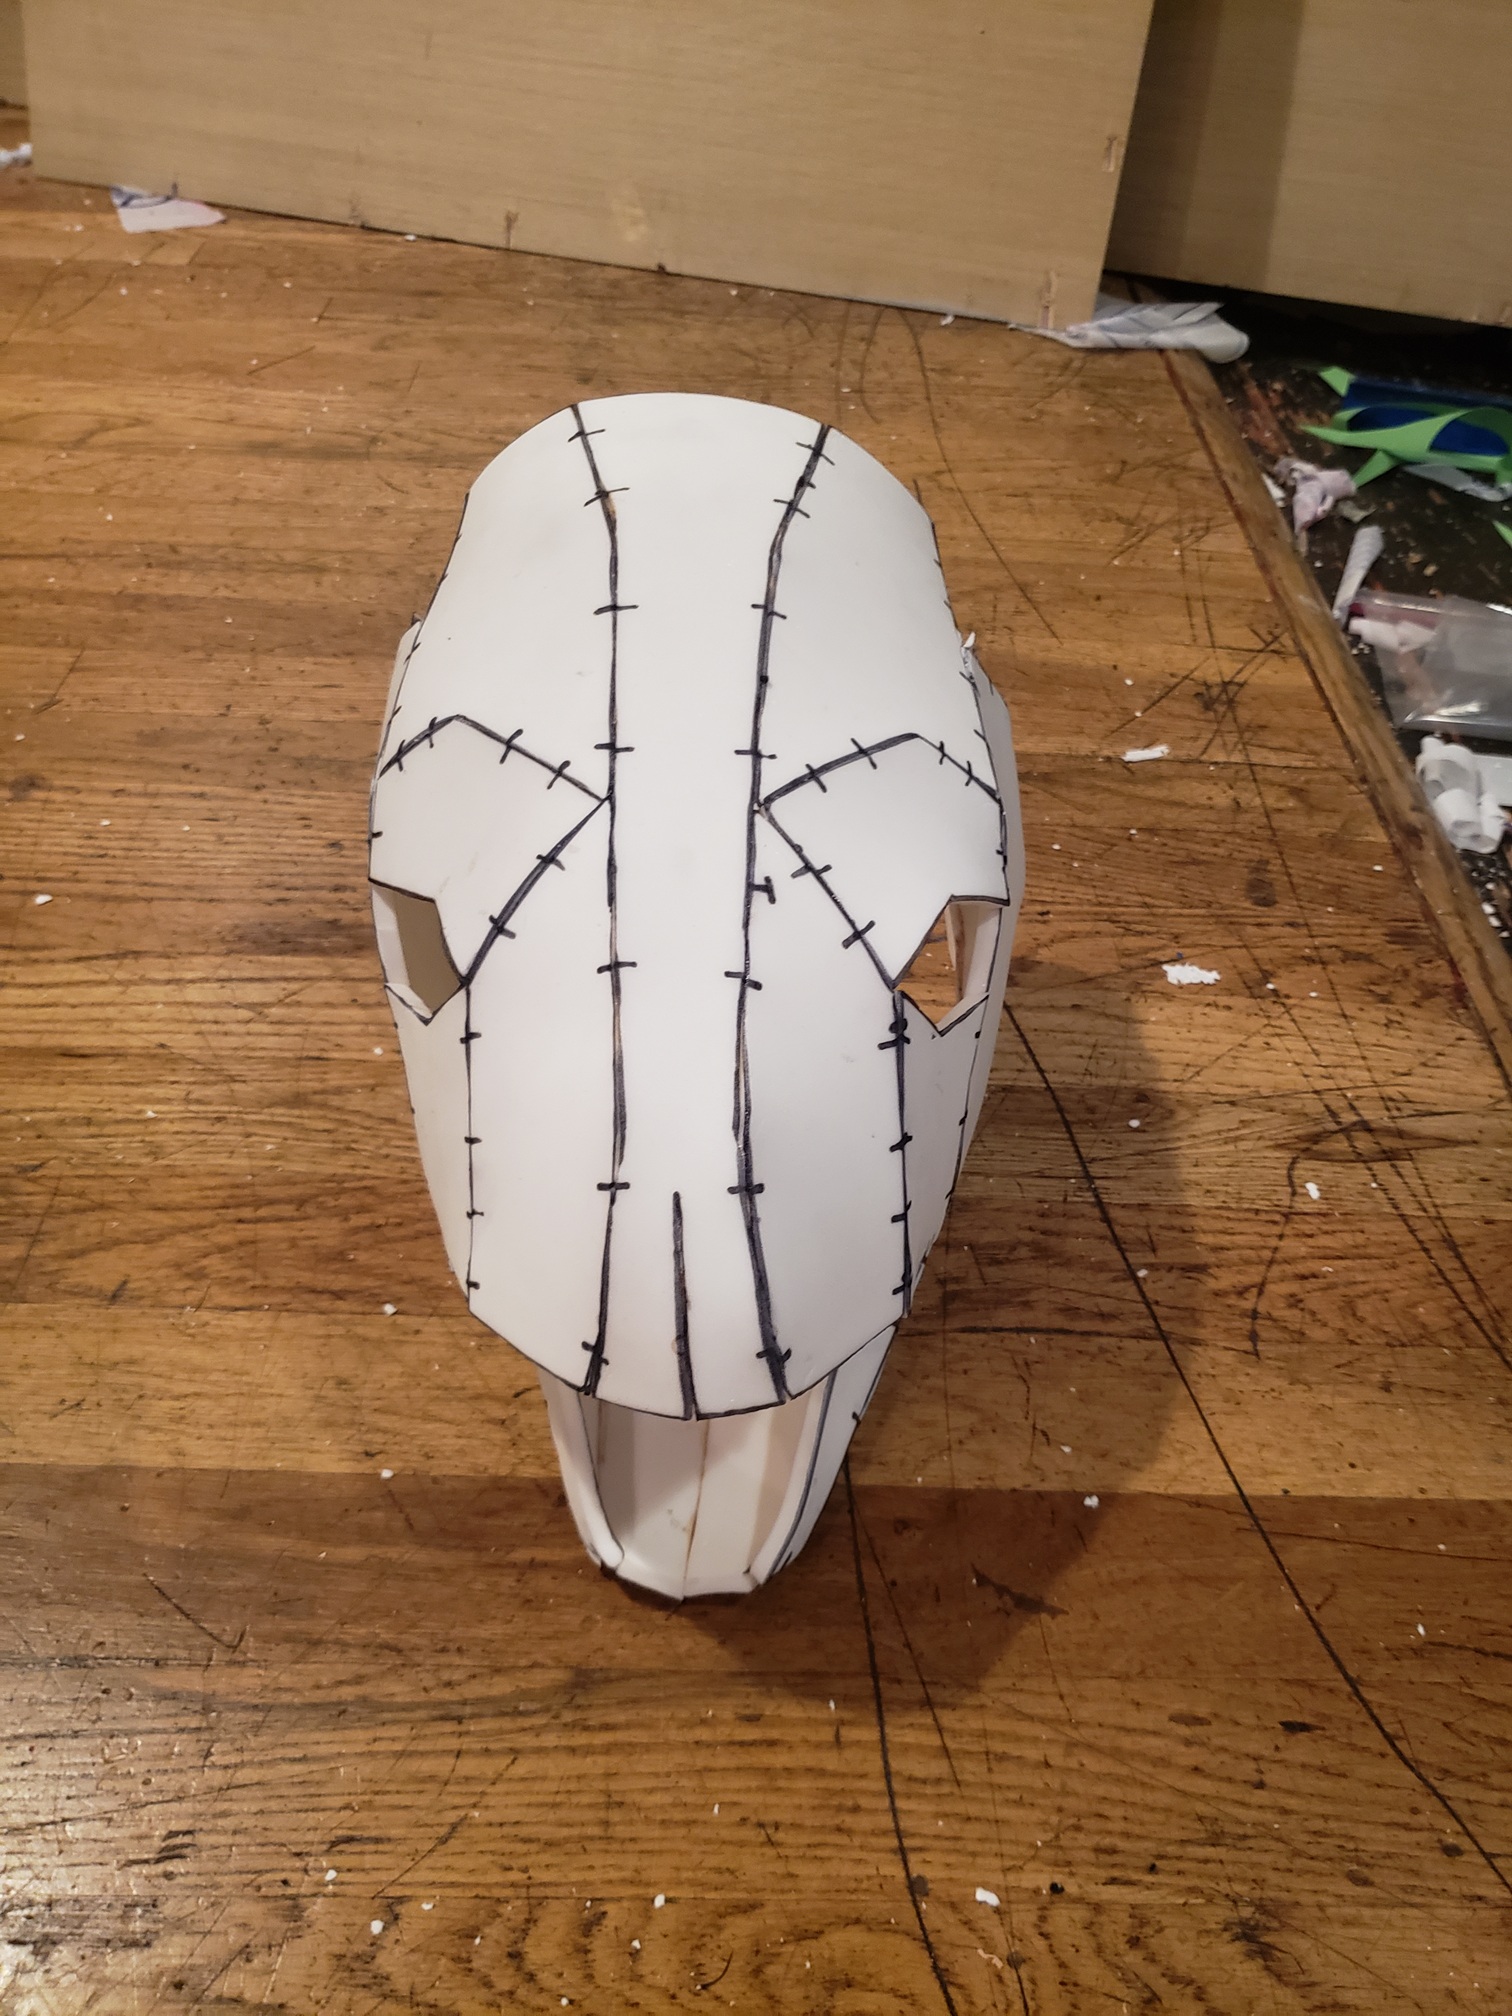
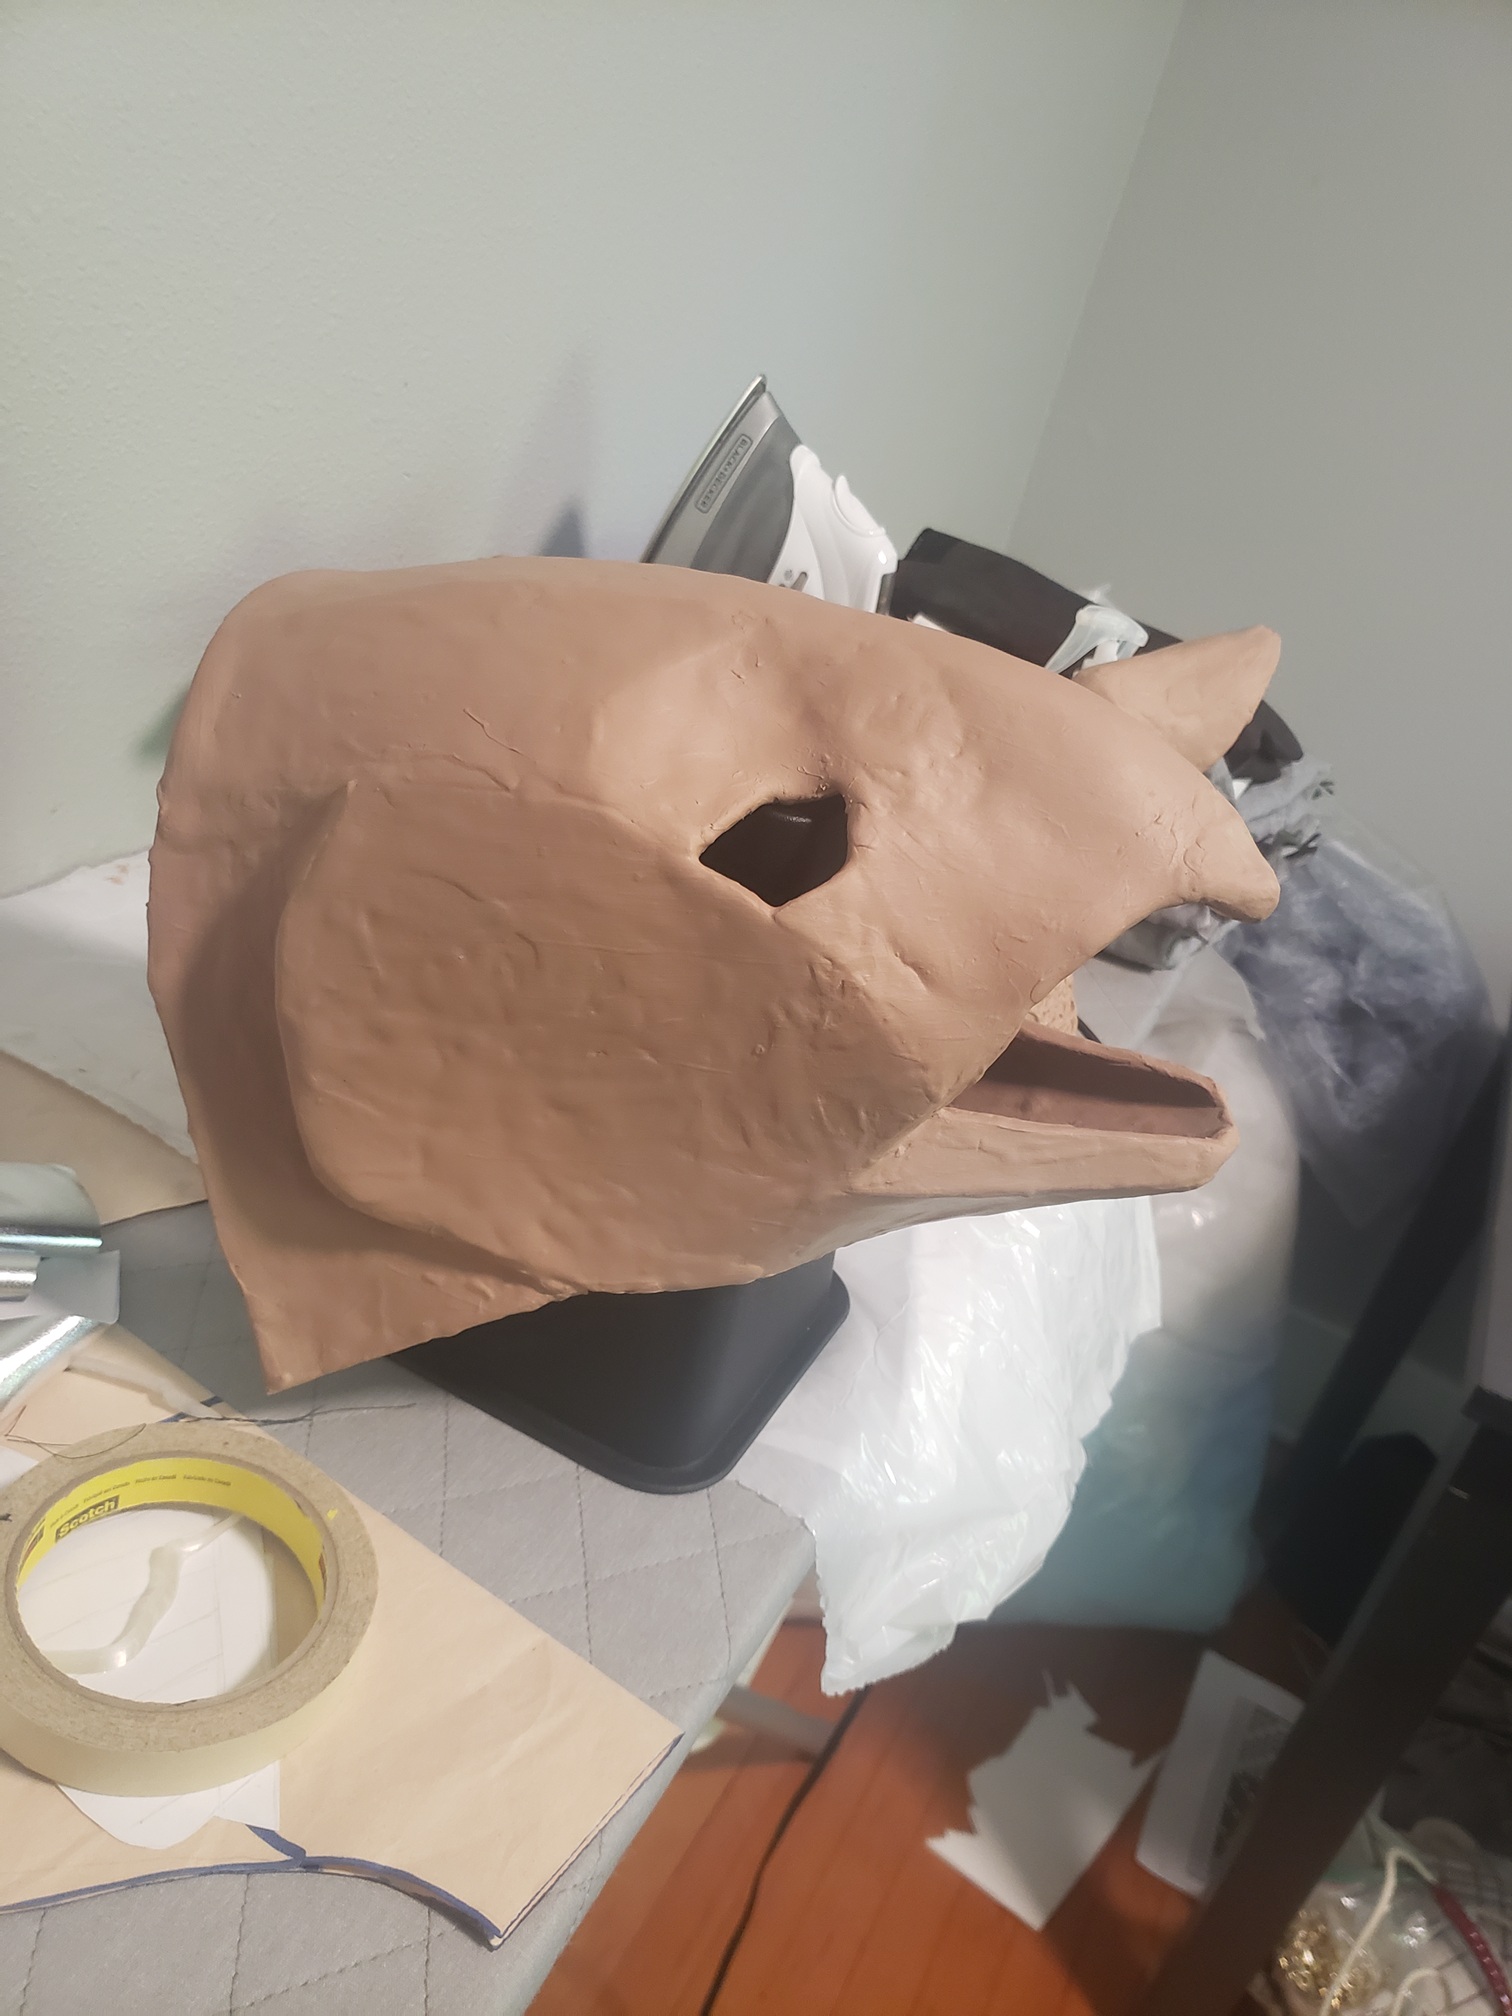
I took the final paper versions and divided them in a way that probably only makes sense to me, making sure to add registration marks that would help me to put them back together later. These were then transferred to foam and glued together with contact cement. The stuff has potent fumes, so be sure to do it near a window and wear a respirator!

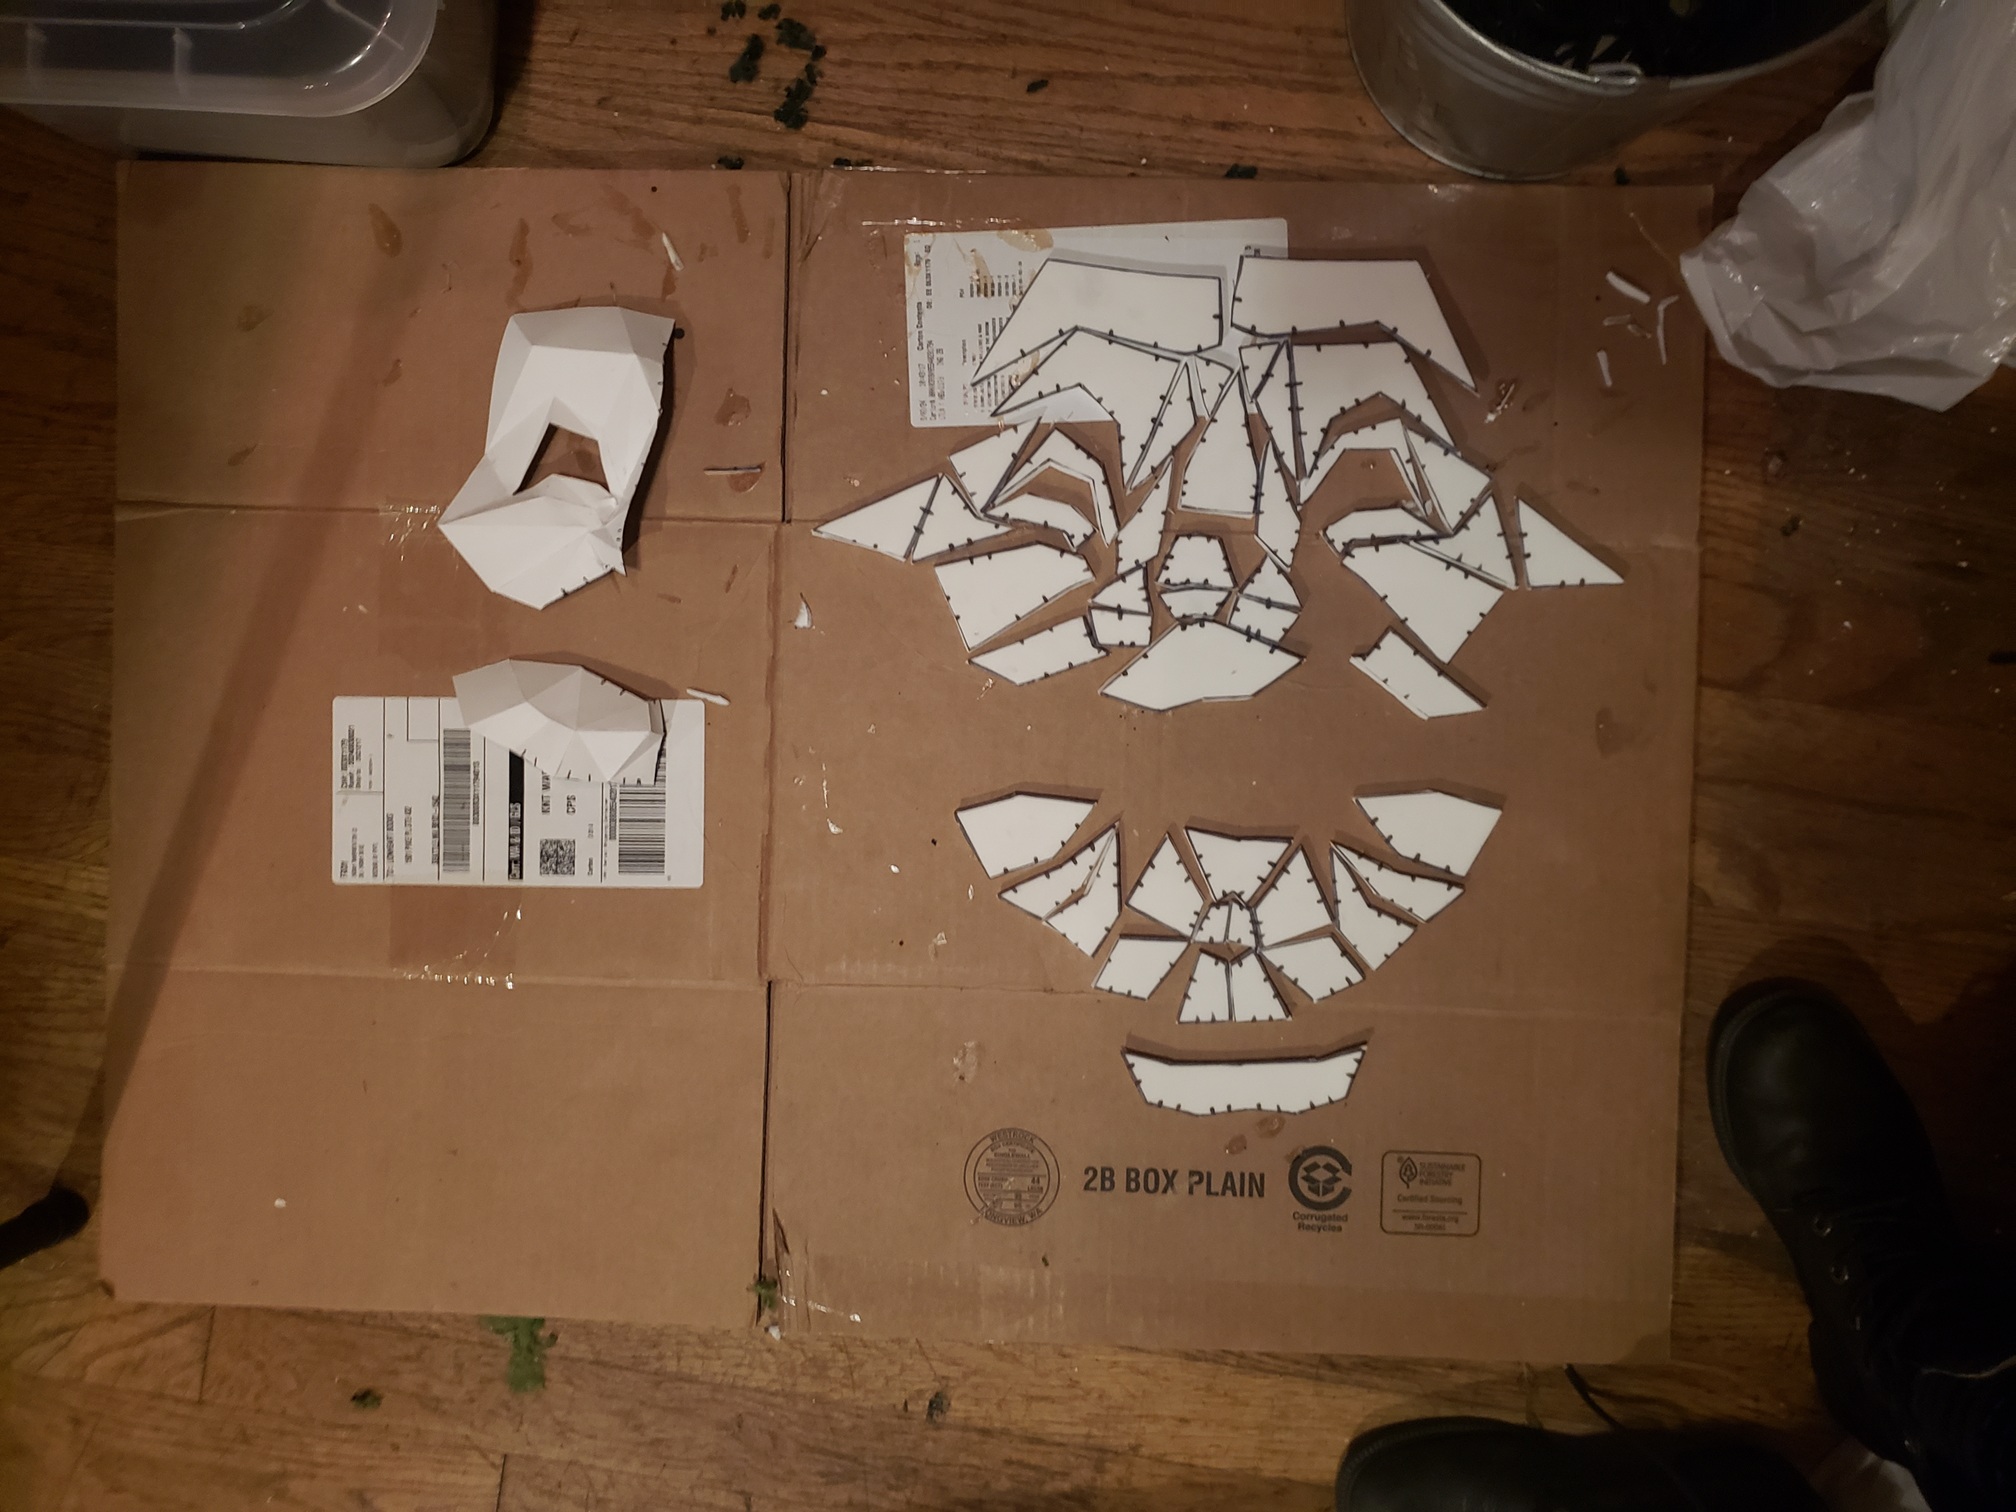
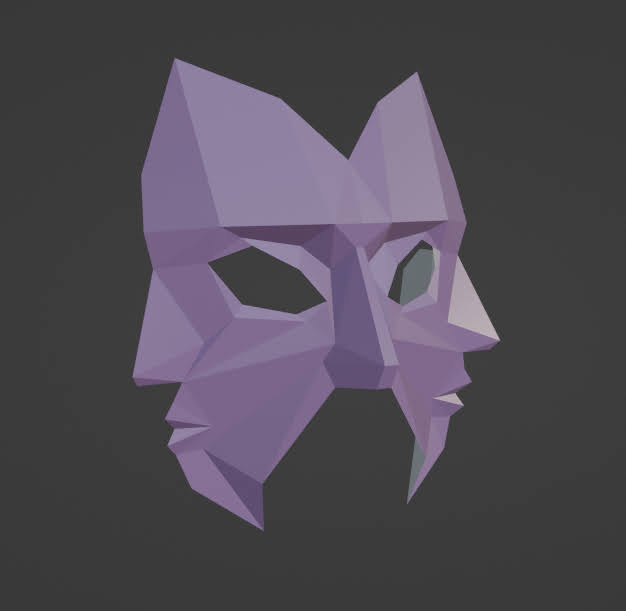
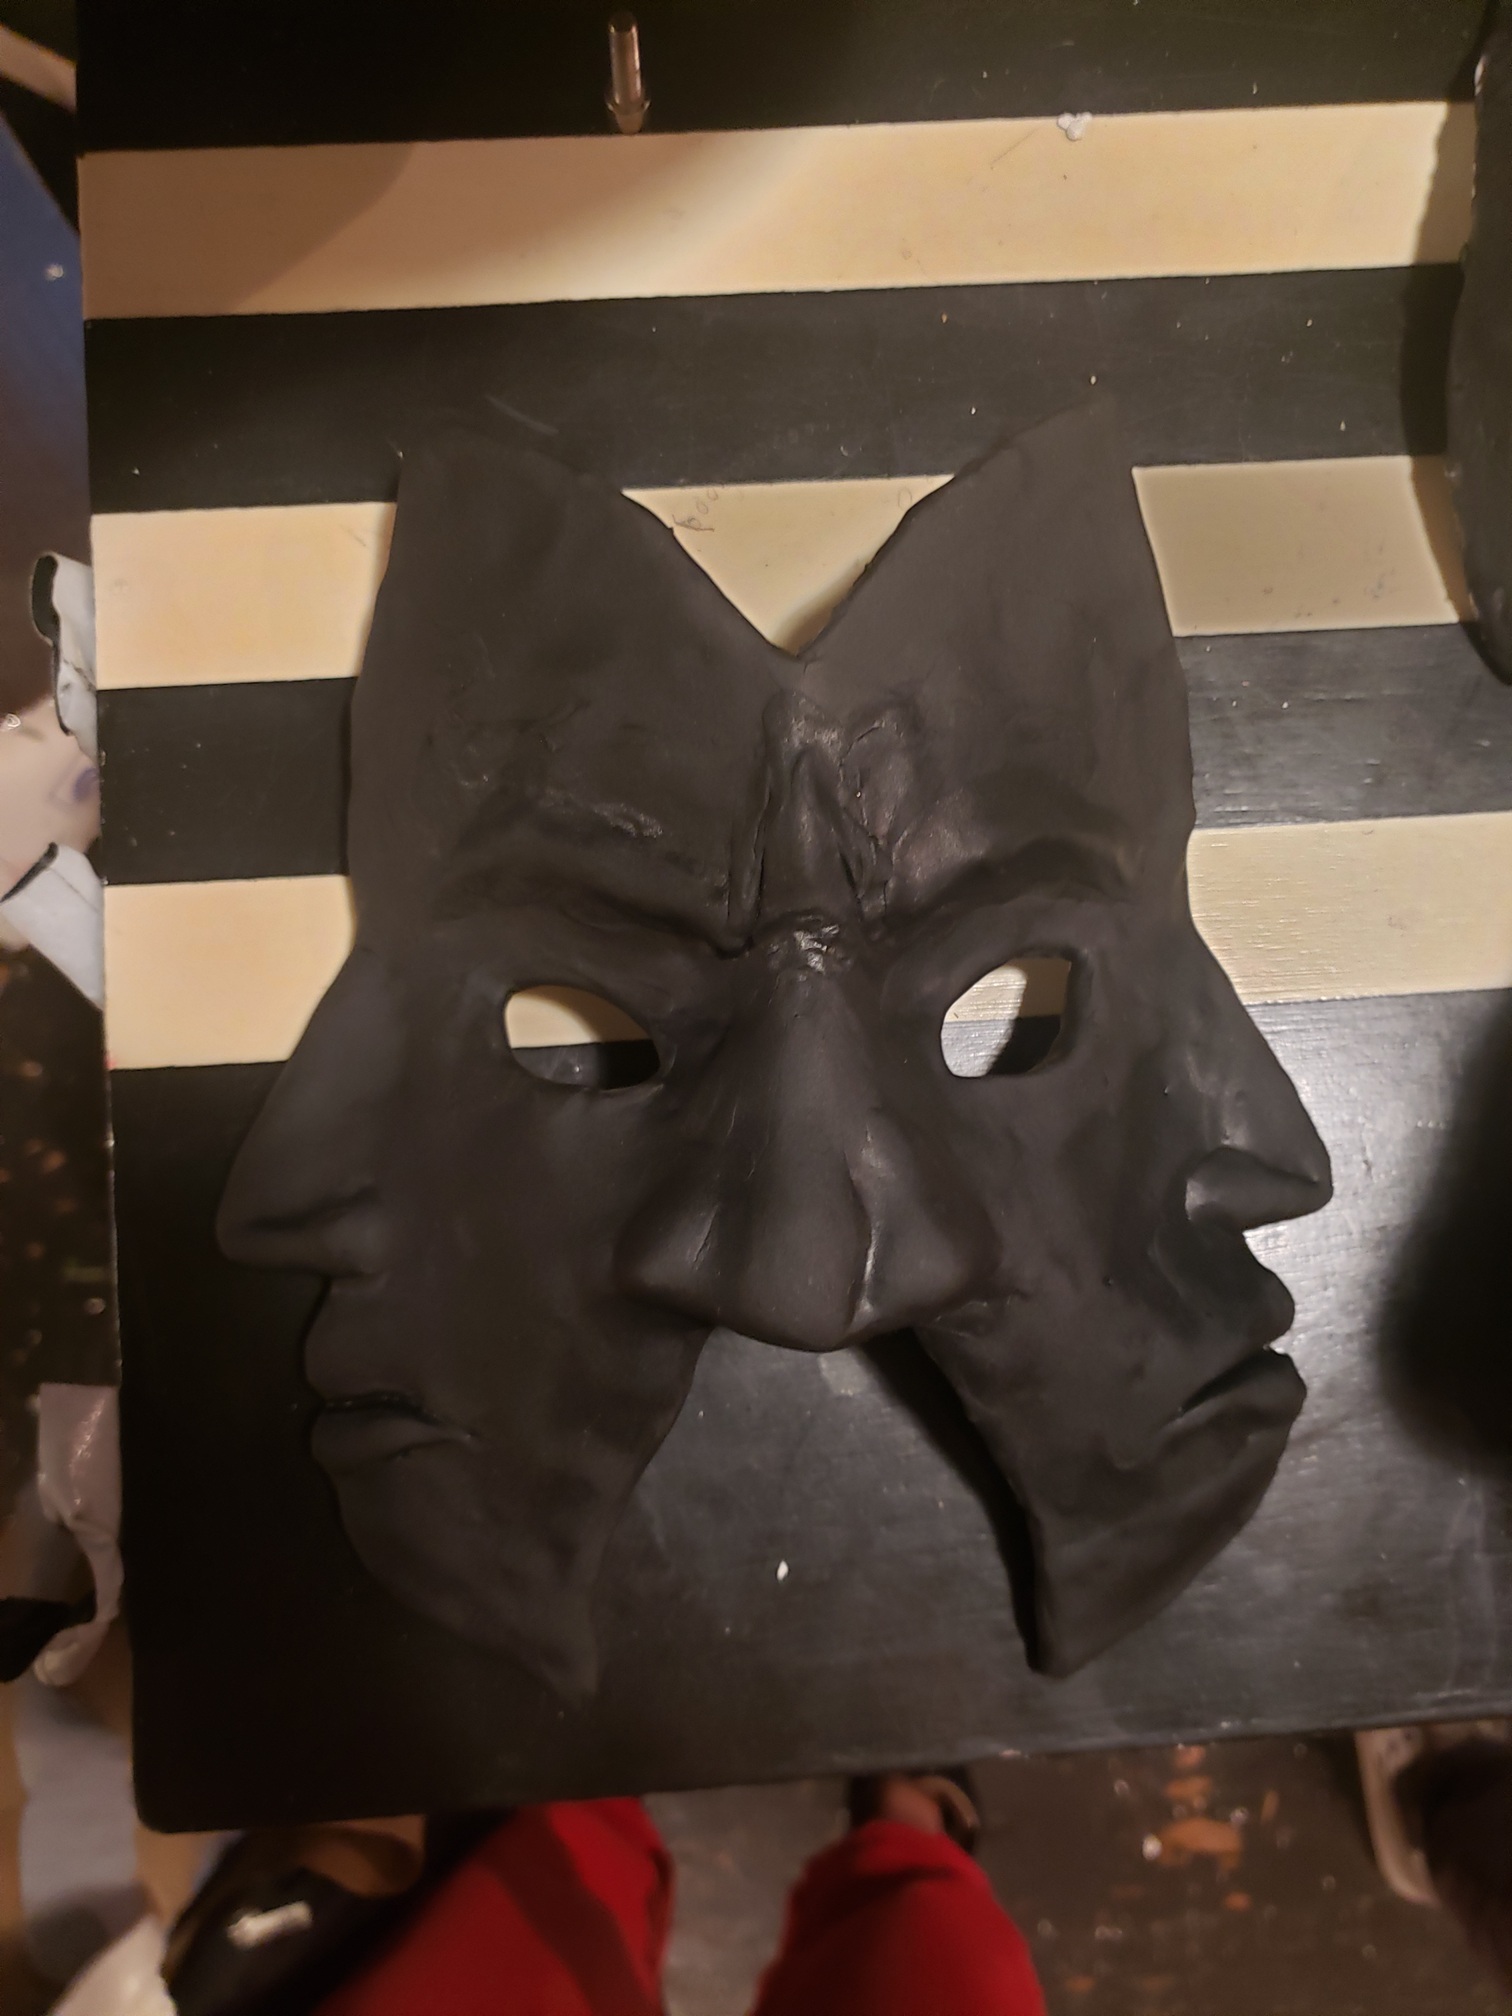
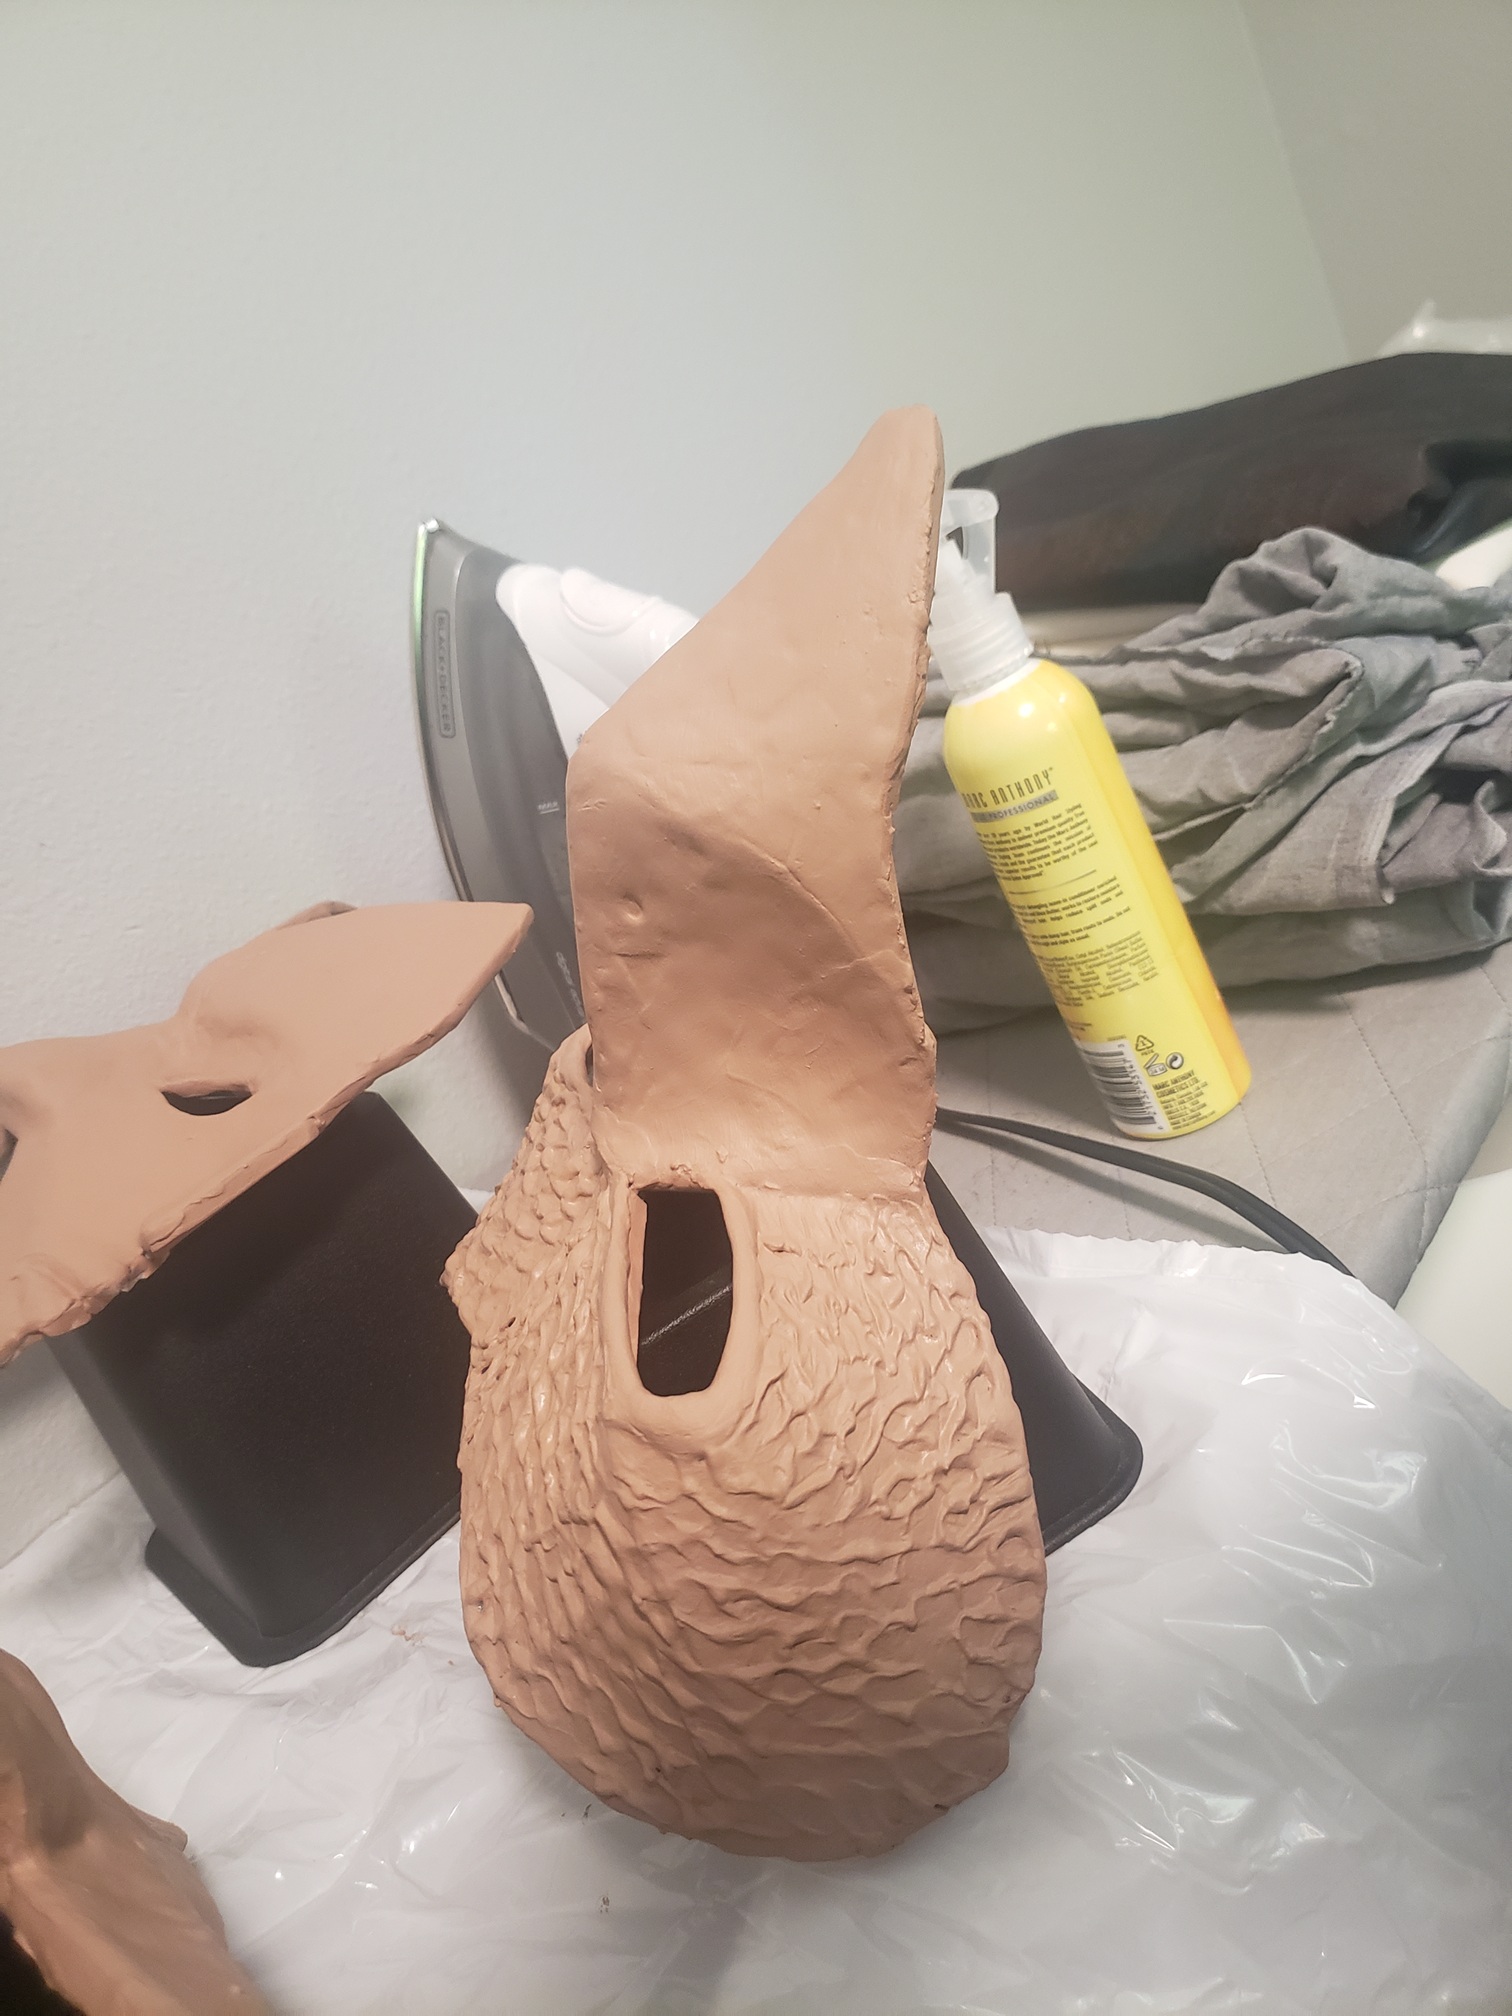
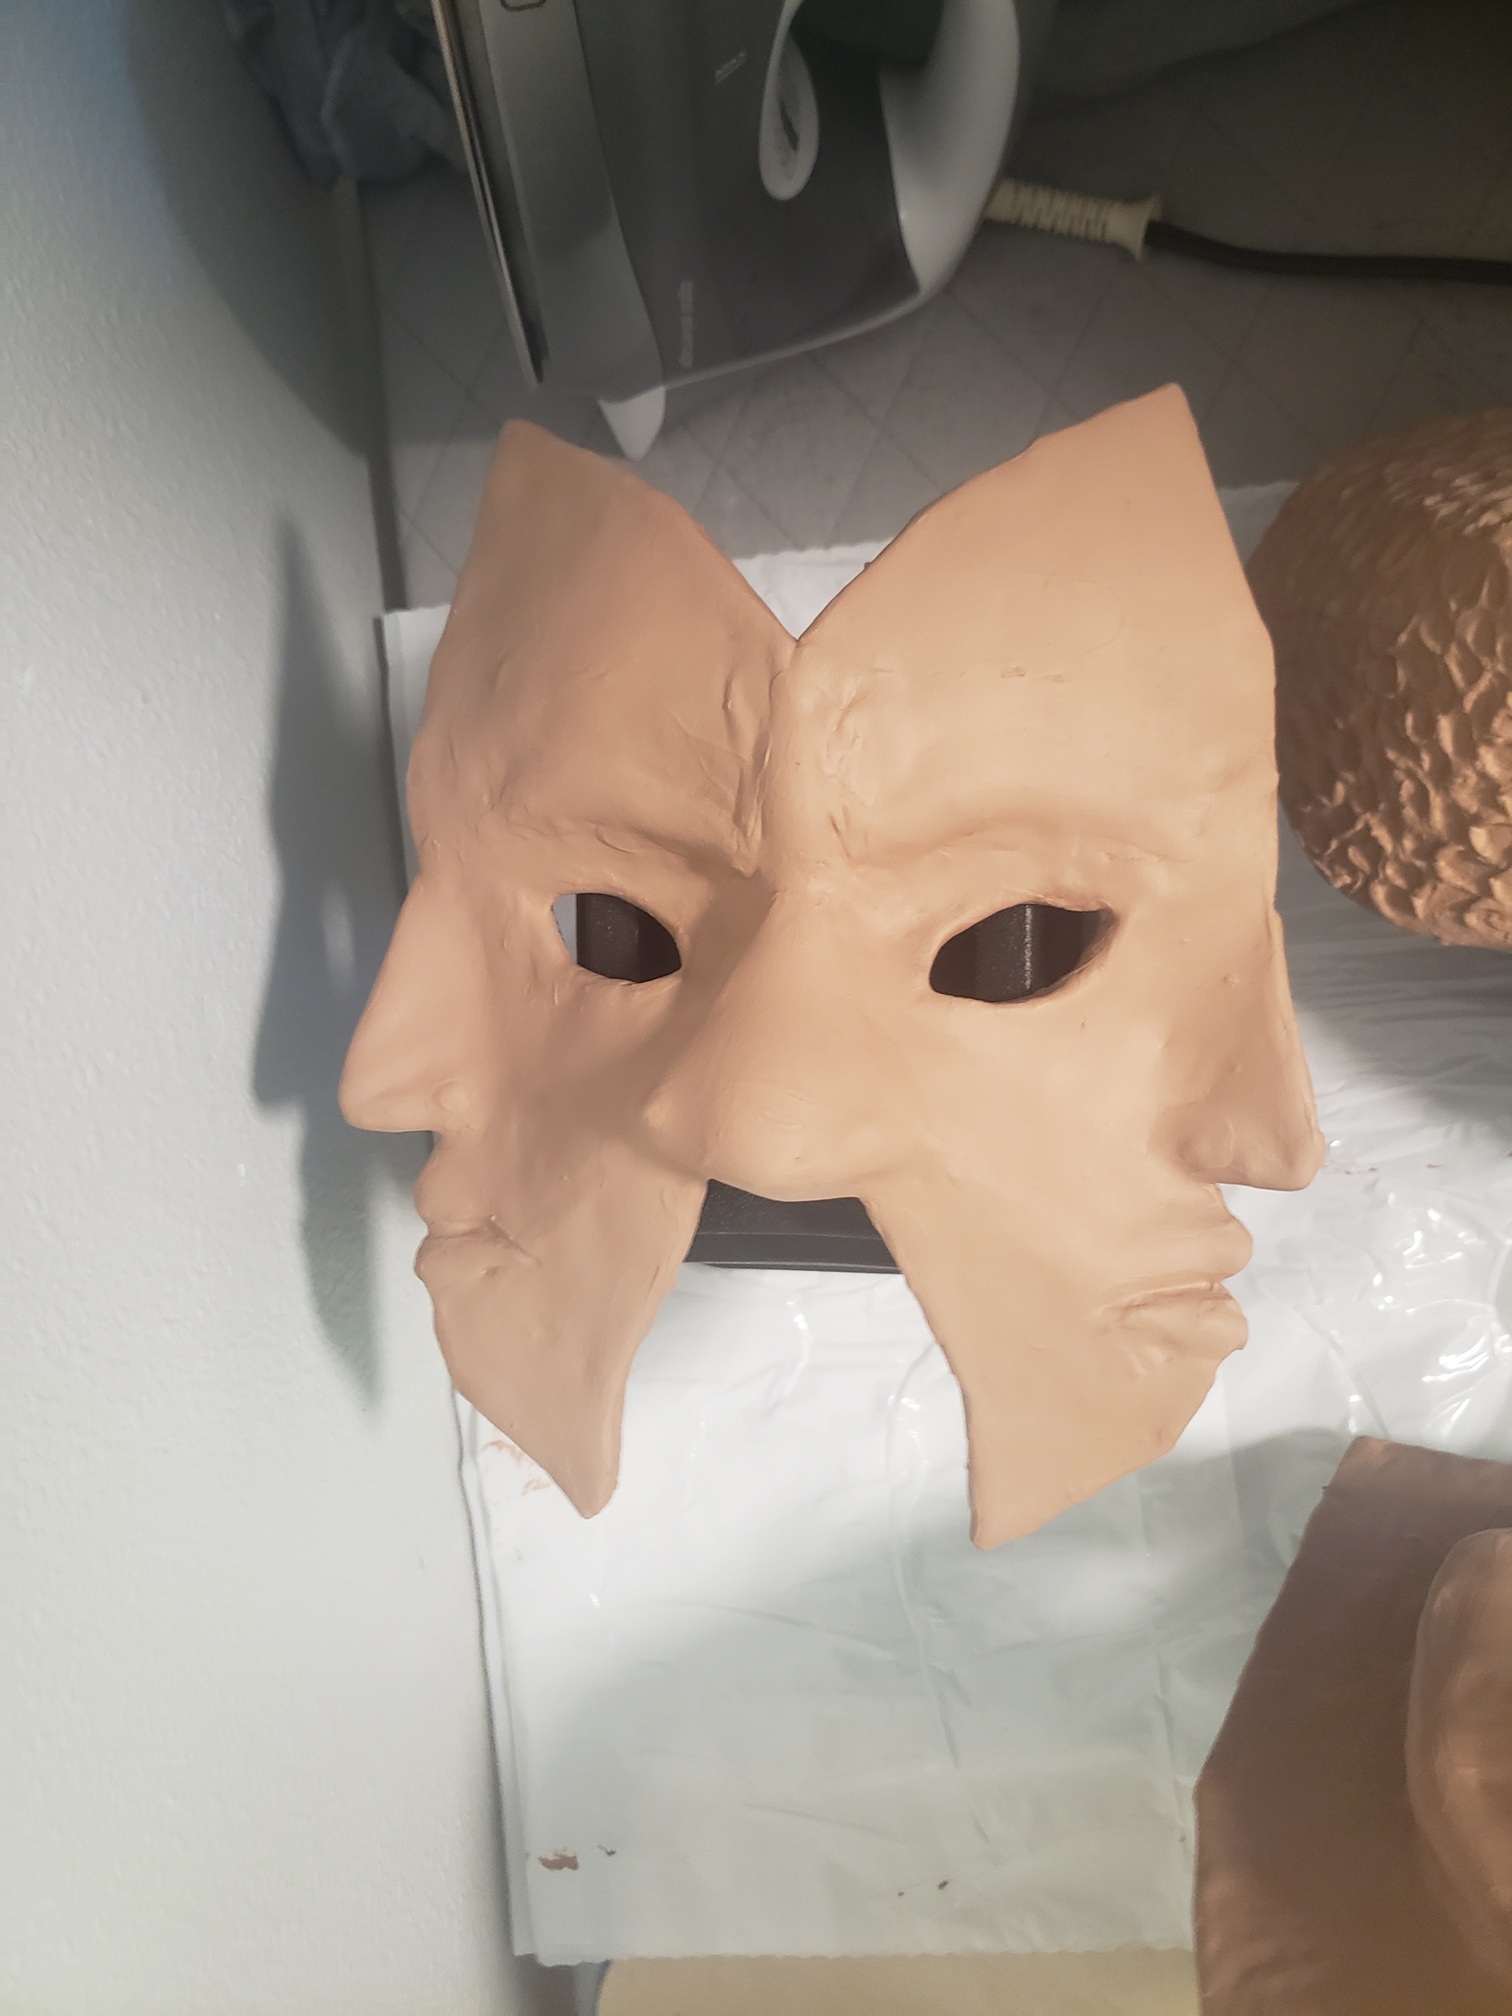
I then waited 24 hours for the glue to set, and covered the fronts in foam clay to smooth the features and give them a more organic look. The foam clay expands as it dries, so some of the masks lost a lot of the definition I had sculpted originally. This was especially the case for the multi-faced mask, but the others turned out okay.
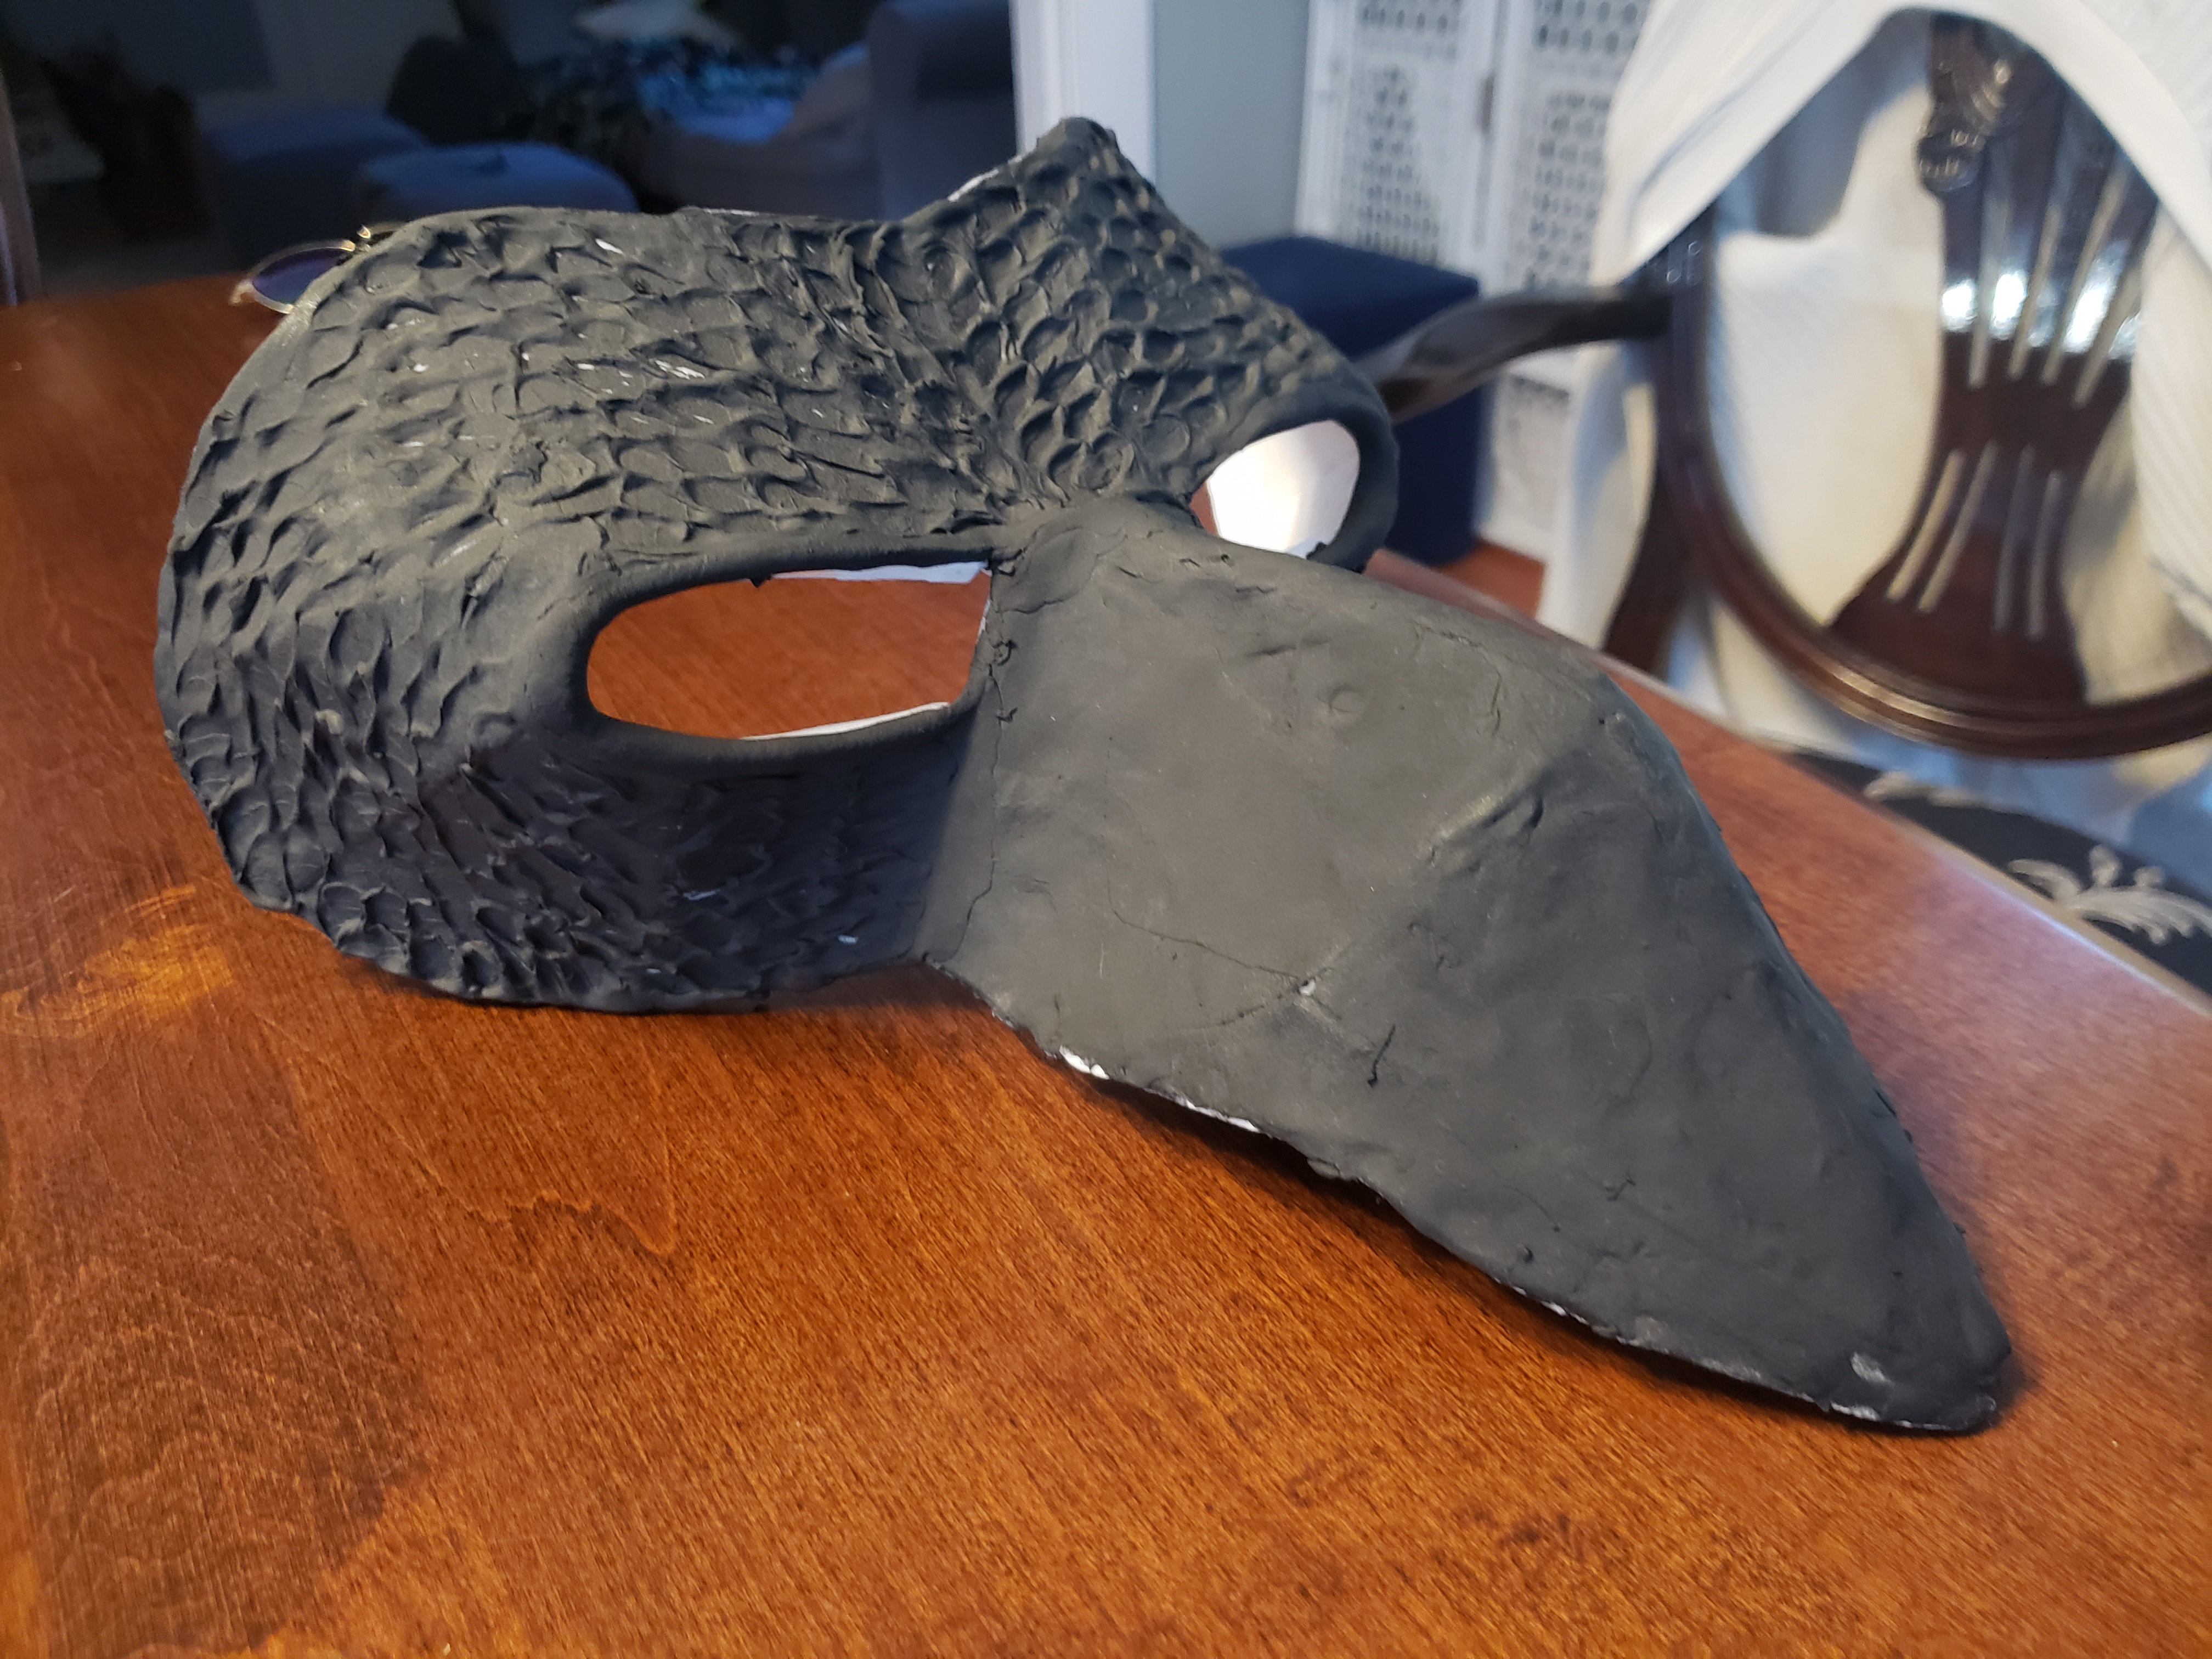
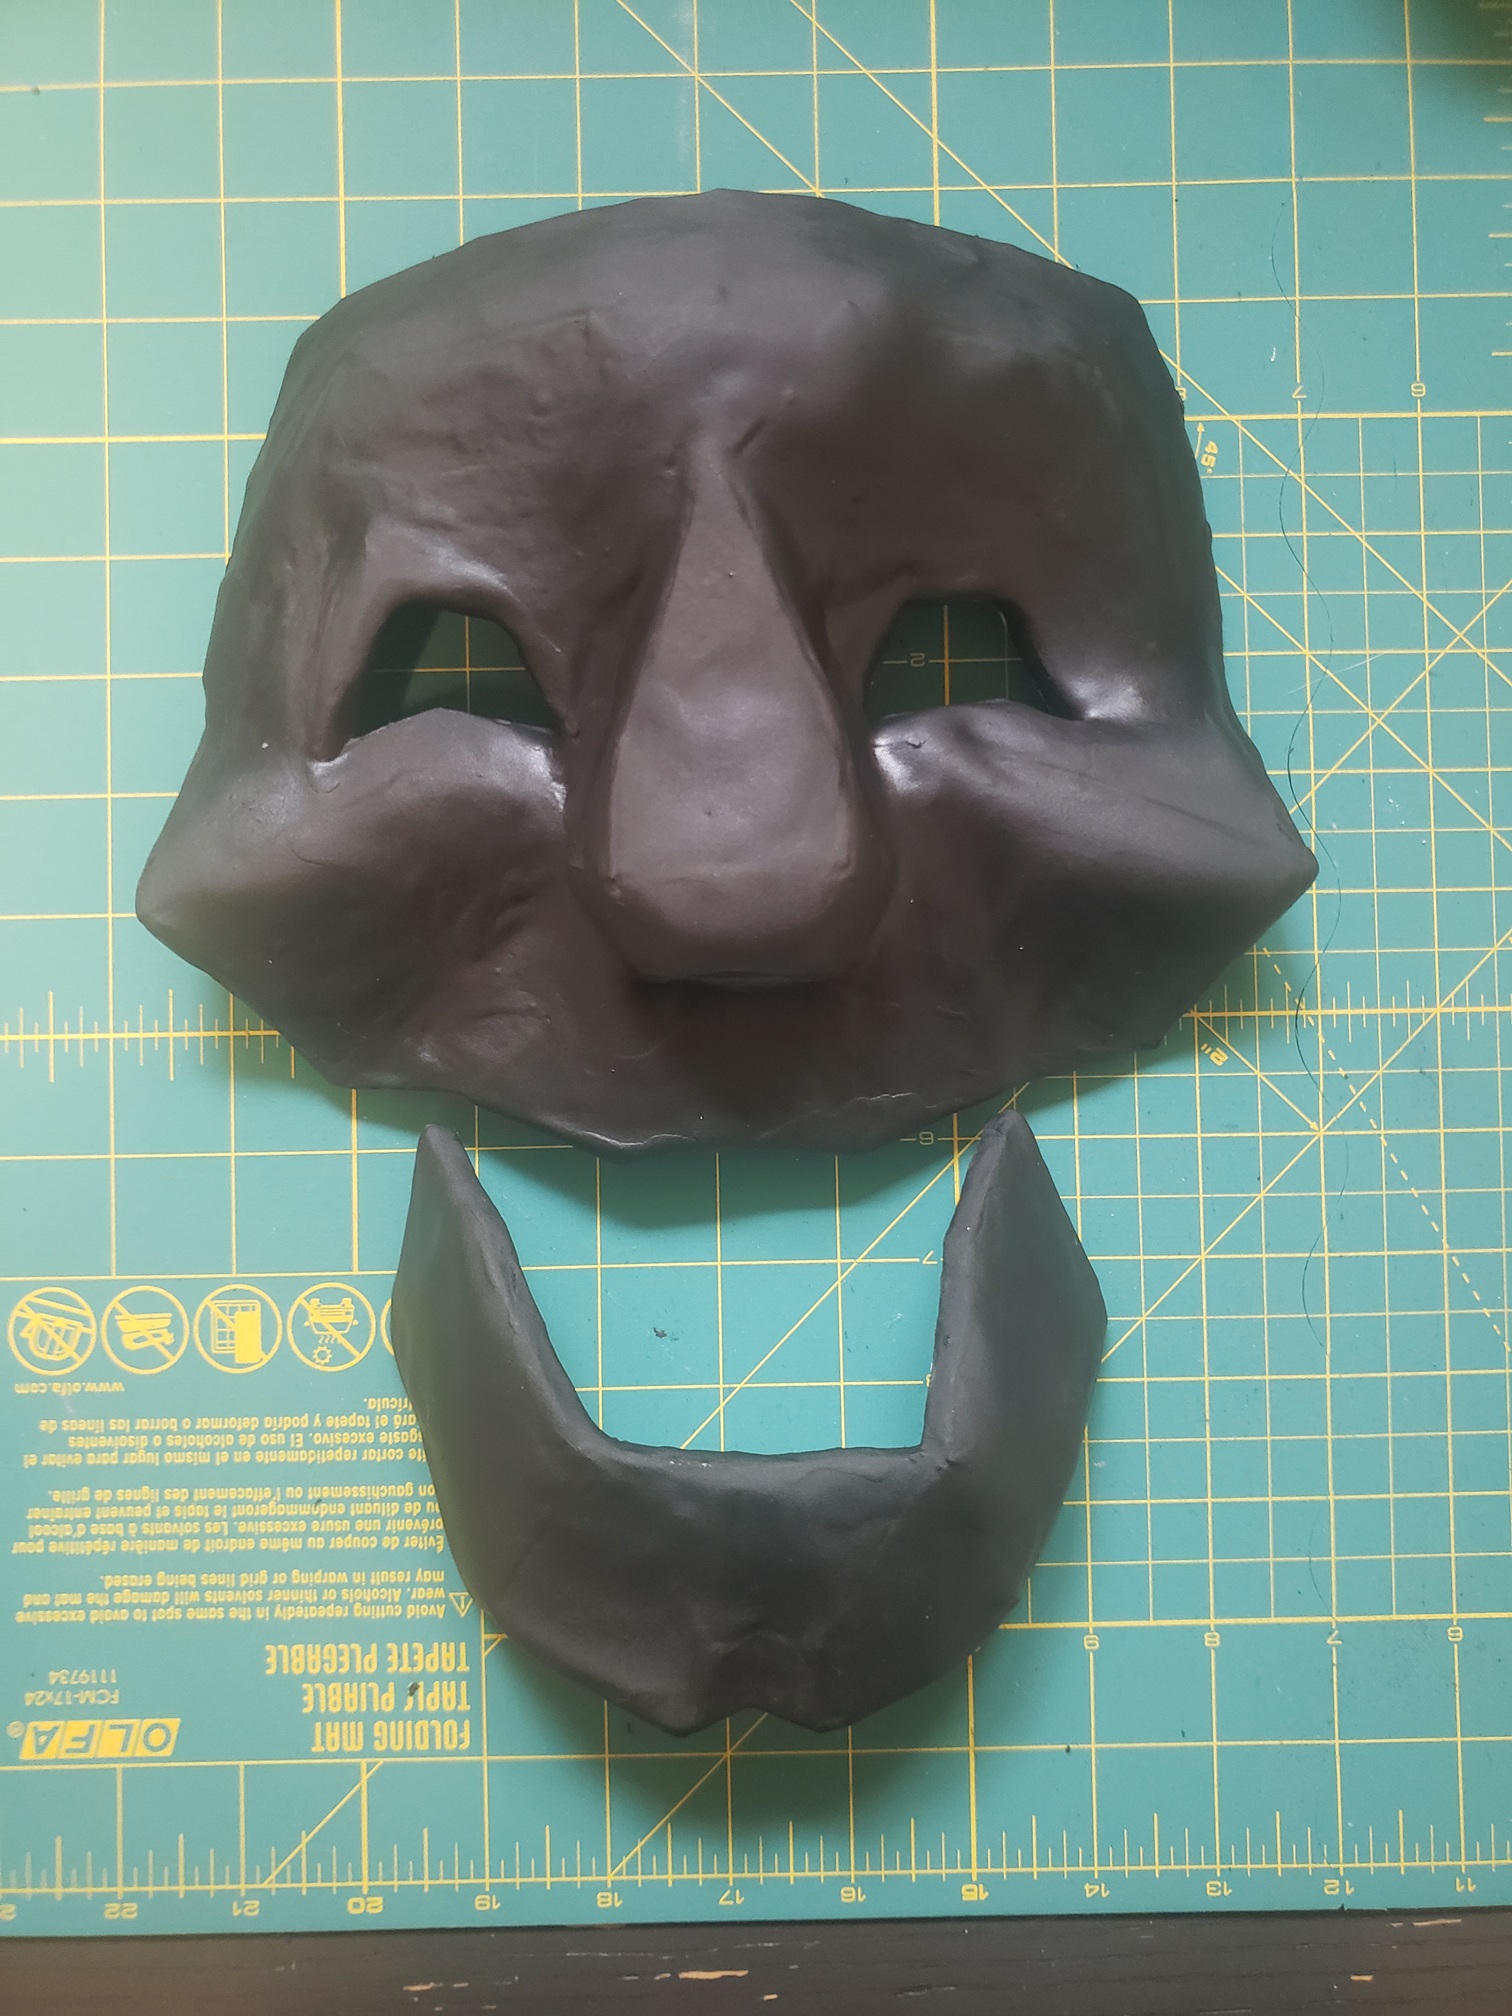
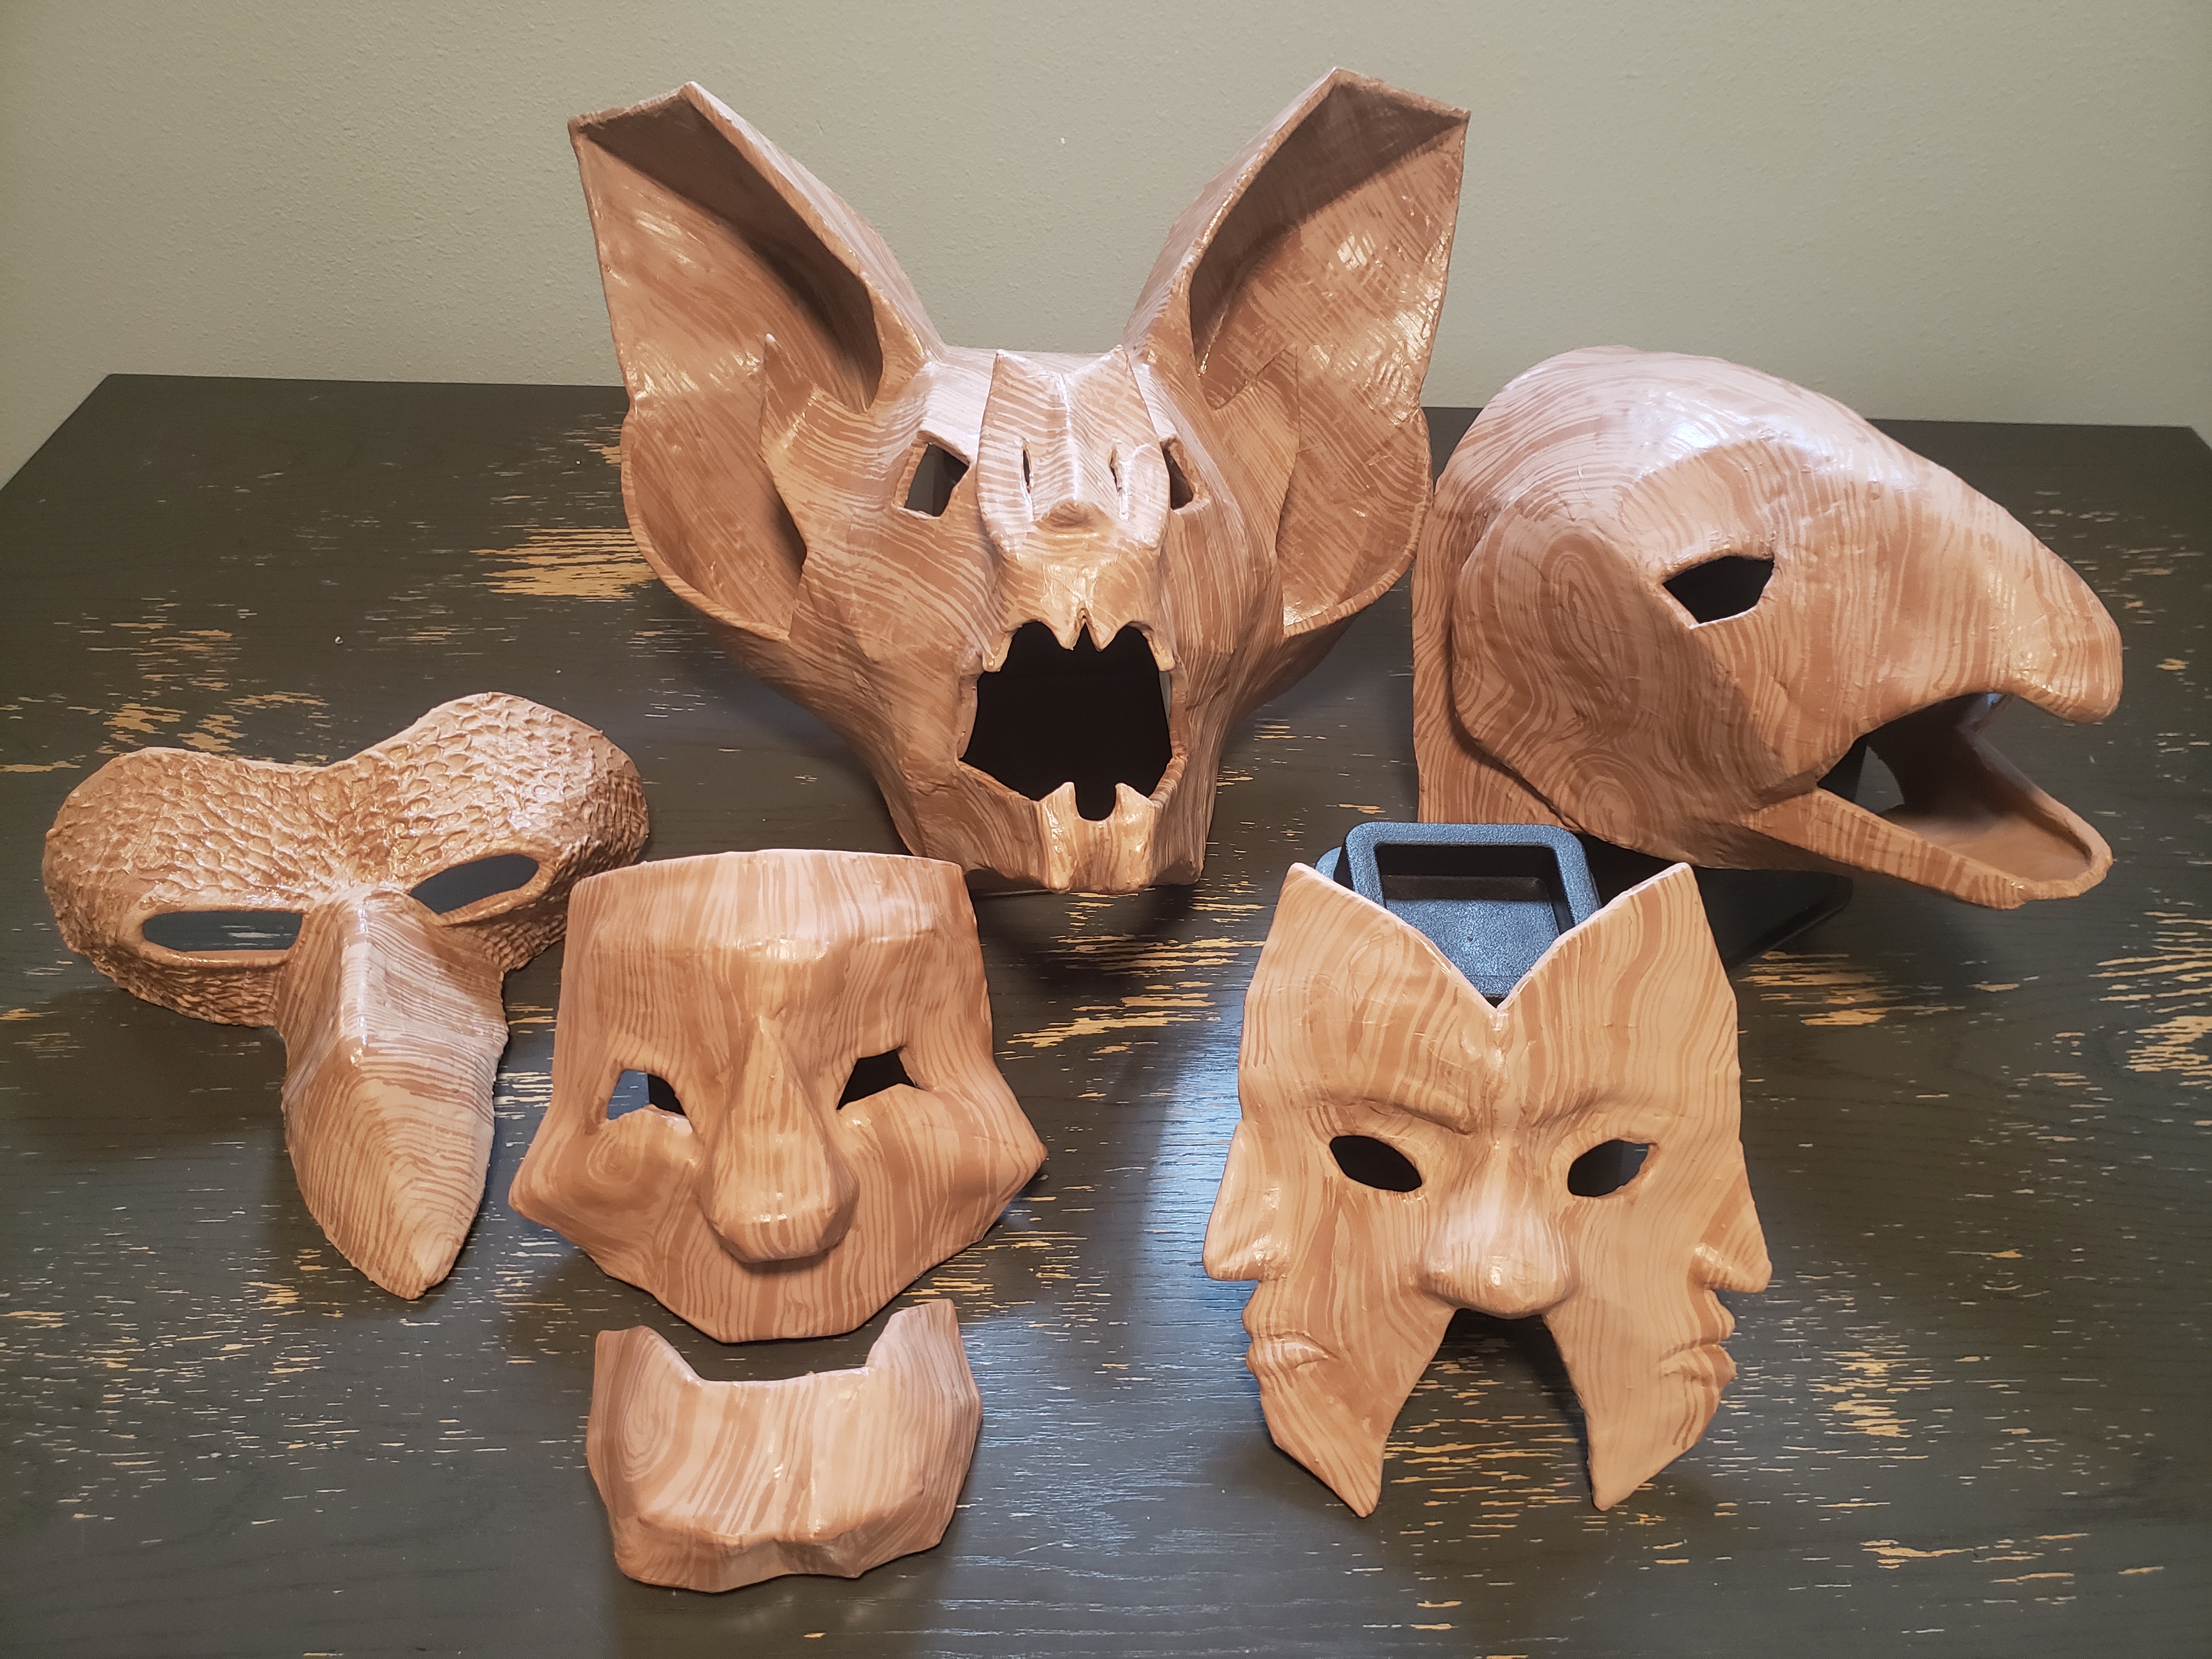
Once the foam clay had dried after 24 hours, I used a heat gun to 'seal' the foam. I'm not sure how necessary it was, but that's what the tutorial said to do, so that's what I did! The heat gun was also useful for re-shaping the things that warped as they dried. Instead of plastidip, like most websites suggest, I just primed the mask with three coats of mod-podge. This added some needed strength and a better surface to paint on top of. After that was dry, I did three coats of the lighter base color.

To create a wood grain texture, I used a fan brush. I found that dipping just the tip of the bristles in the paint caused some hairs to clump together, making stripes of different widths when I painted. The friend I mentioned who knew how to use blender also kindly made me wood grain references to follow. This made it much easier to see how the wood grain would fall on a 3D figure. After one final coat of mod podge, they were all done!
People were very generous with their time and materials. I was given the contact cement and eva foam that I used; I wouldn't have been able to get those two paper mask patterns that fit my vision without the help of my blendr friend; and I definitely would never have been able to get it all done within the budget without their kindness!
All-in-all, I am so proud of how these came out, and I can't wait to use this new skill in the future!
Comments