
Tufting Turmoil
I love the gifting economy. Recently, I've been spending each morning looking at items being offered by my kind neighbors on Buy Nothing. Although the app itself can be frustrating at times, I love the ethos behind it. Why buy something brand new when there's a good chance someone already has it, but no longer needs it? You keep things out of the landfill, it's free, plus it's a chance to build community!
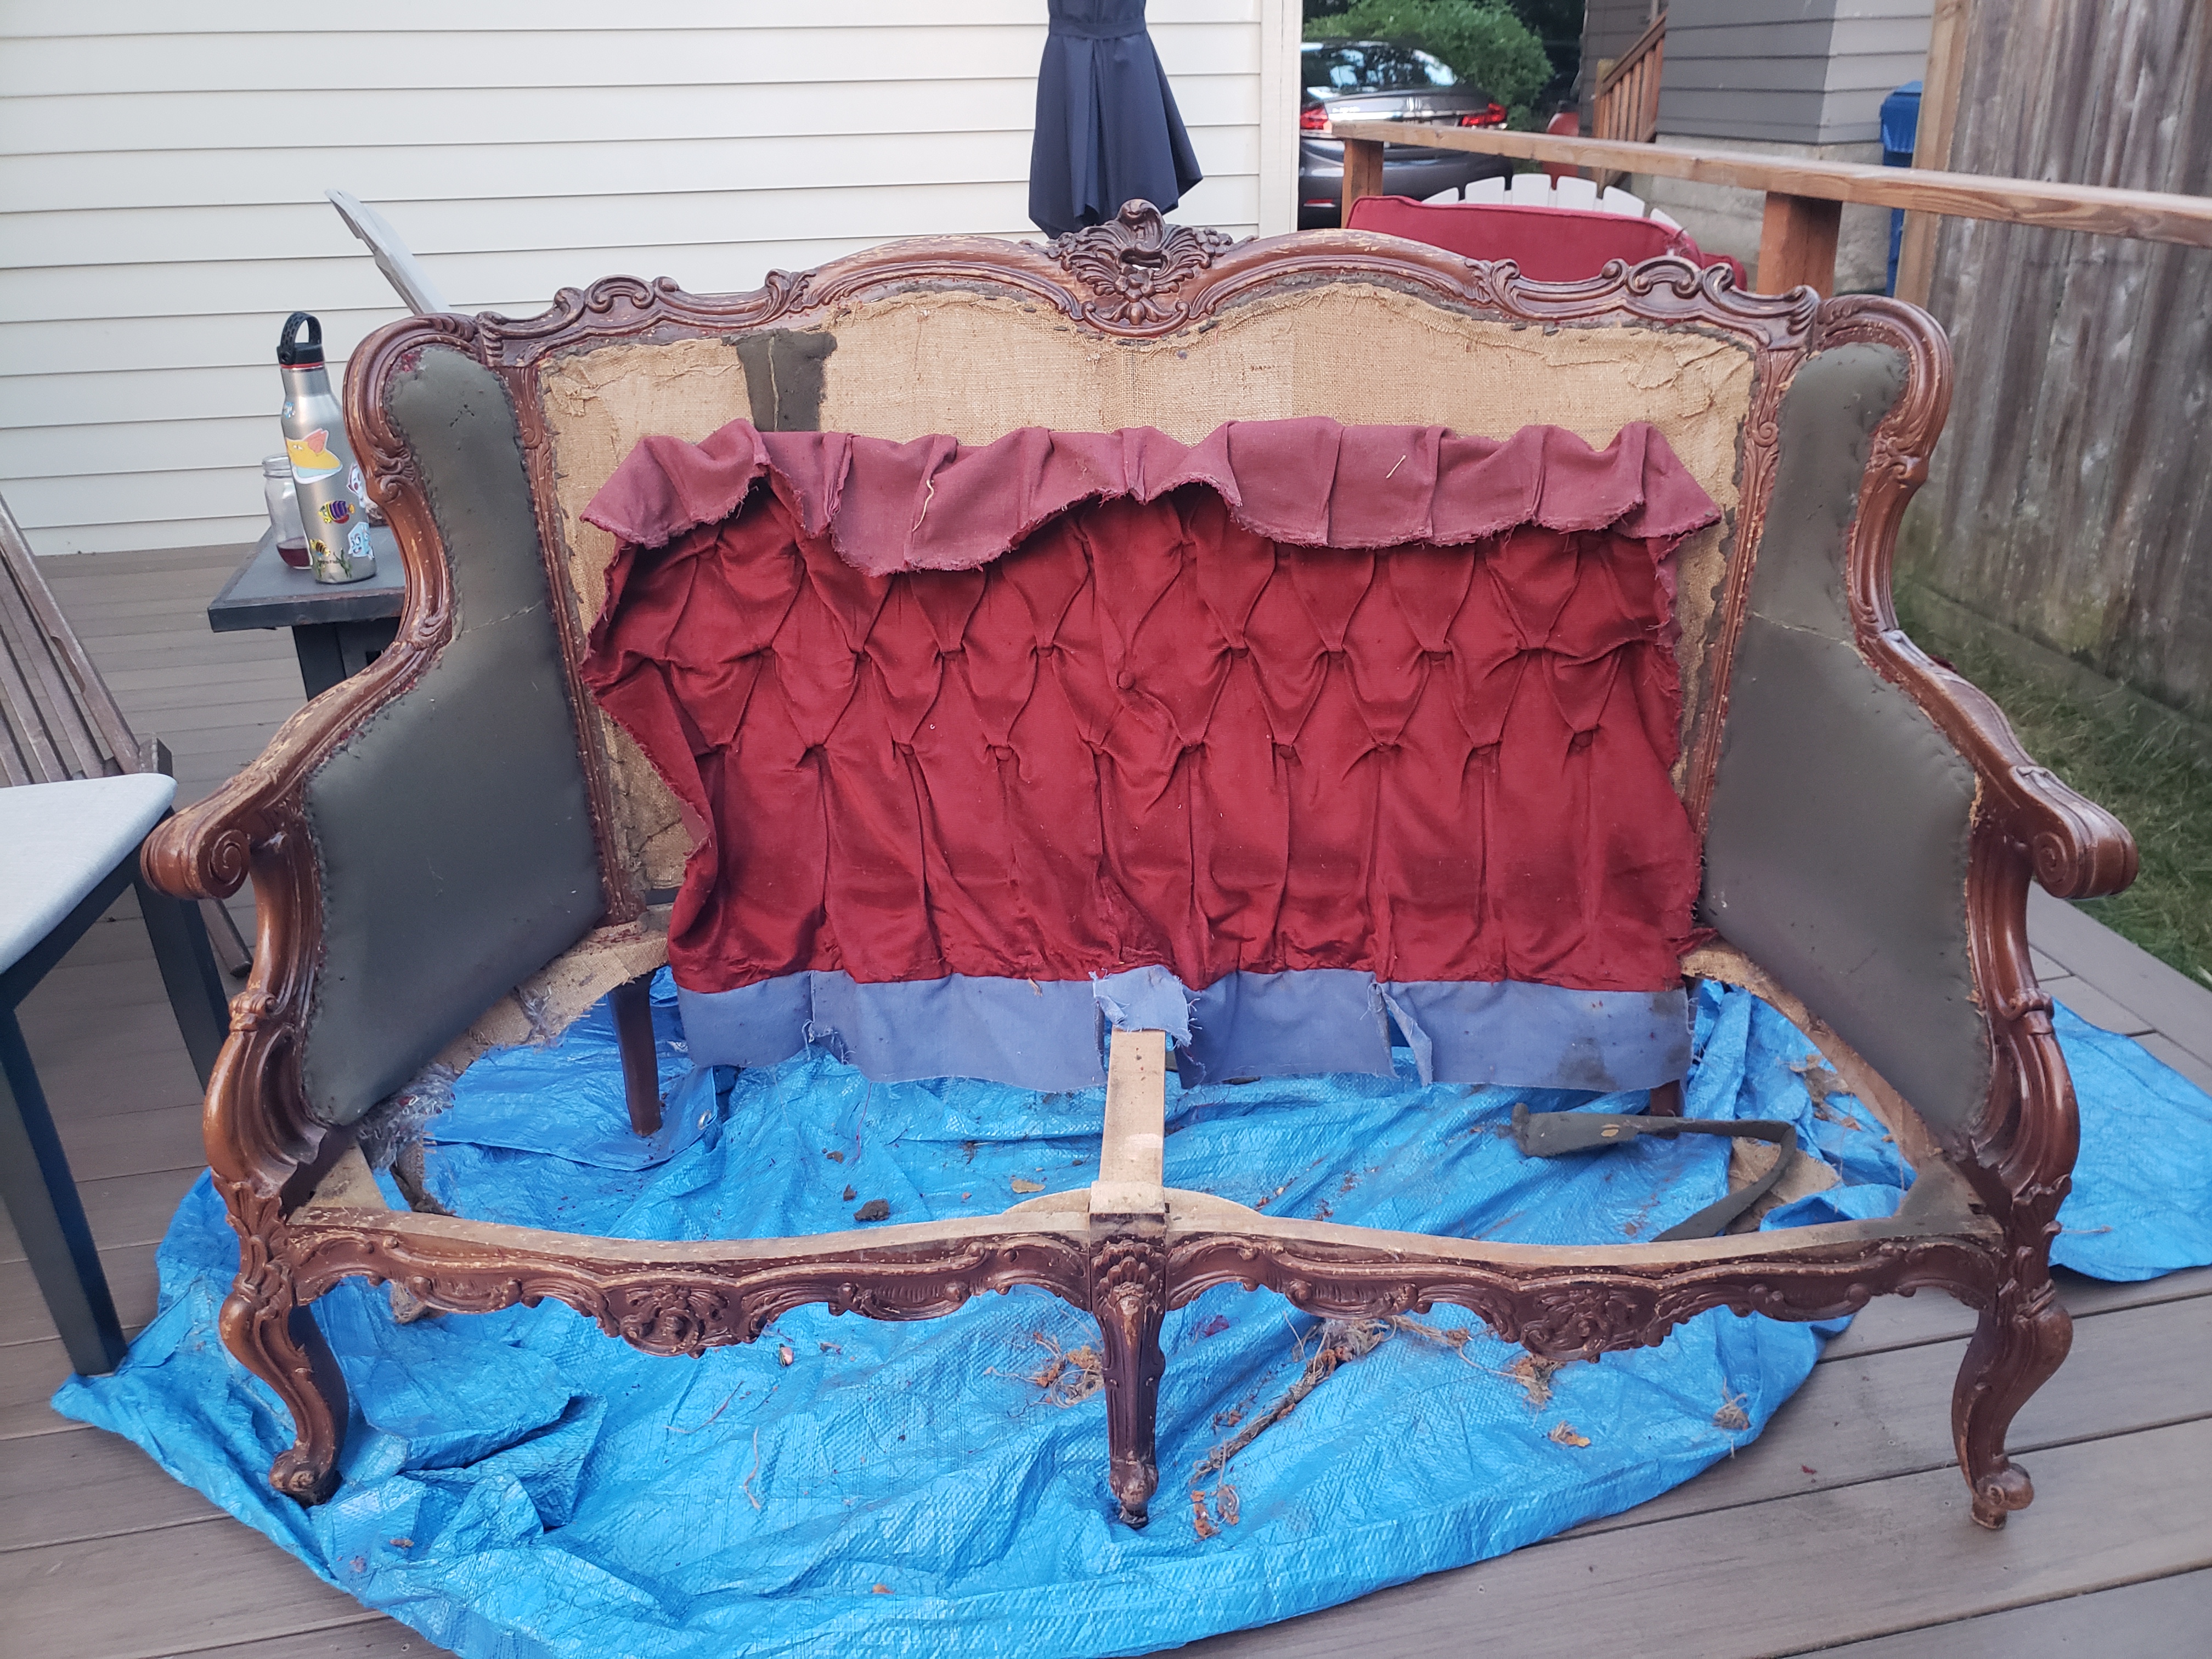
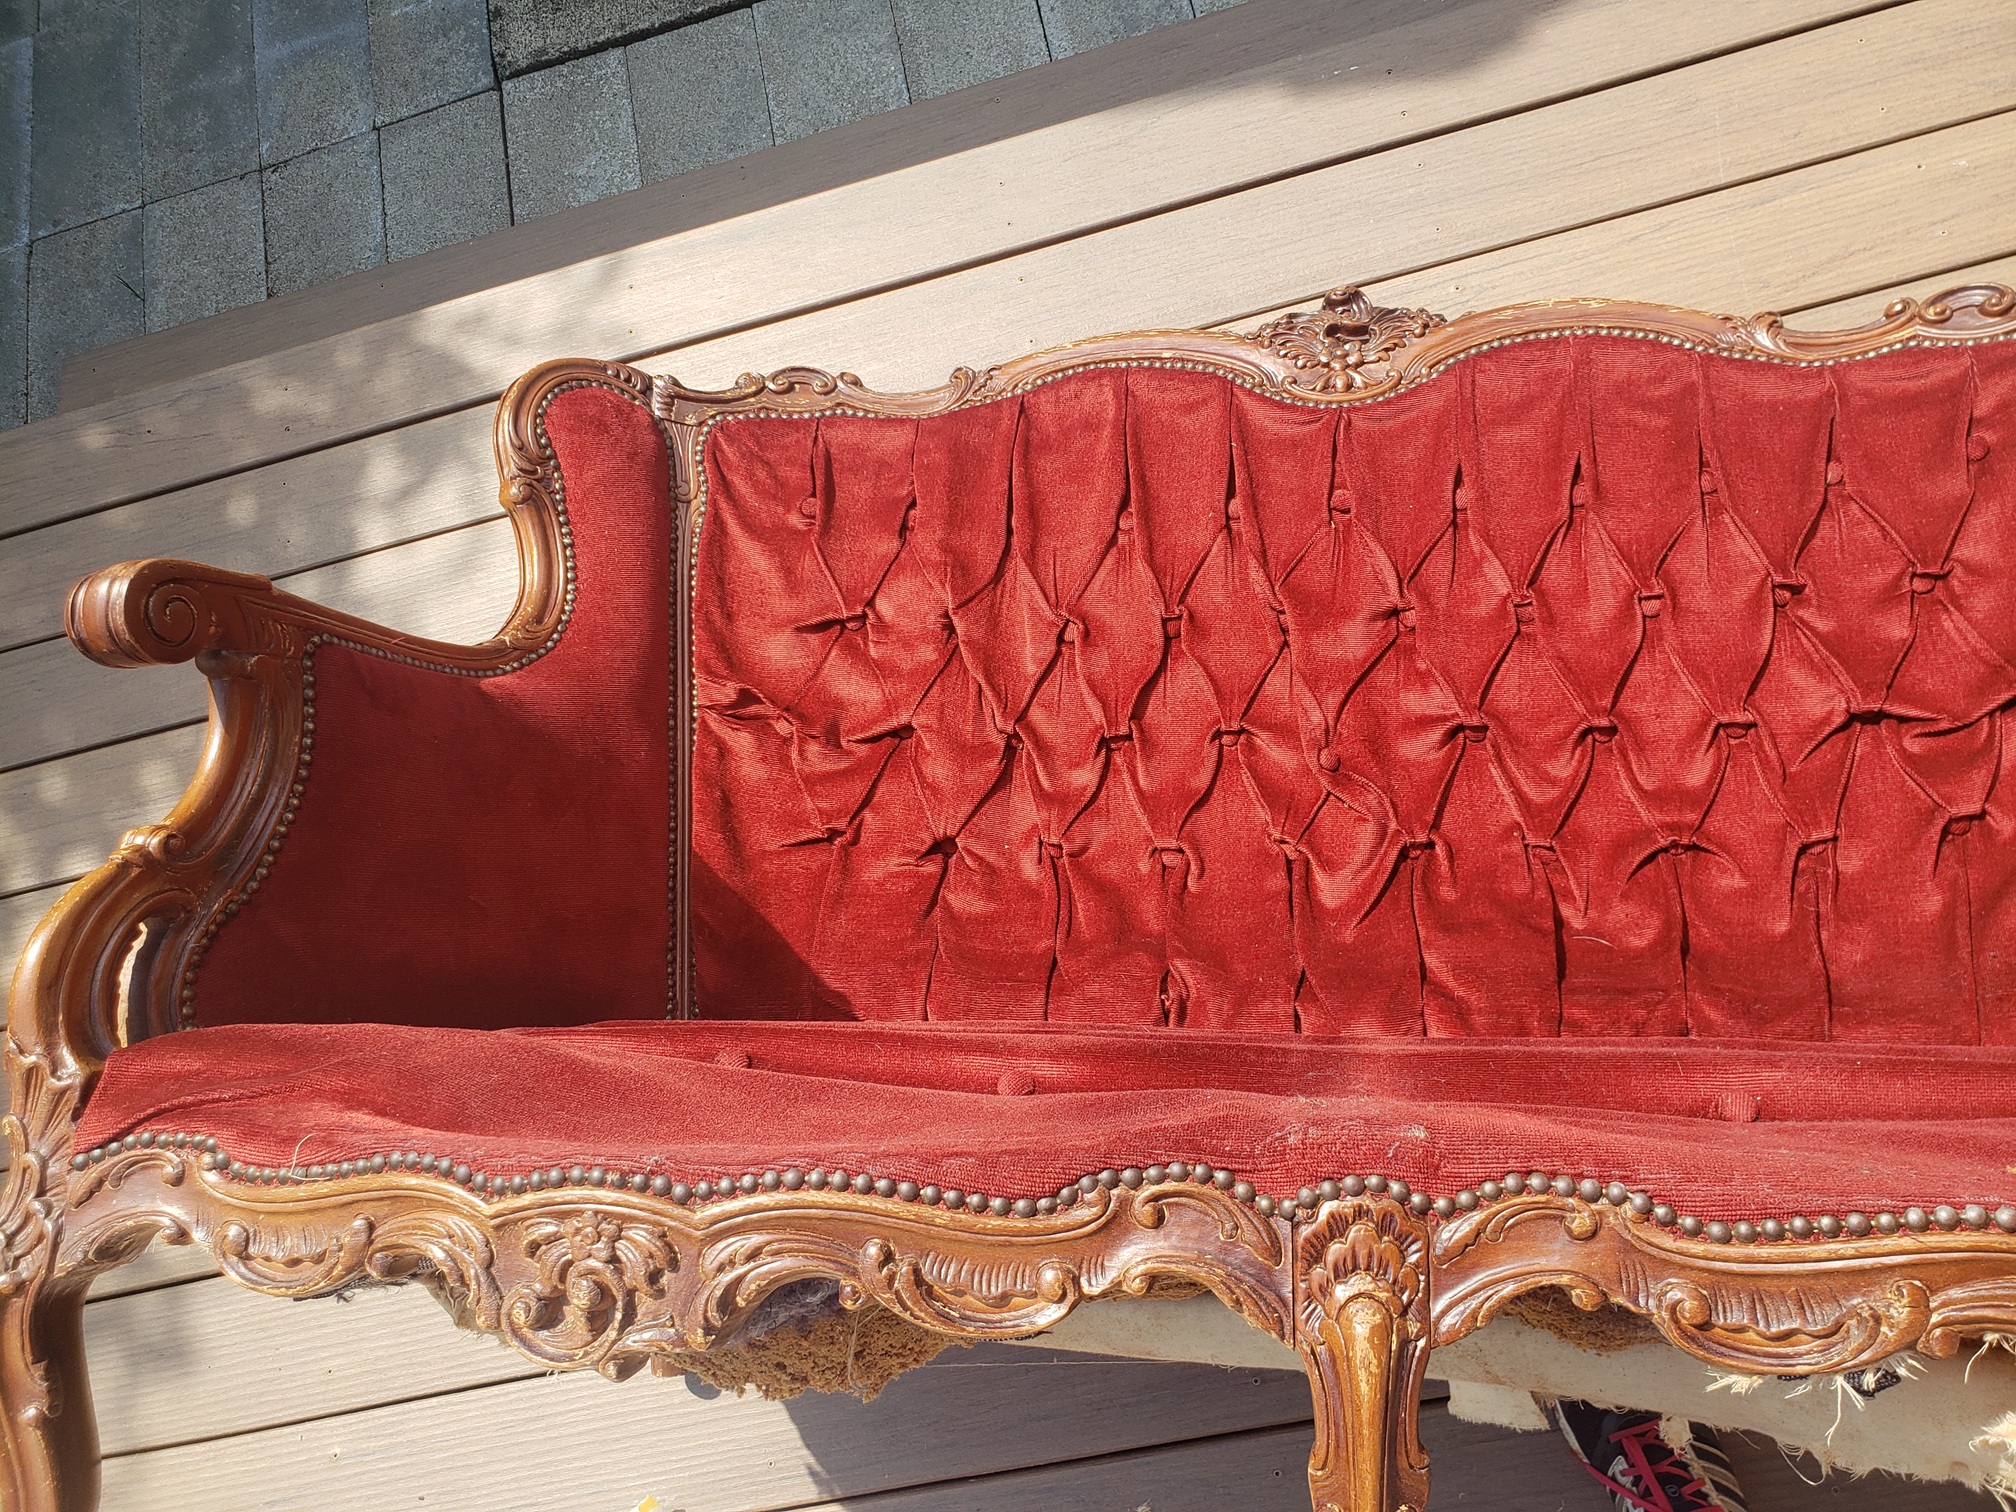
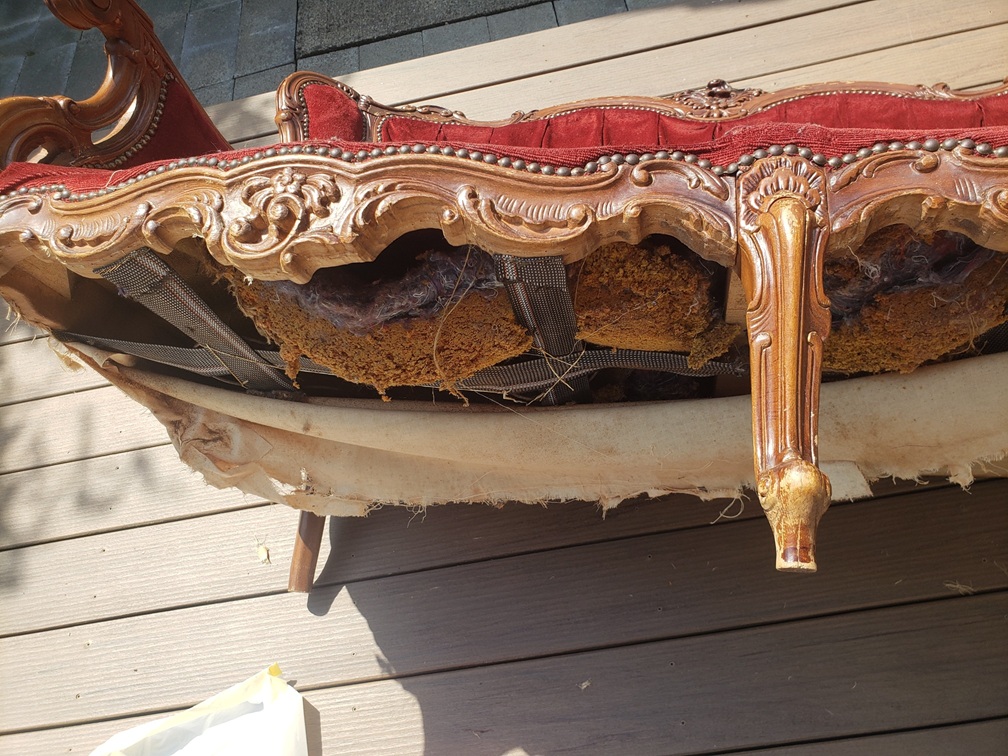
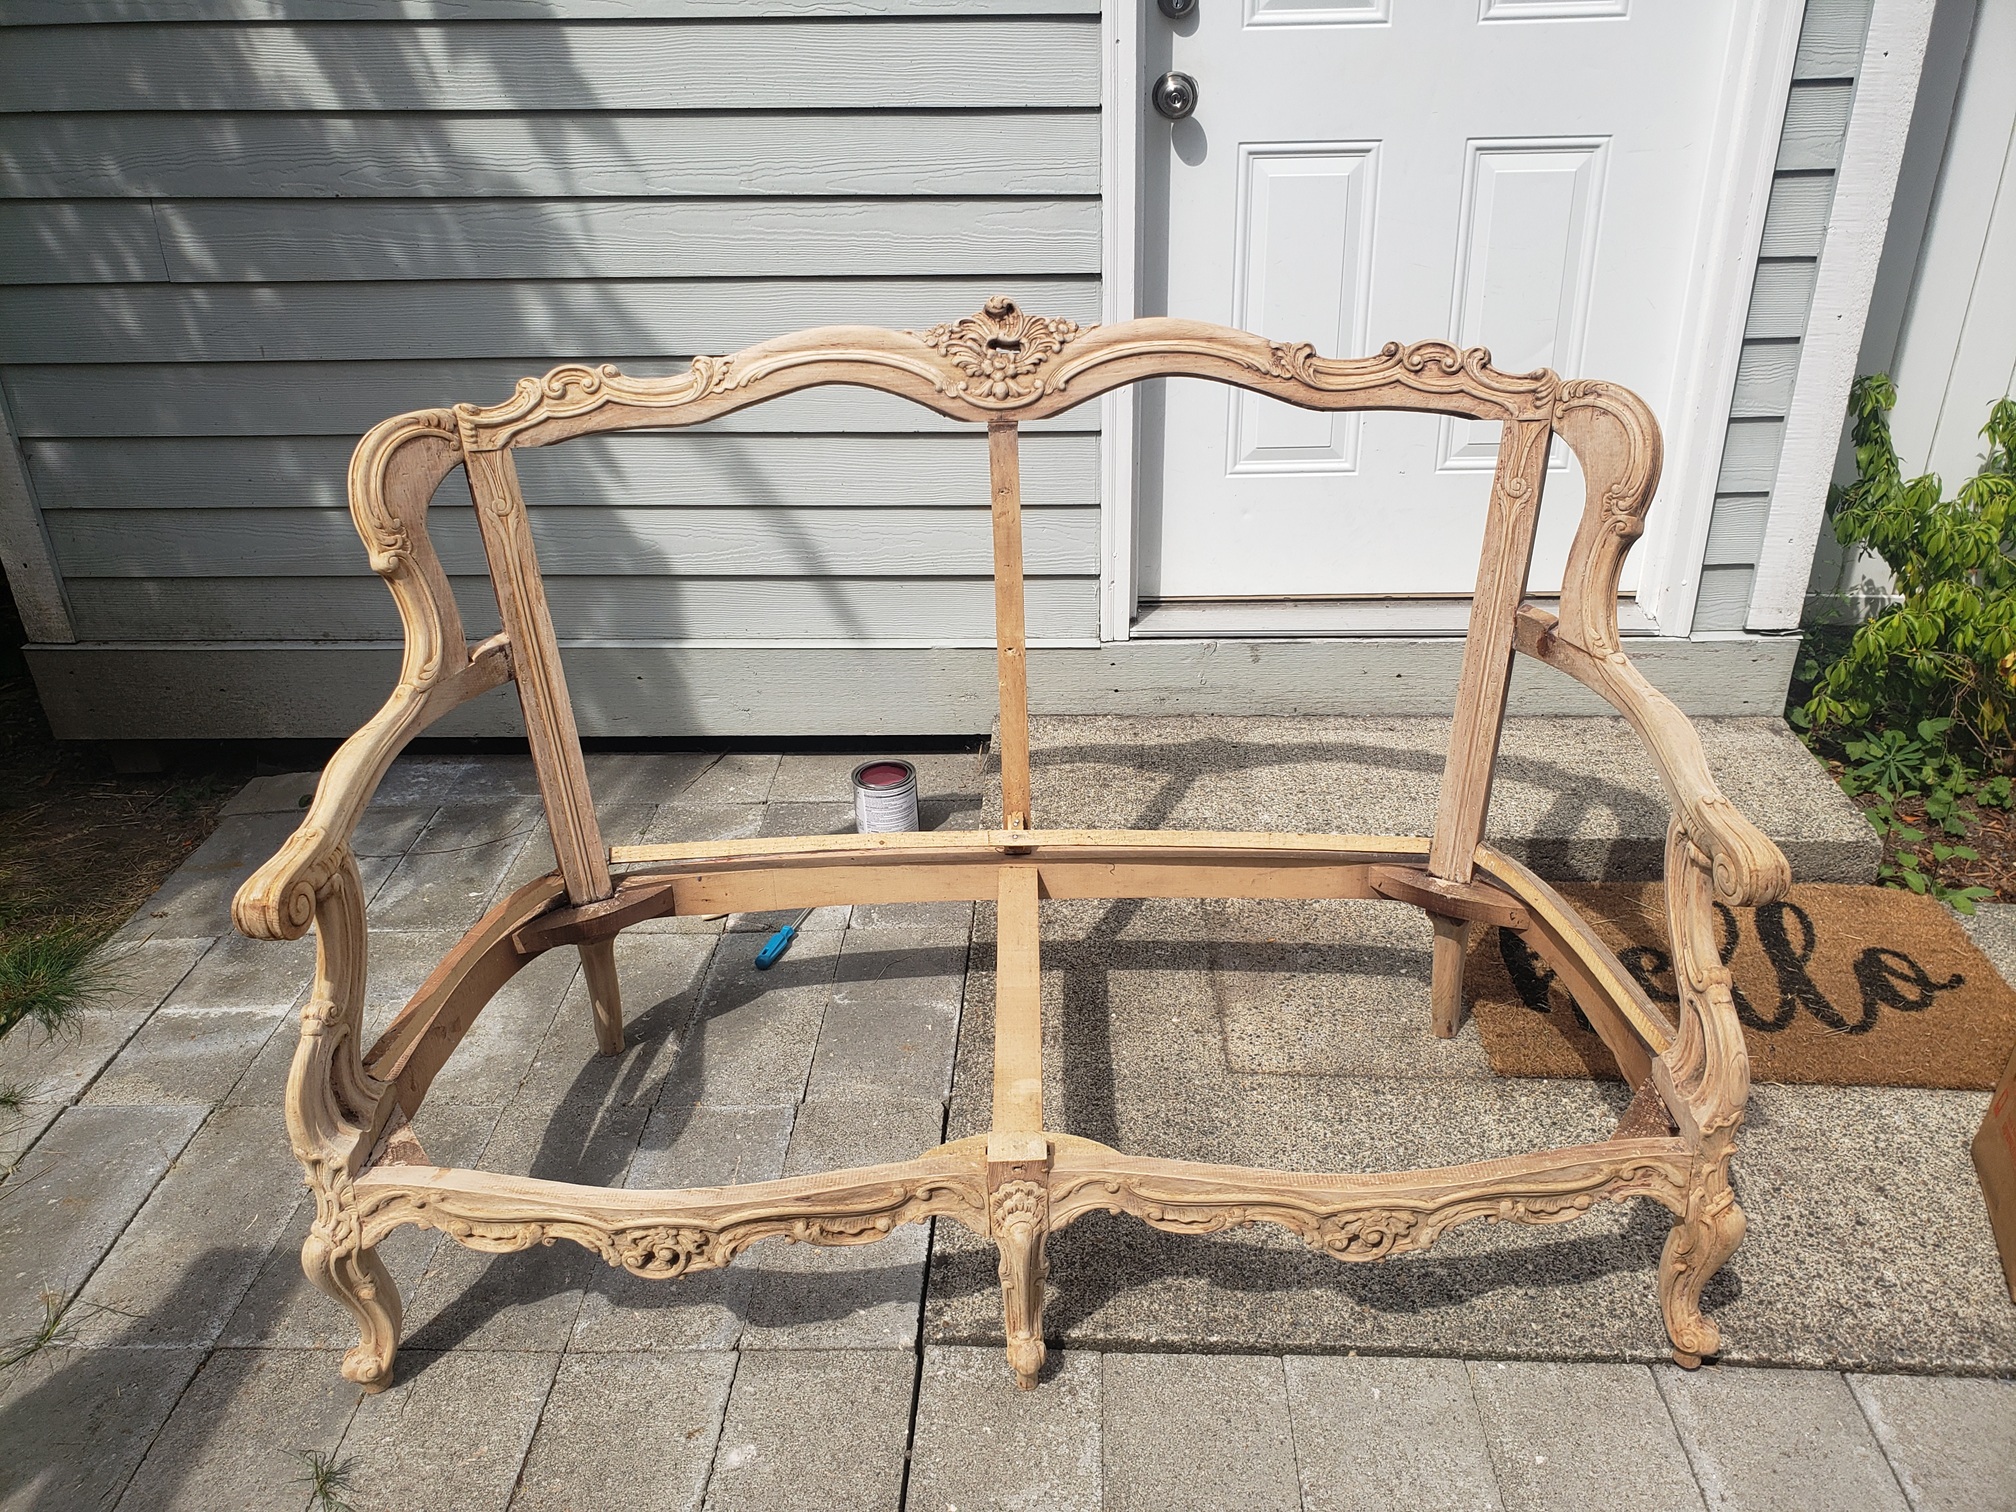
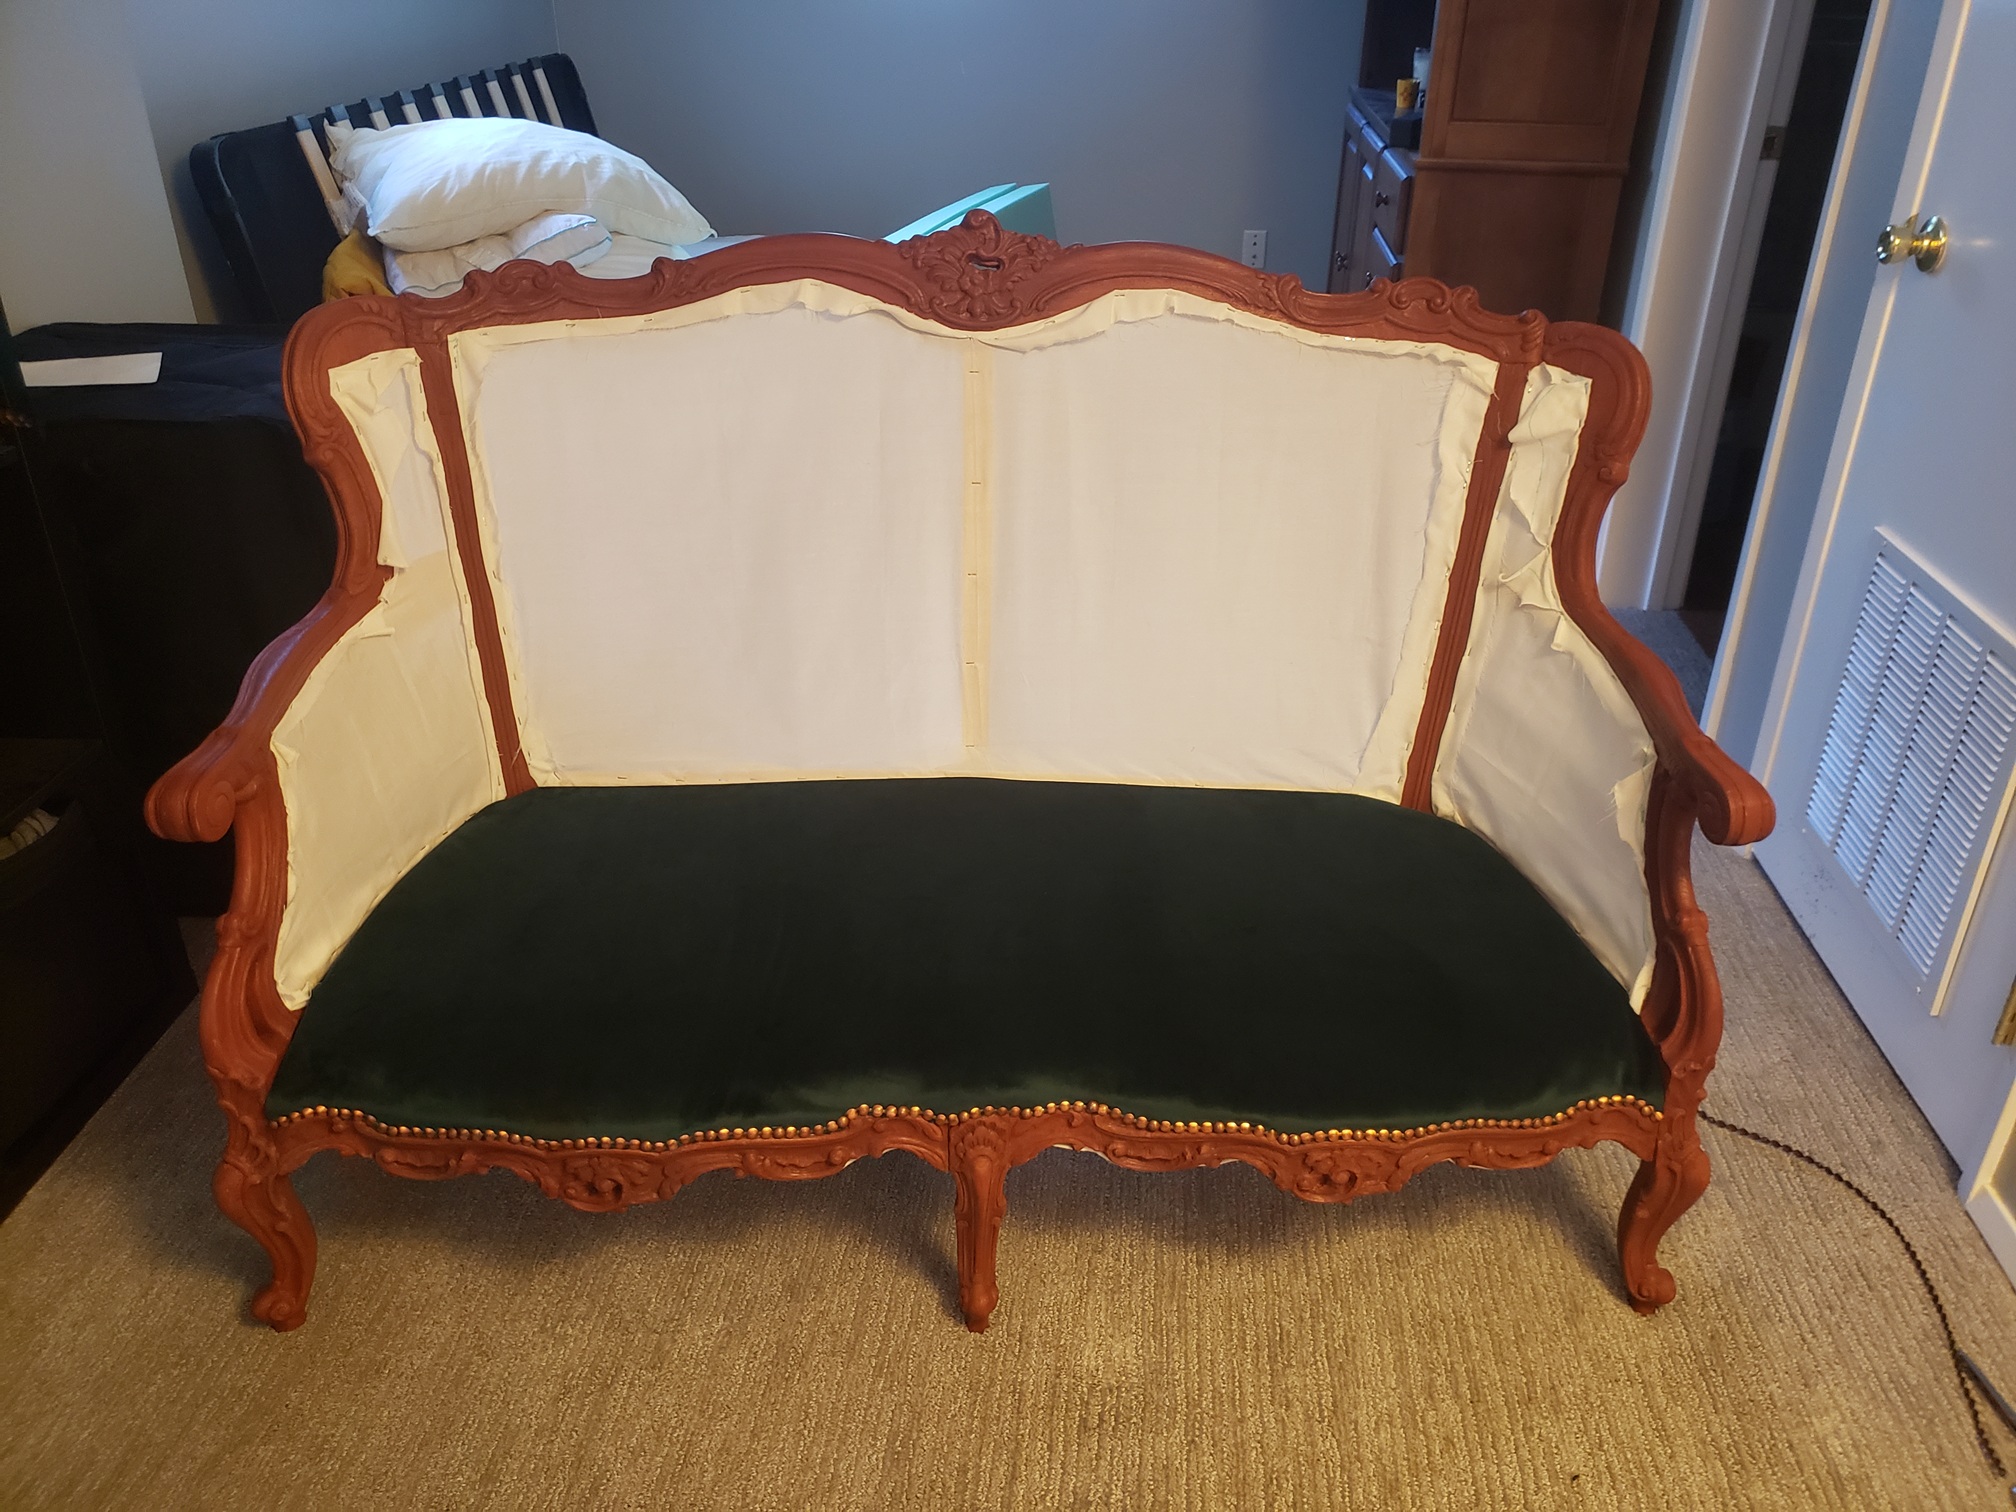
This is how I ended up with a pair of red velvet victorian couches. They were beautiful, but not in the best shape—the backrest foam had totally disintegrated, it smelled of cat urine, and the wood stain was chipped and scraped all over. To be honest, the photos were a little misleading—the only hint I received that they might not smell the best was one photo with a cat sat on top and the warning: "From a cat household." I have a cat, so I thought "how bad can it be?"
The answer: pretty bad. It didn't help that it was raining the day we brought them home. Let me tell you—it was RIPE. I brought them inside at first, but I couldn't stop gagging, so even though it was 11 PM at this point and dark out, we brought them to the porch and vacuumed them as best we could. I sprayed SO much fabreeze. And still it wasn't enough. After a few days of them being in the basement, I couldn't take it anymore and they were relegated to the shed.
If we were ever going to use these, I needed to strip them down to the bone and rebuild, because I swear the smell permeated everything. I chose to work on the love seat first since it was smaller and I could work out all the kinks before I tackled the bigger one.
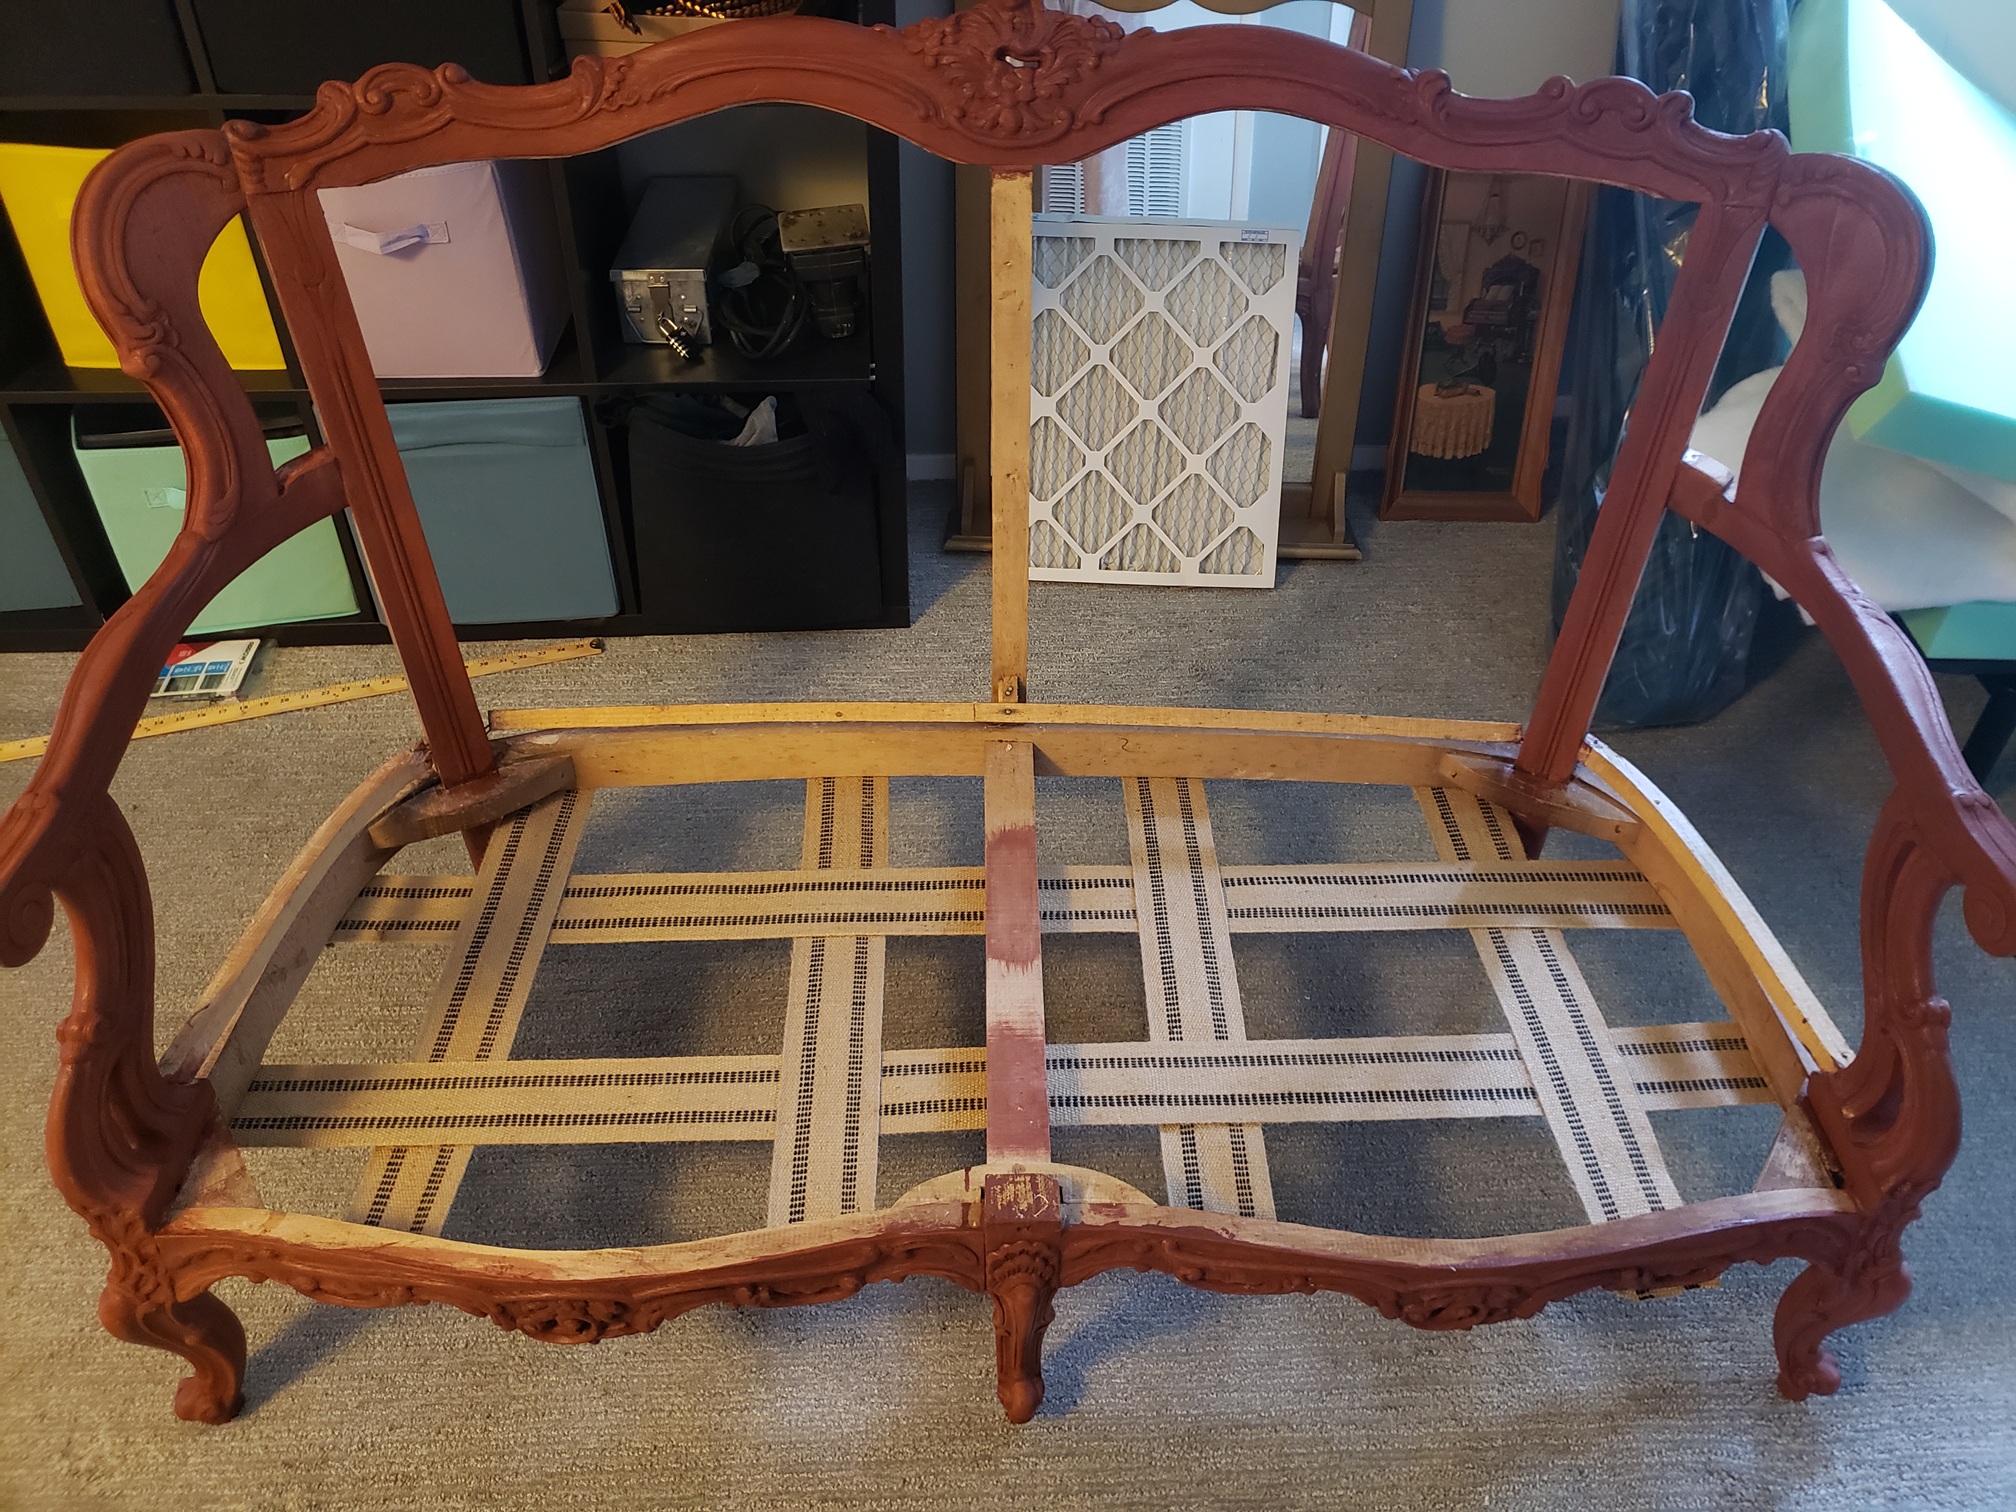
Over the next few months I pulled many many staples and nails. When I took off the backing fabric, all that remained of the foam cusion was grey dust. This stuff had straight up decomposed. I removed all the springs, burlap, and jute straps, taking note of how it was constructed so I could reverse engineer it.


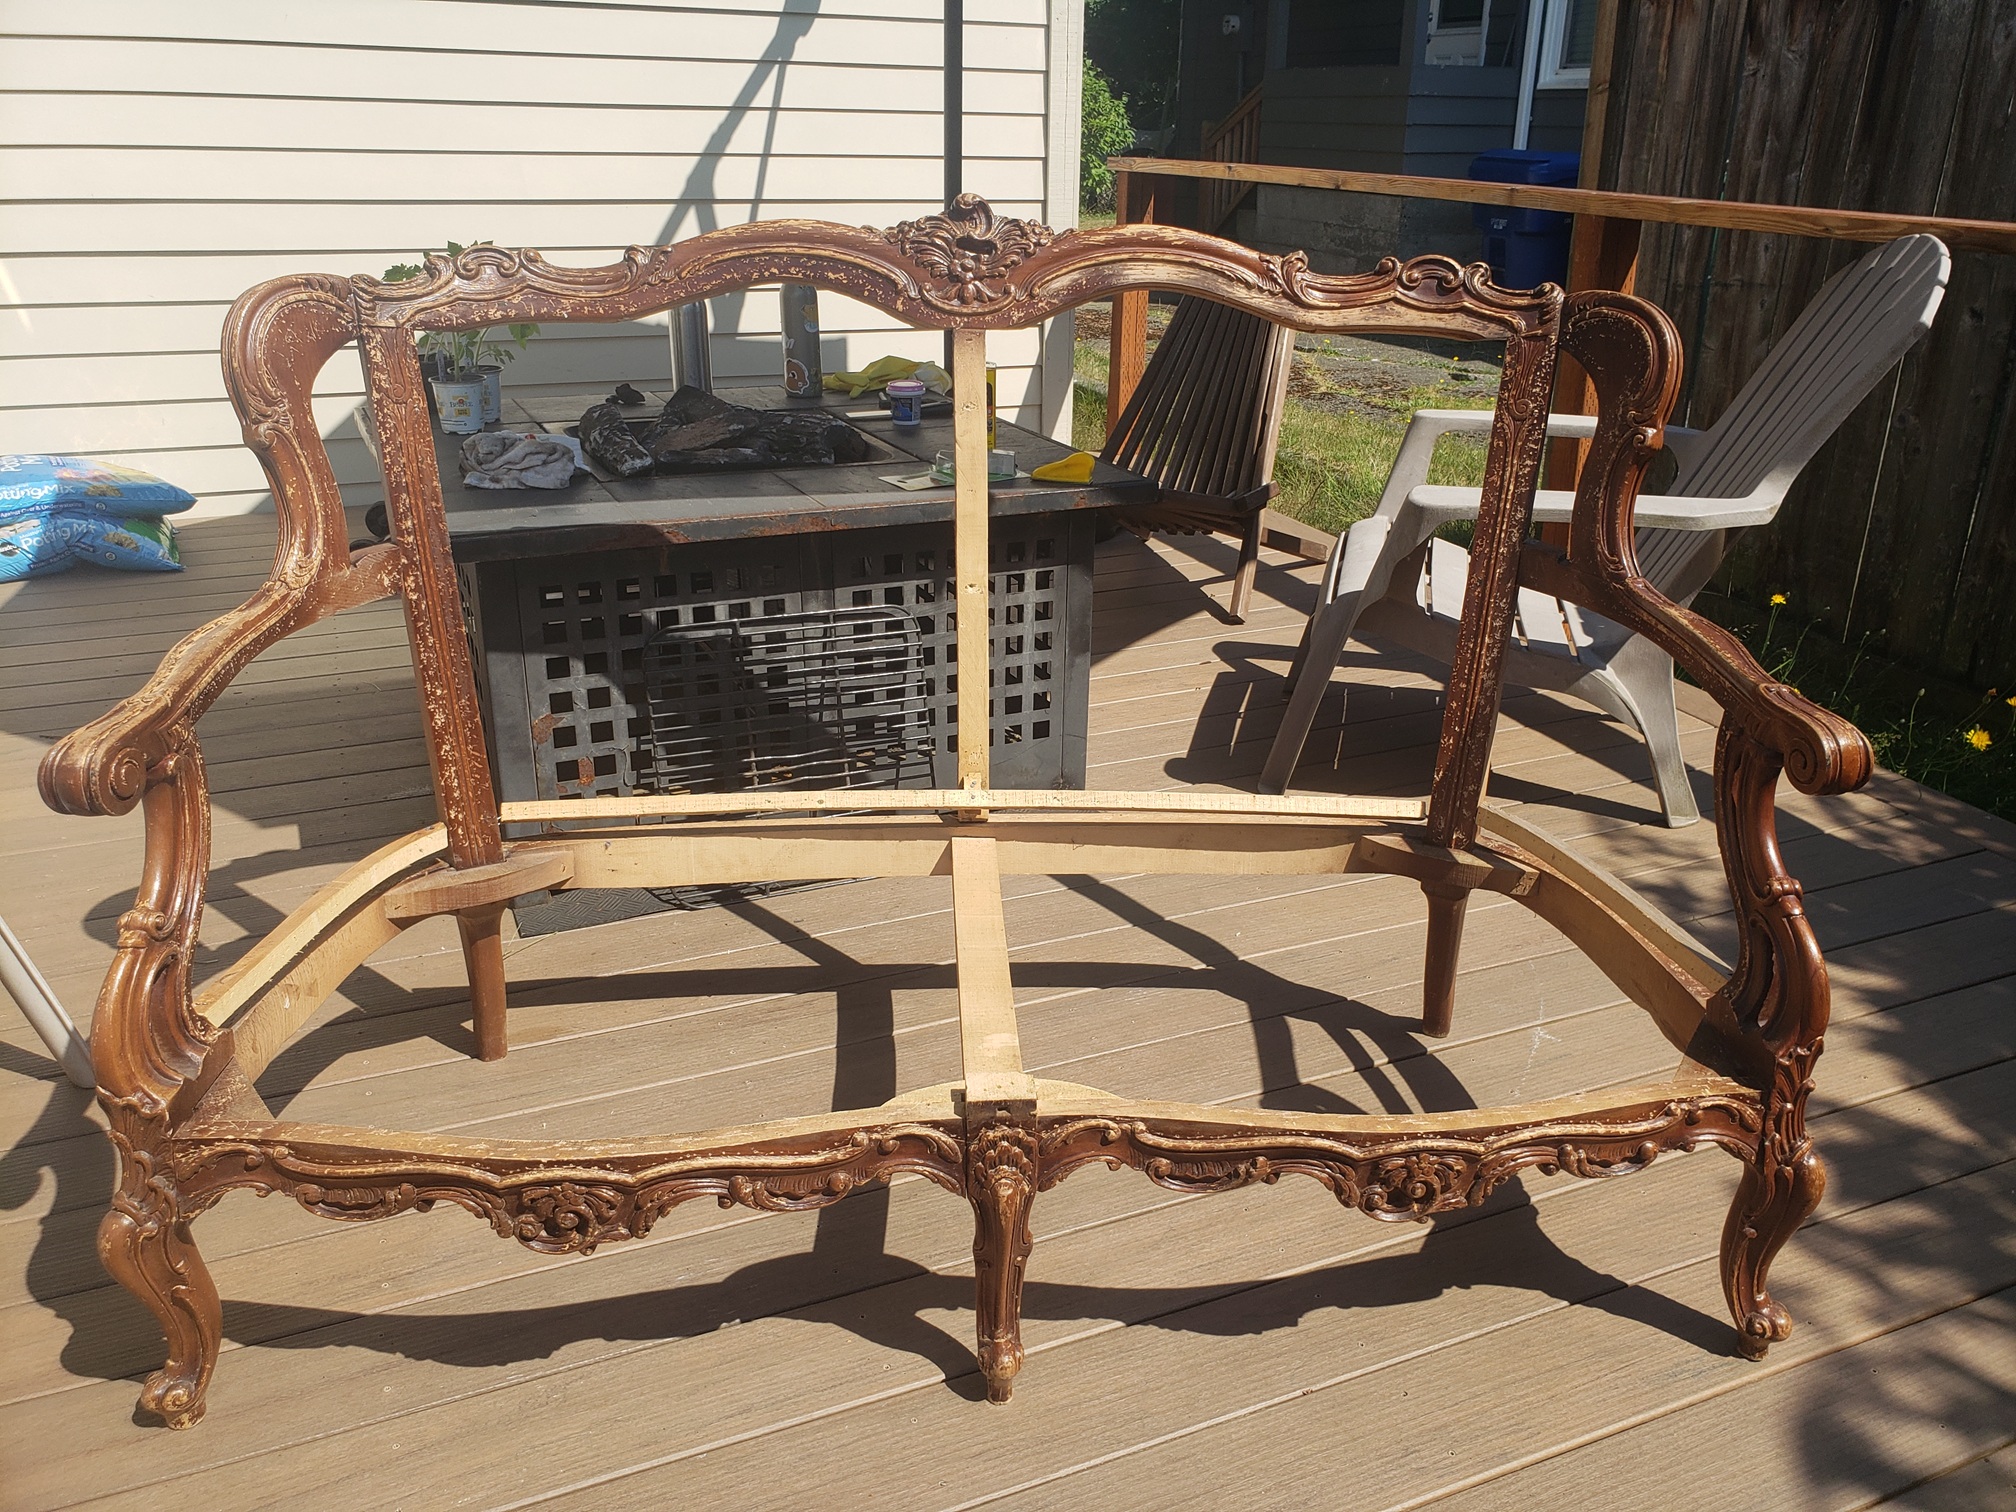
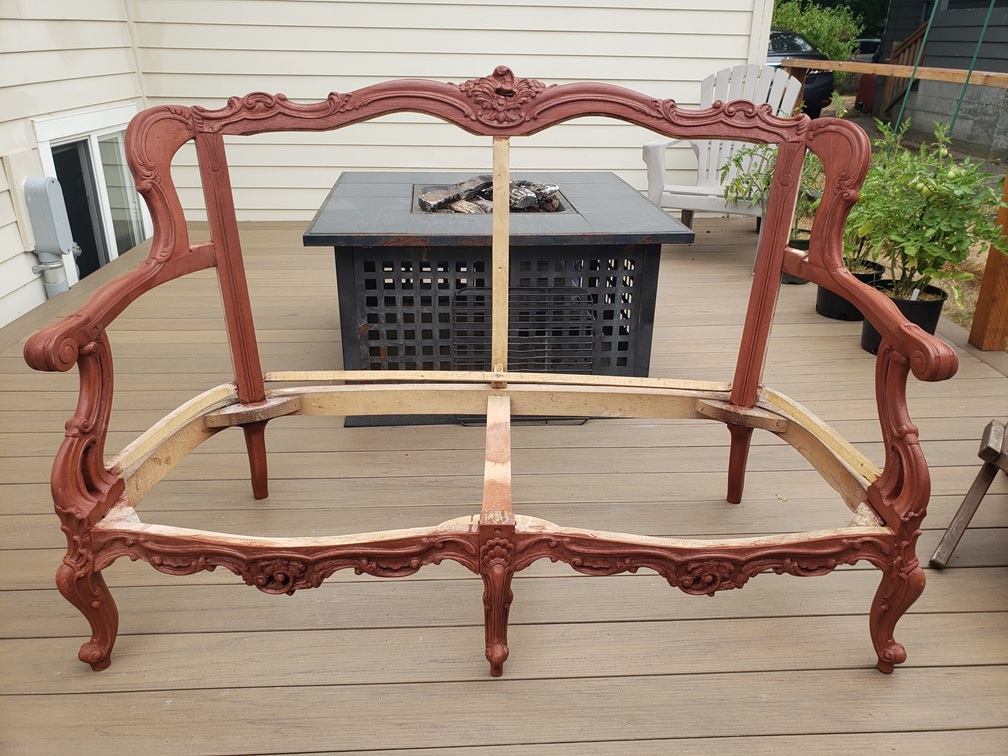
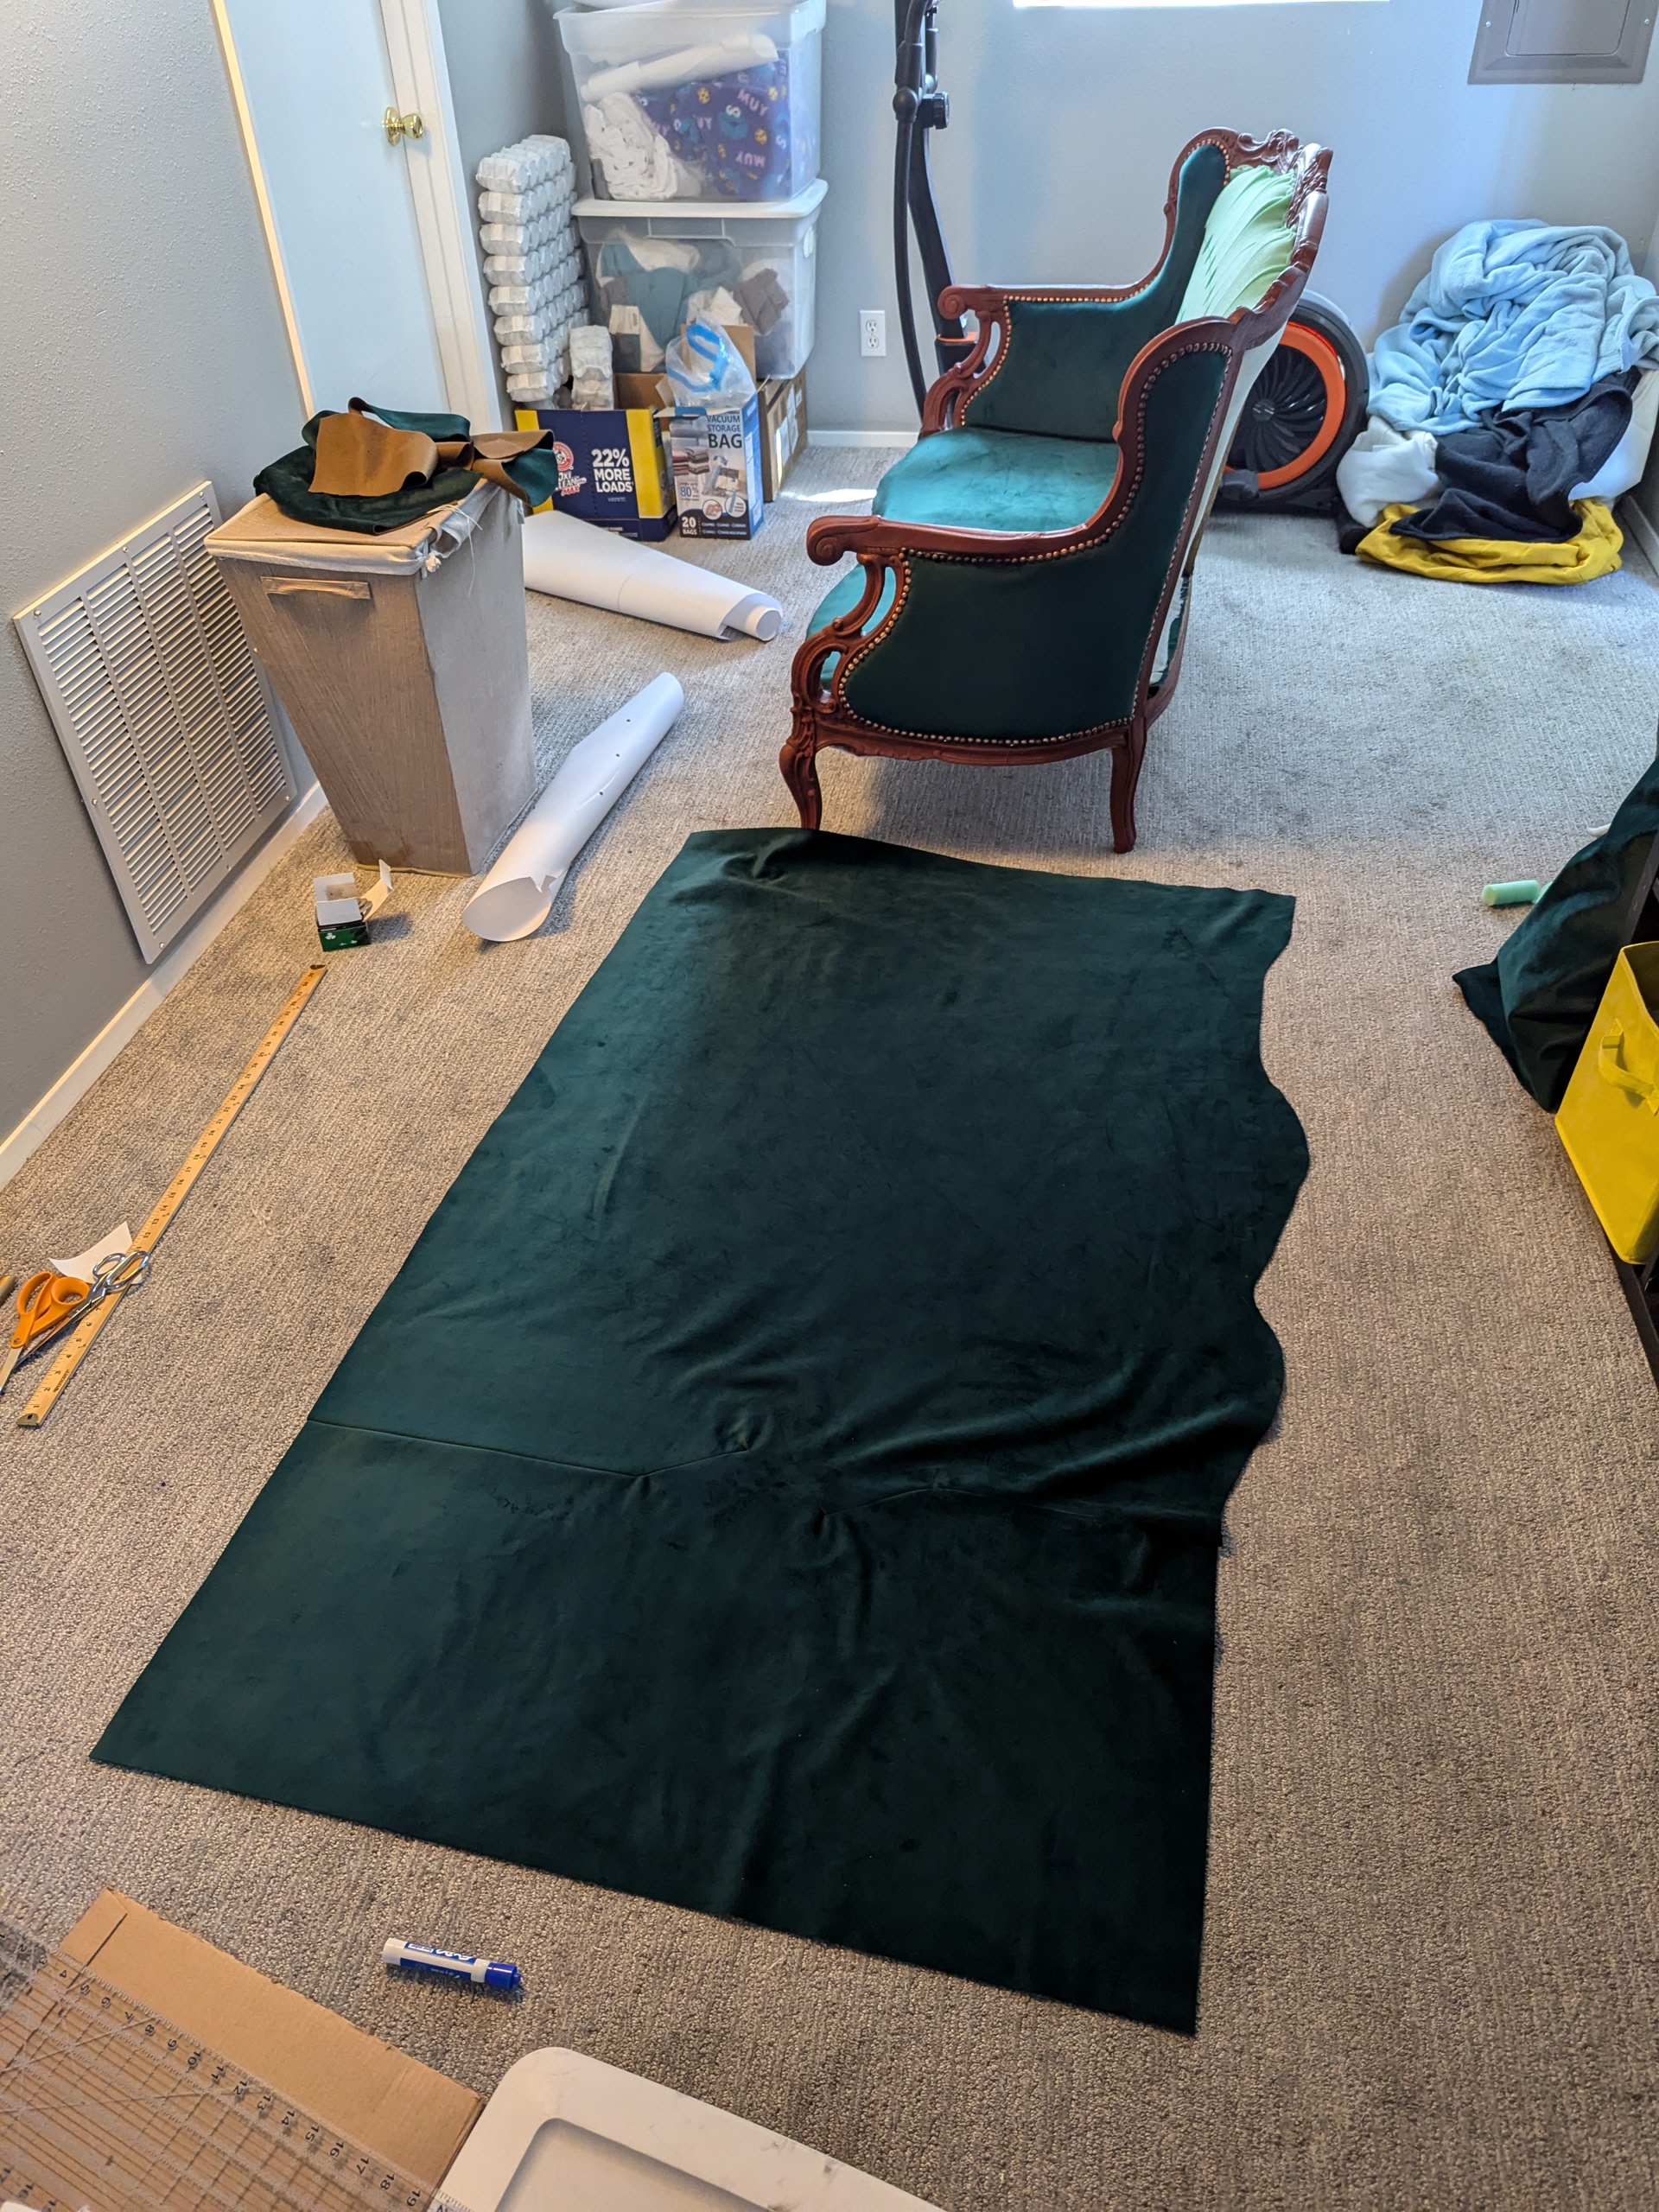
Next up was removing the old stain, which I had to do twice. A process that involved a lot of steel wool, citrustrip, and wire brushes. The first time I re-stained it, I layed it on waaay too thick. It looked more like paint than stain. Which is why I had to do it again. Not fun. I'm still not super happy with the color, but there was no way in hell I was doing it a third time.

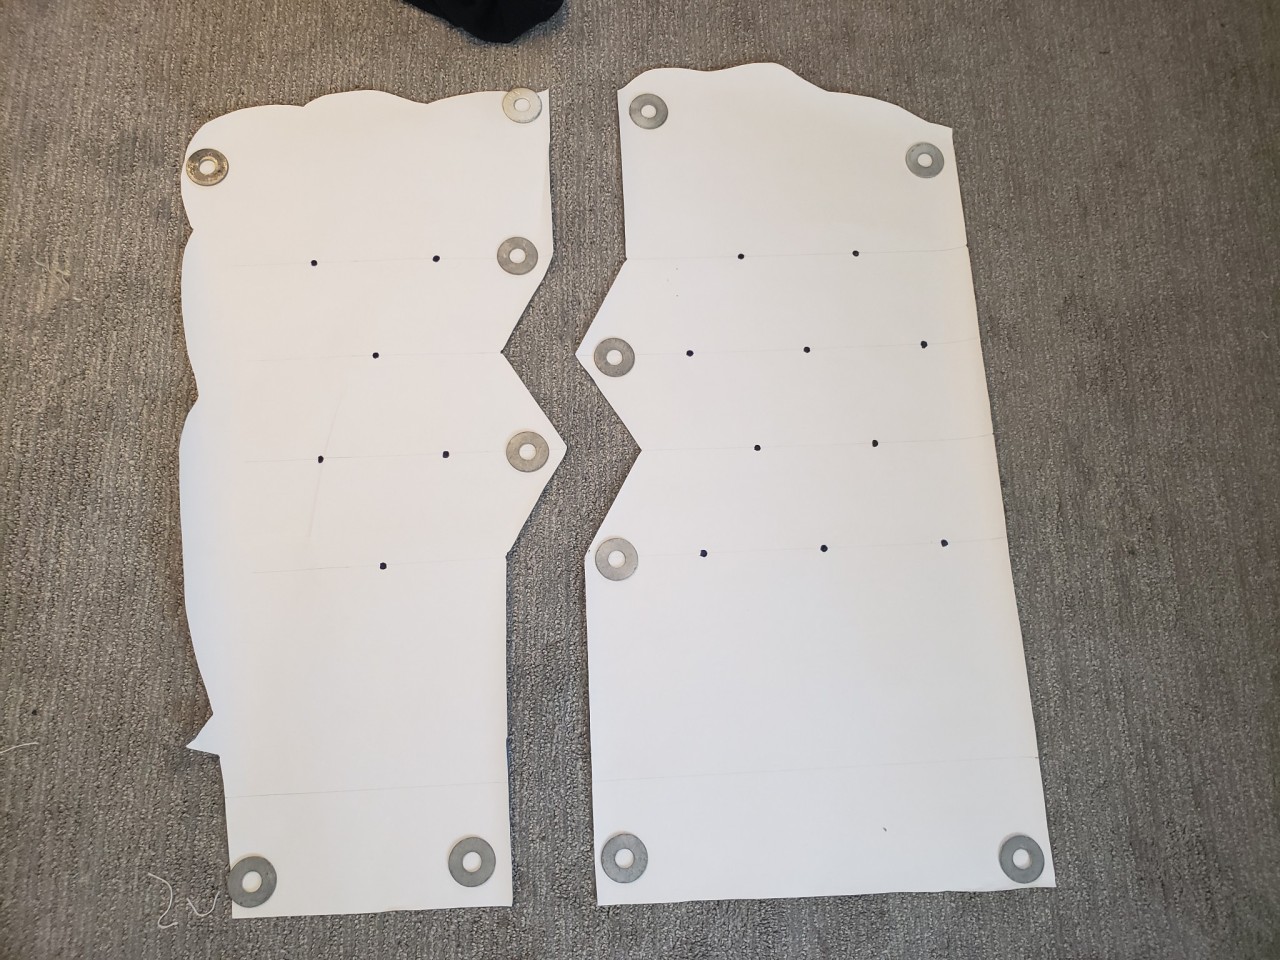
I then took all the old fabric, seam ripped the seat cushions, layed it out on paper, and created pattern pieces—marking out things like where the buttons would go, etc. I bought this really nice dark green upholstery fabric that has a sort of felted back (which makes it lay so smoothly over upholstery foam--the friction between the two really makes them stick together and not budge!)
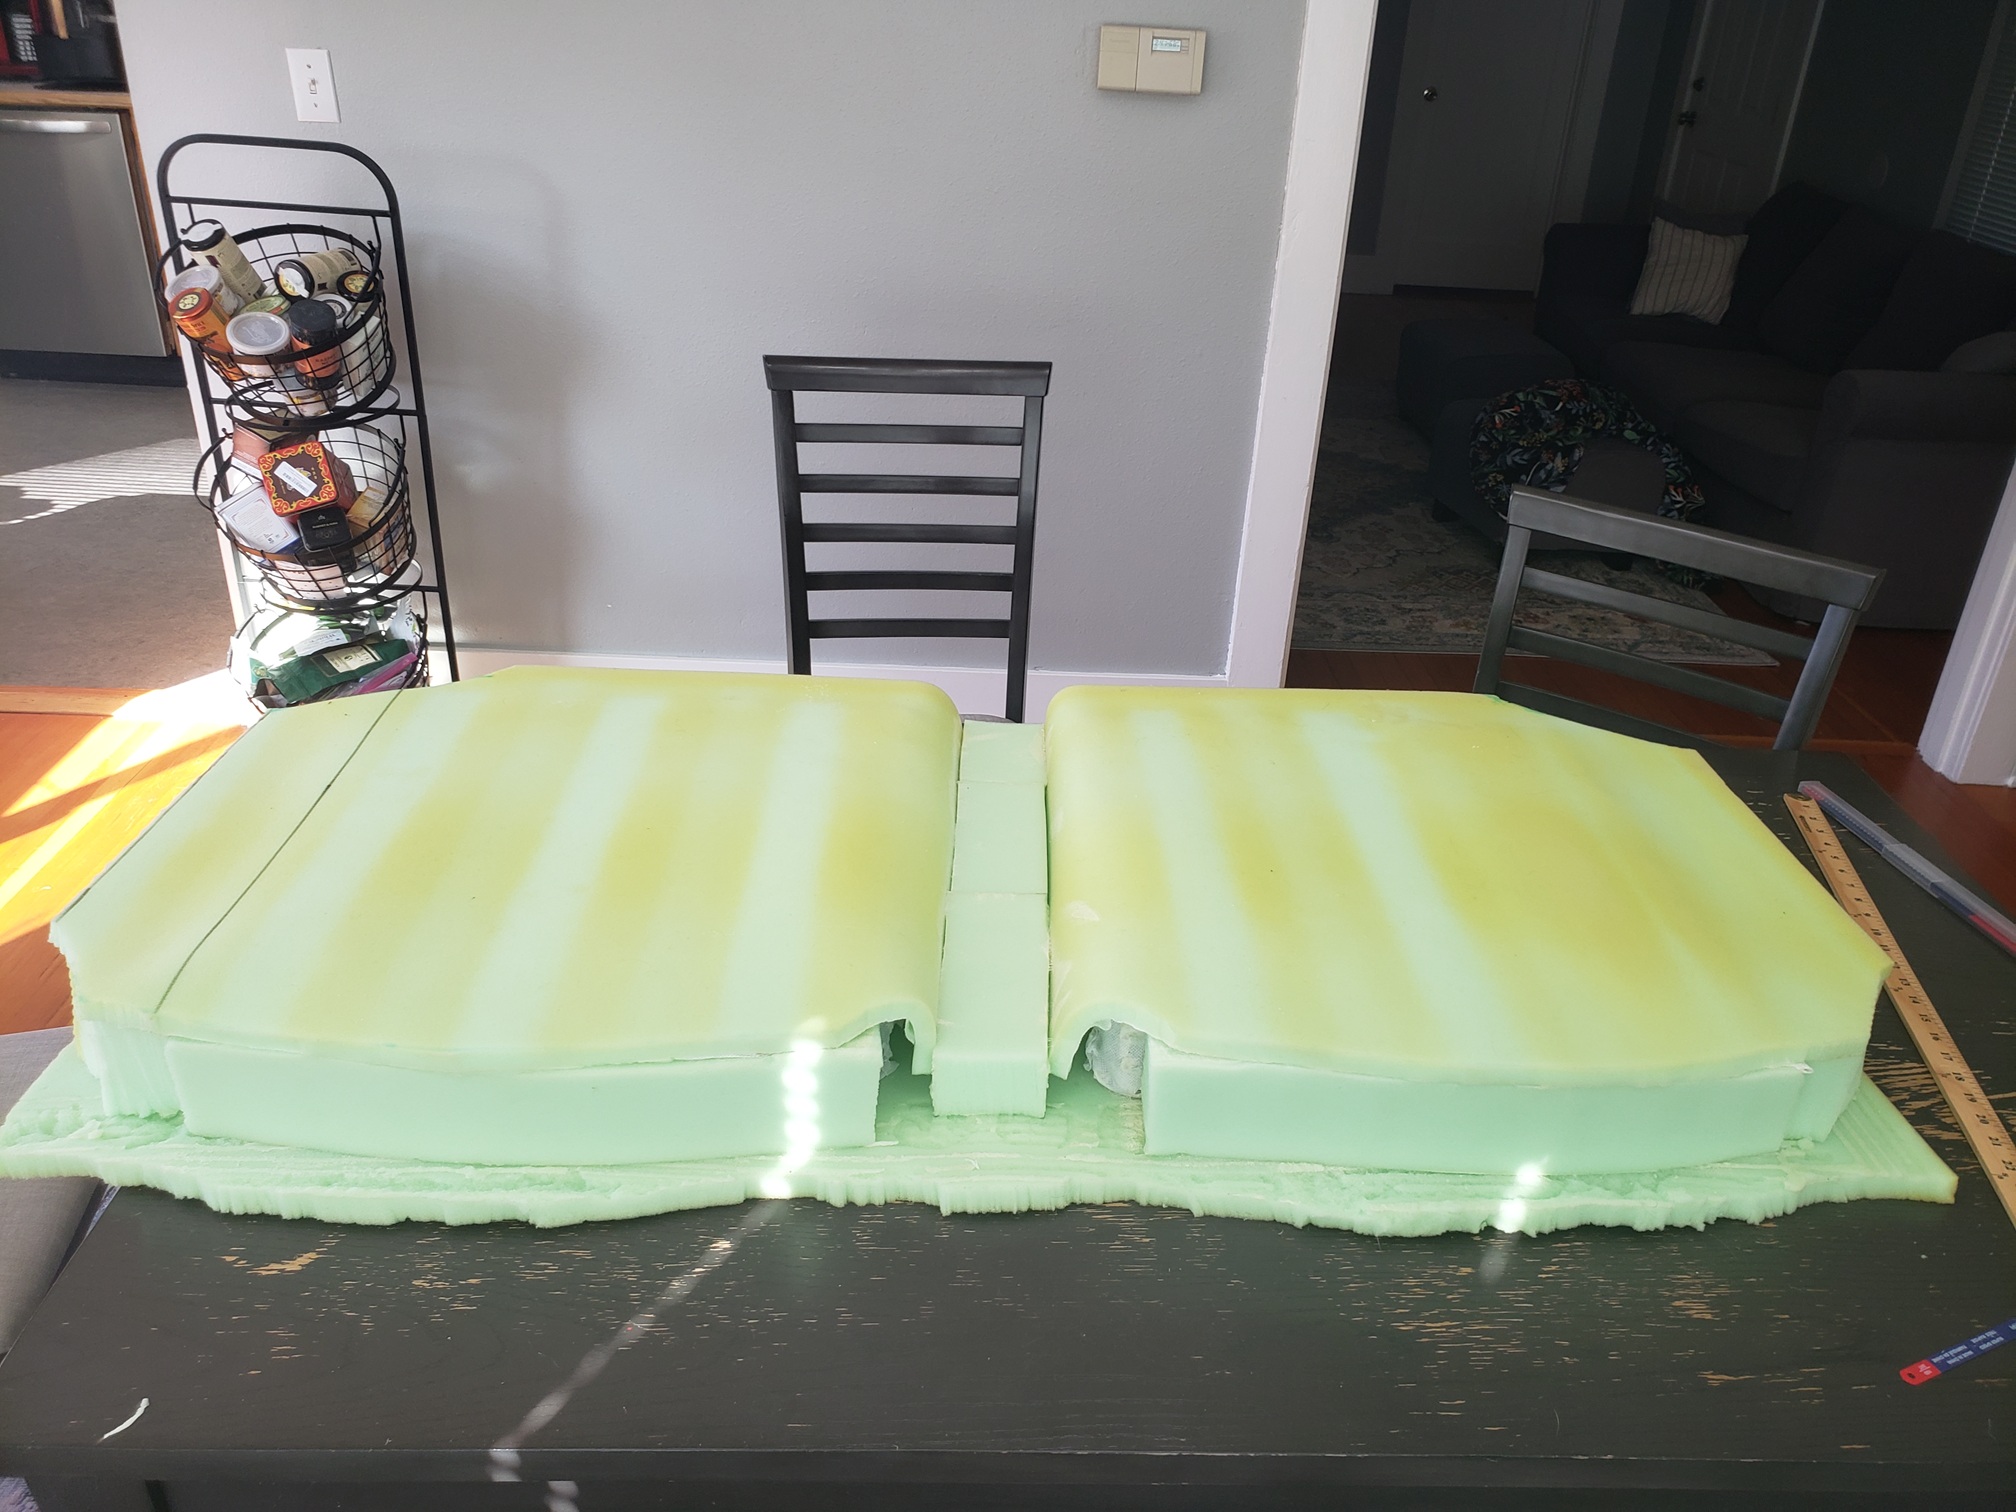
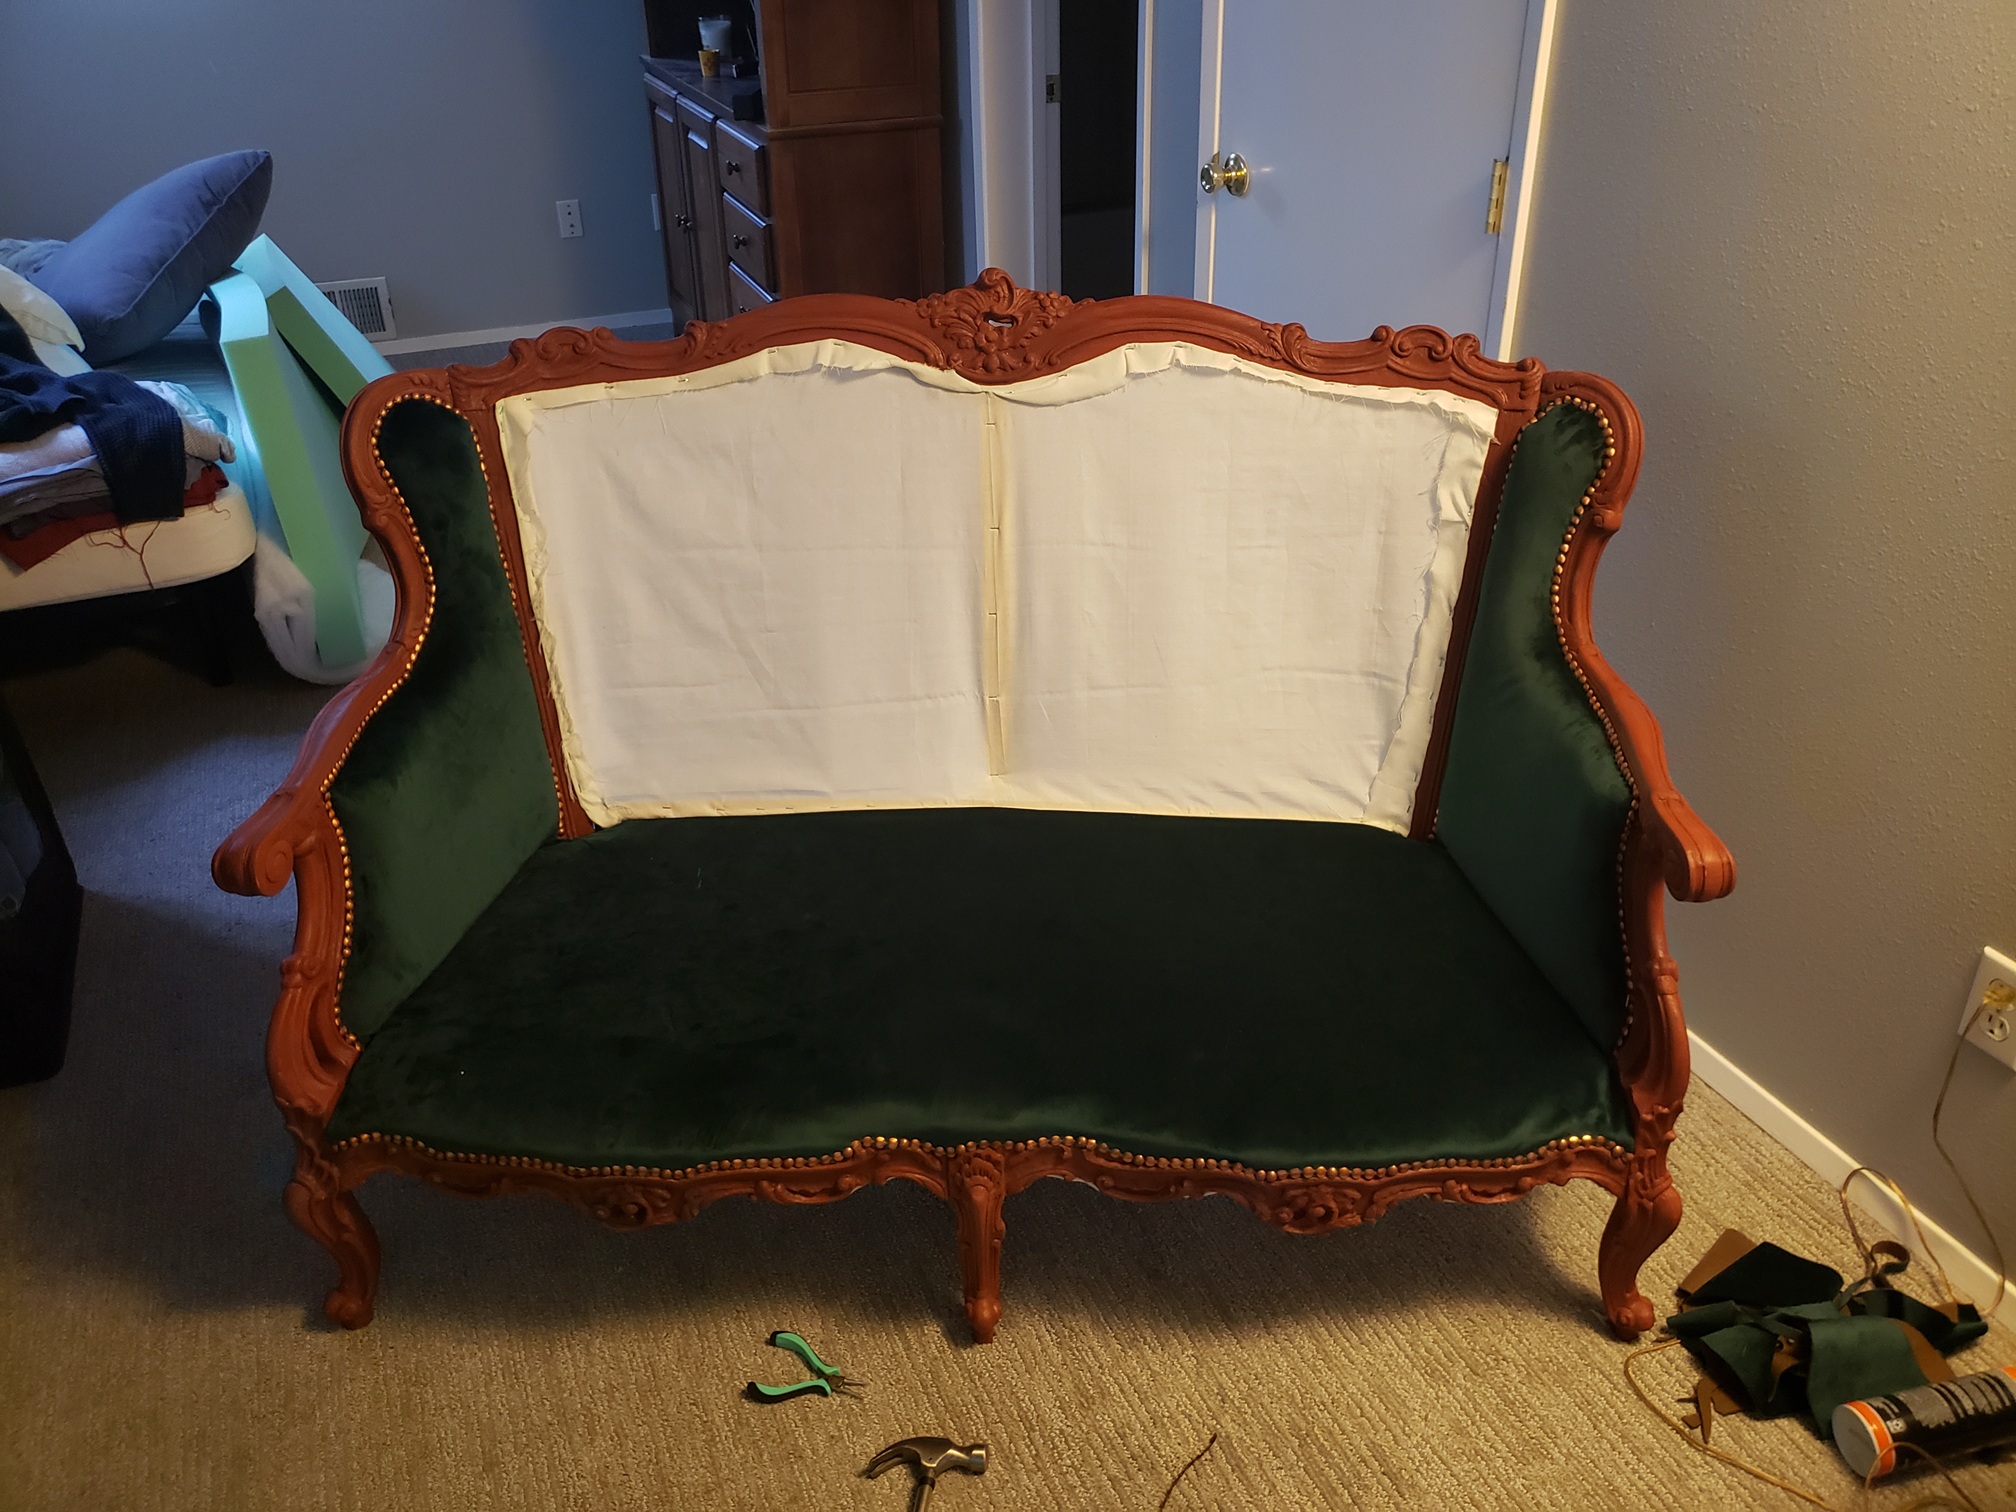
For the seat (sans cushions, which are separate and will sit on top), I stapled jute straps to the bottom and atop that layed down a mattress of my own making. I had an old Ikea futon that I no longer needed—it was basically a collection of fabric-covered box springs wrapped in foam. I went at it with a hack saw, scissors, and spray gorilla glue until it was the right shape and sat smoothly over the beams
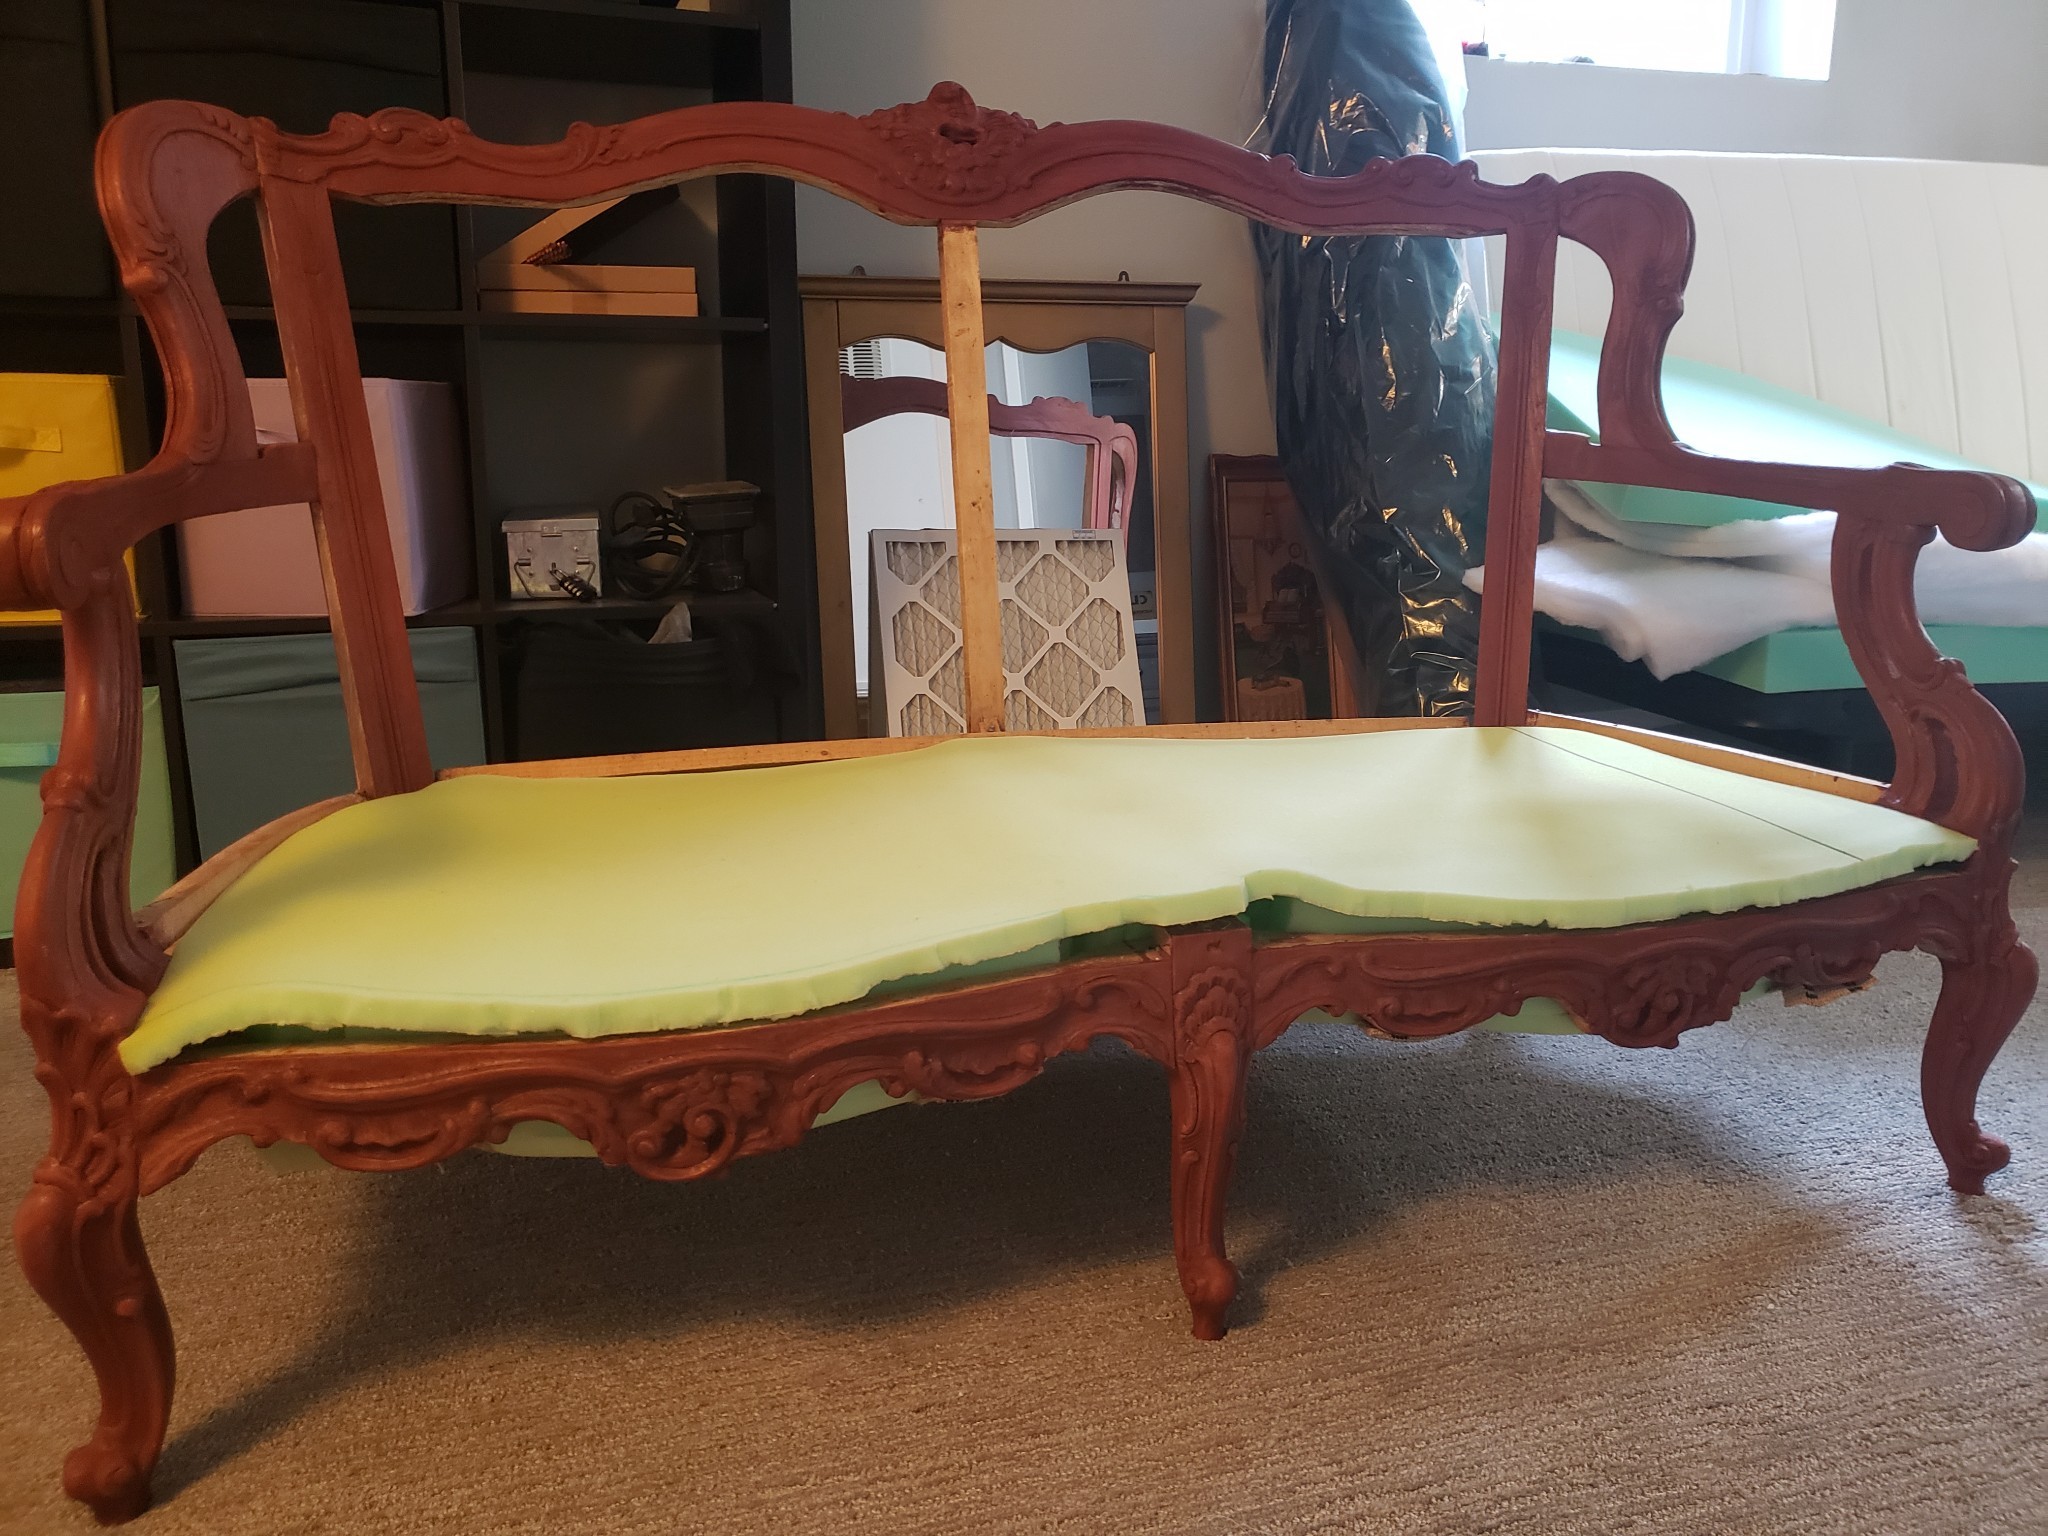
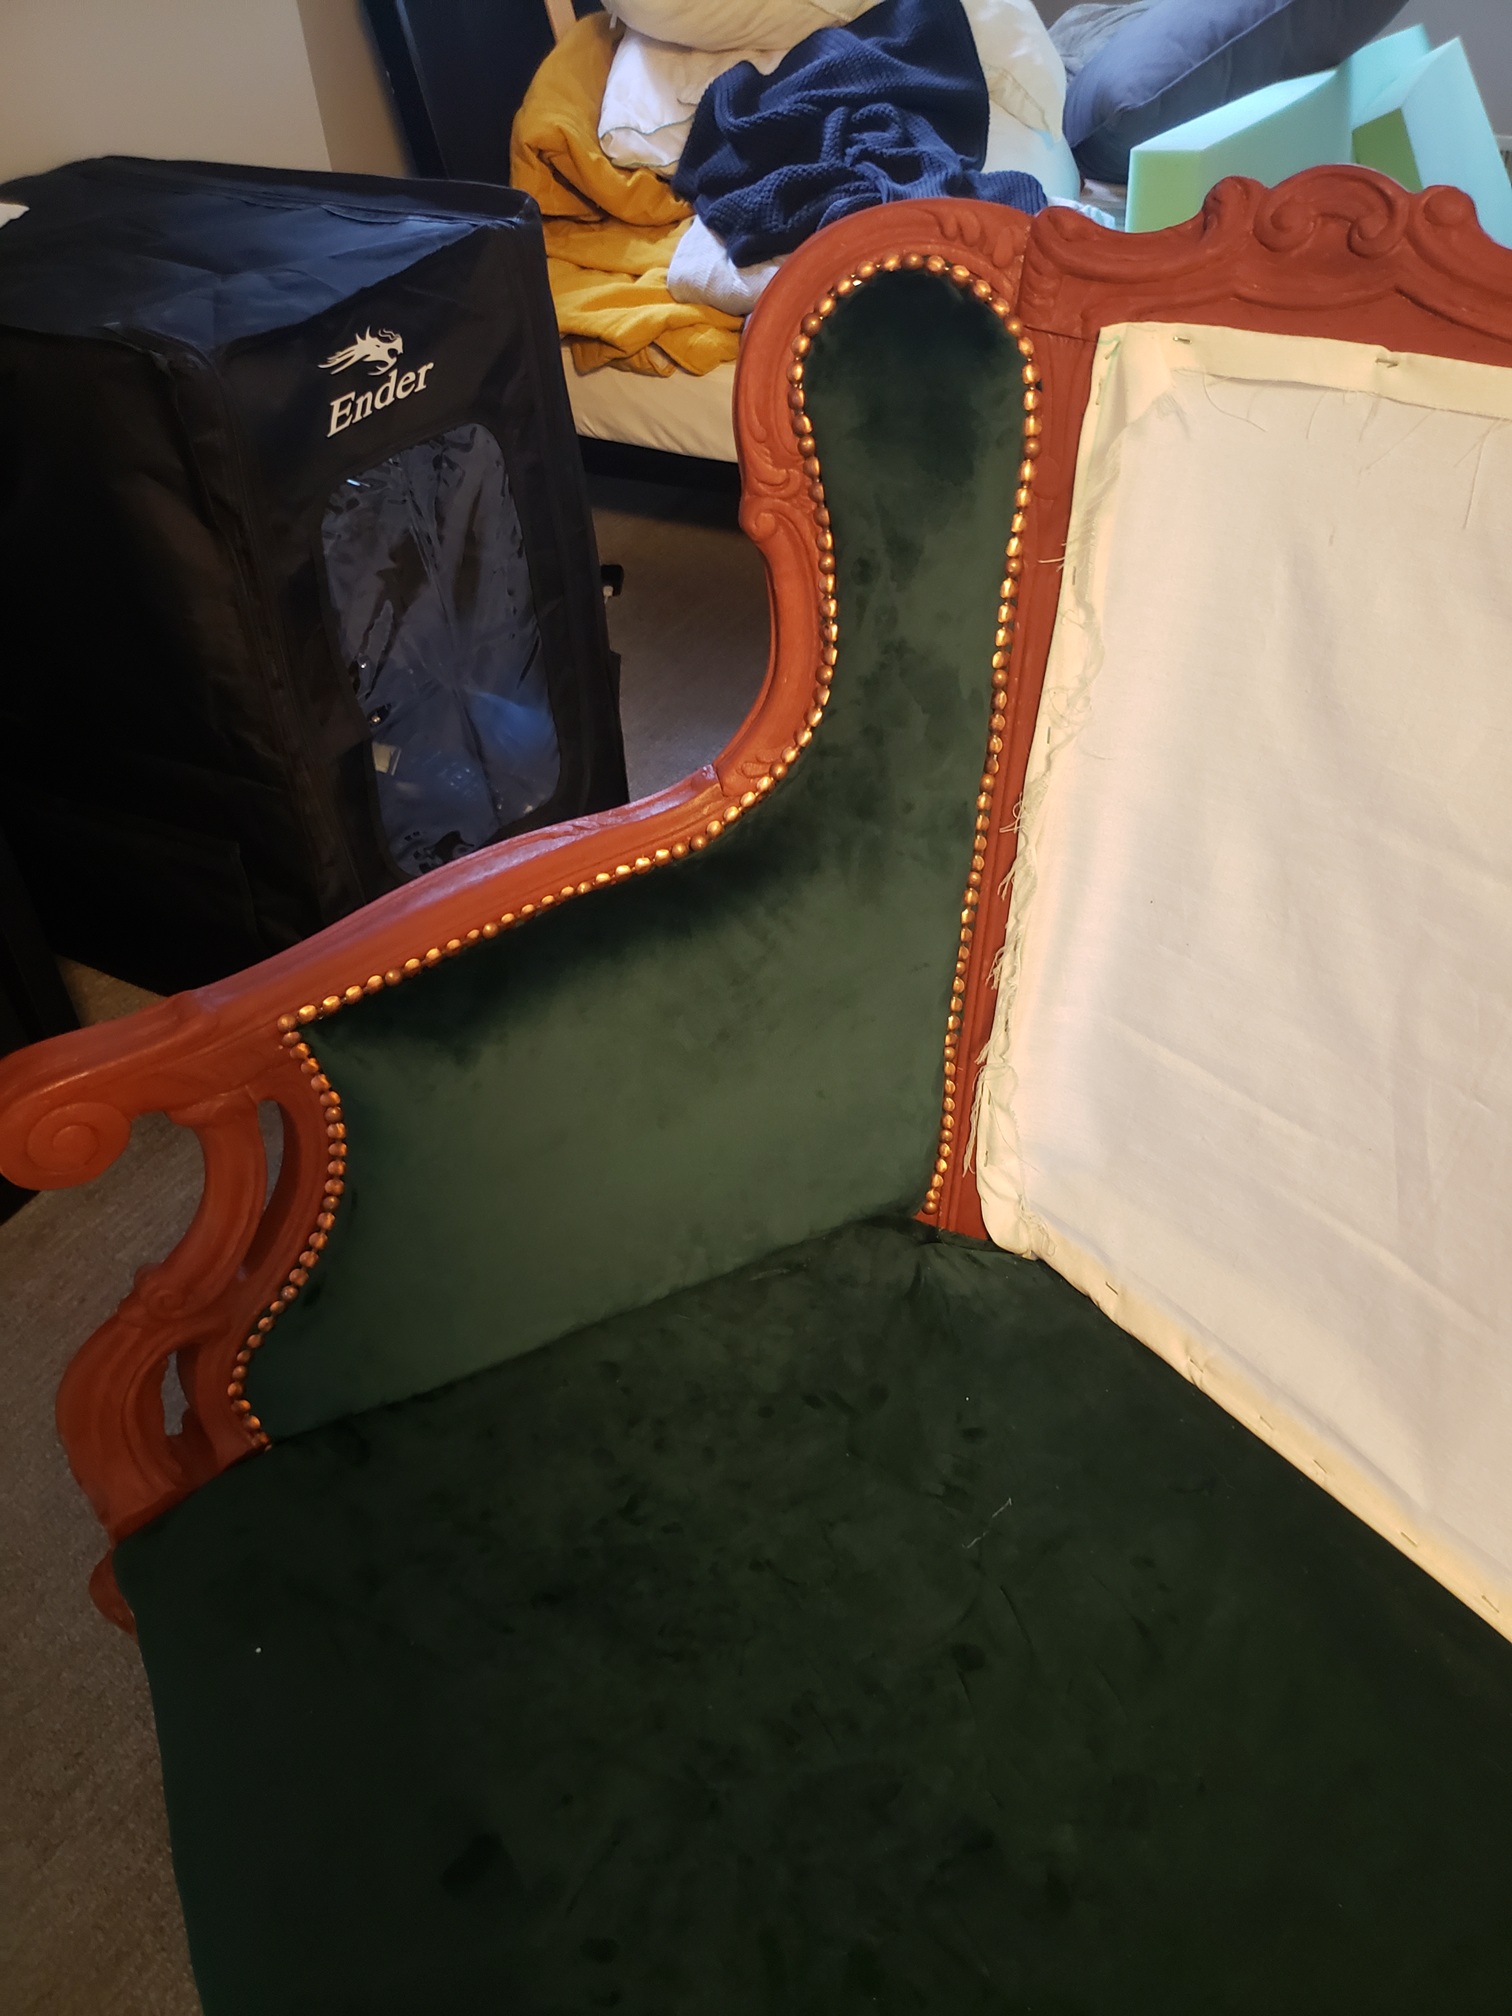
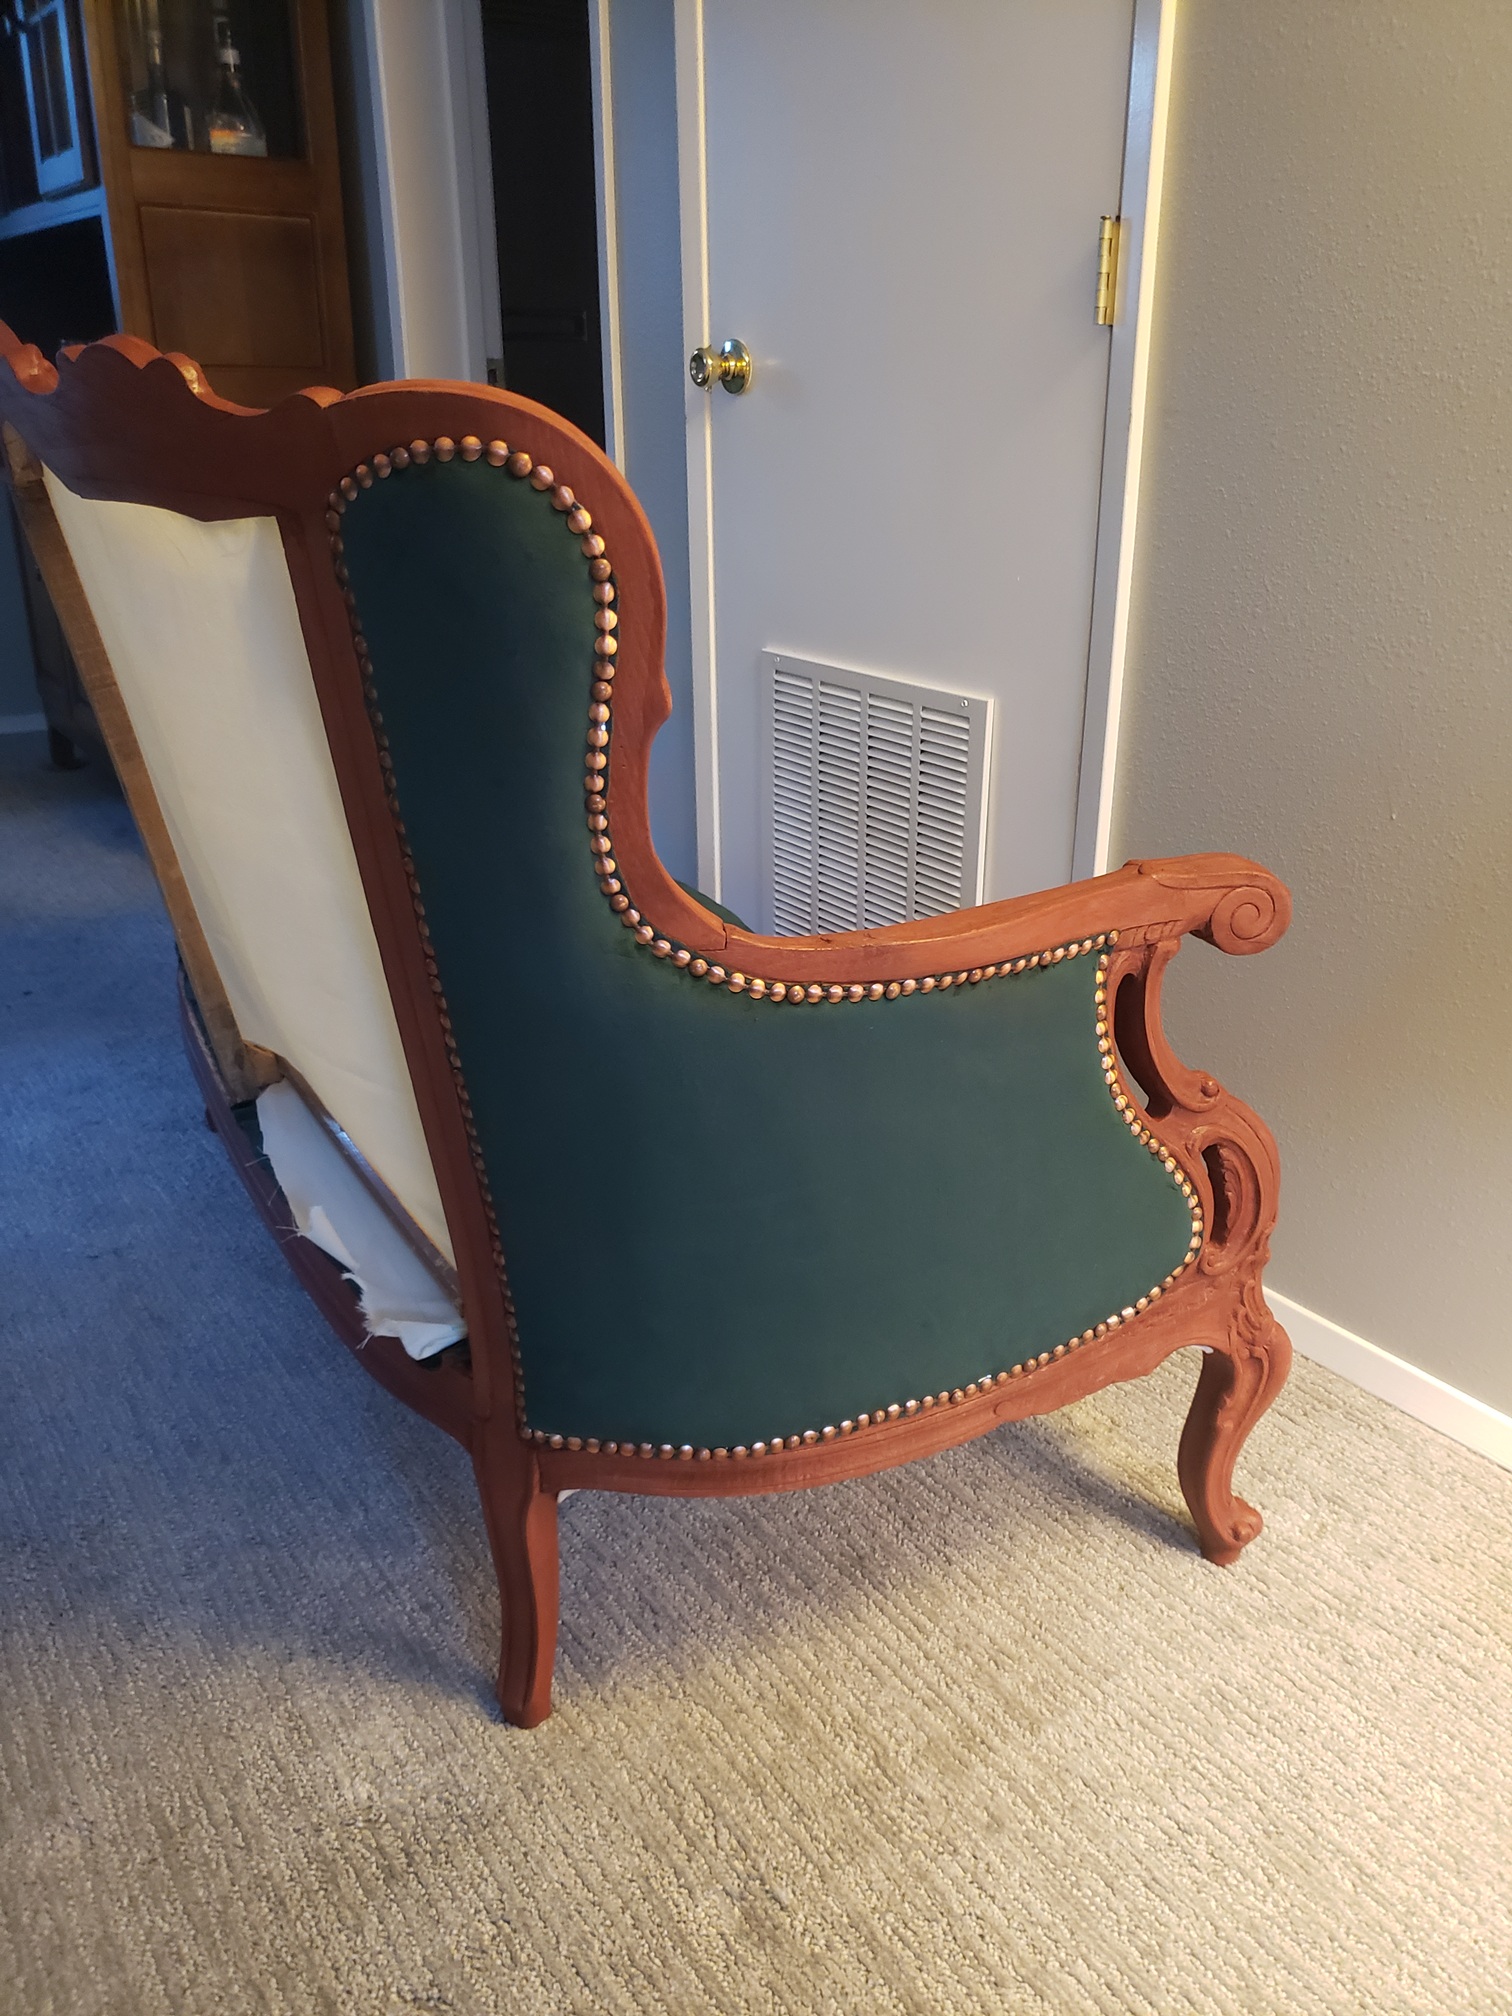
I stapled base fabrics to the backs and sides where the new foam would be glued onto and stapled the front of the mattress down. I cut foam for the arms using my pattern pieces from before and glued/stapled them down, smoothed and stapled the fabric over top, and used a nail strip for upholstery to hide the raw edges of the fabric. The nails are a bit wonky in places because the foam, in hindsight, was much too thick and bulged in places
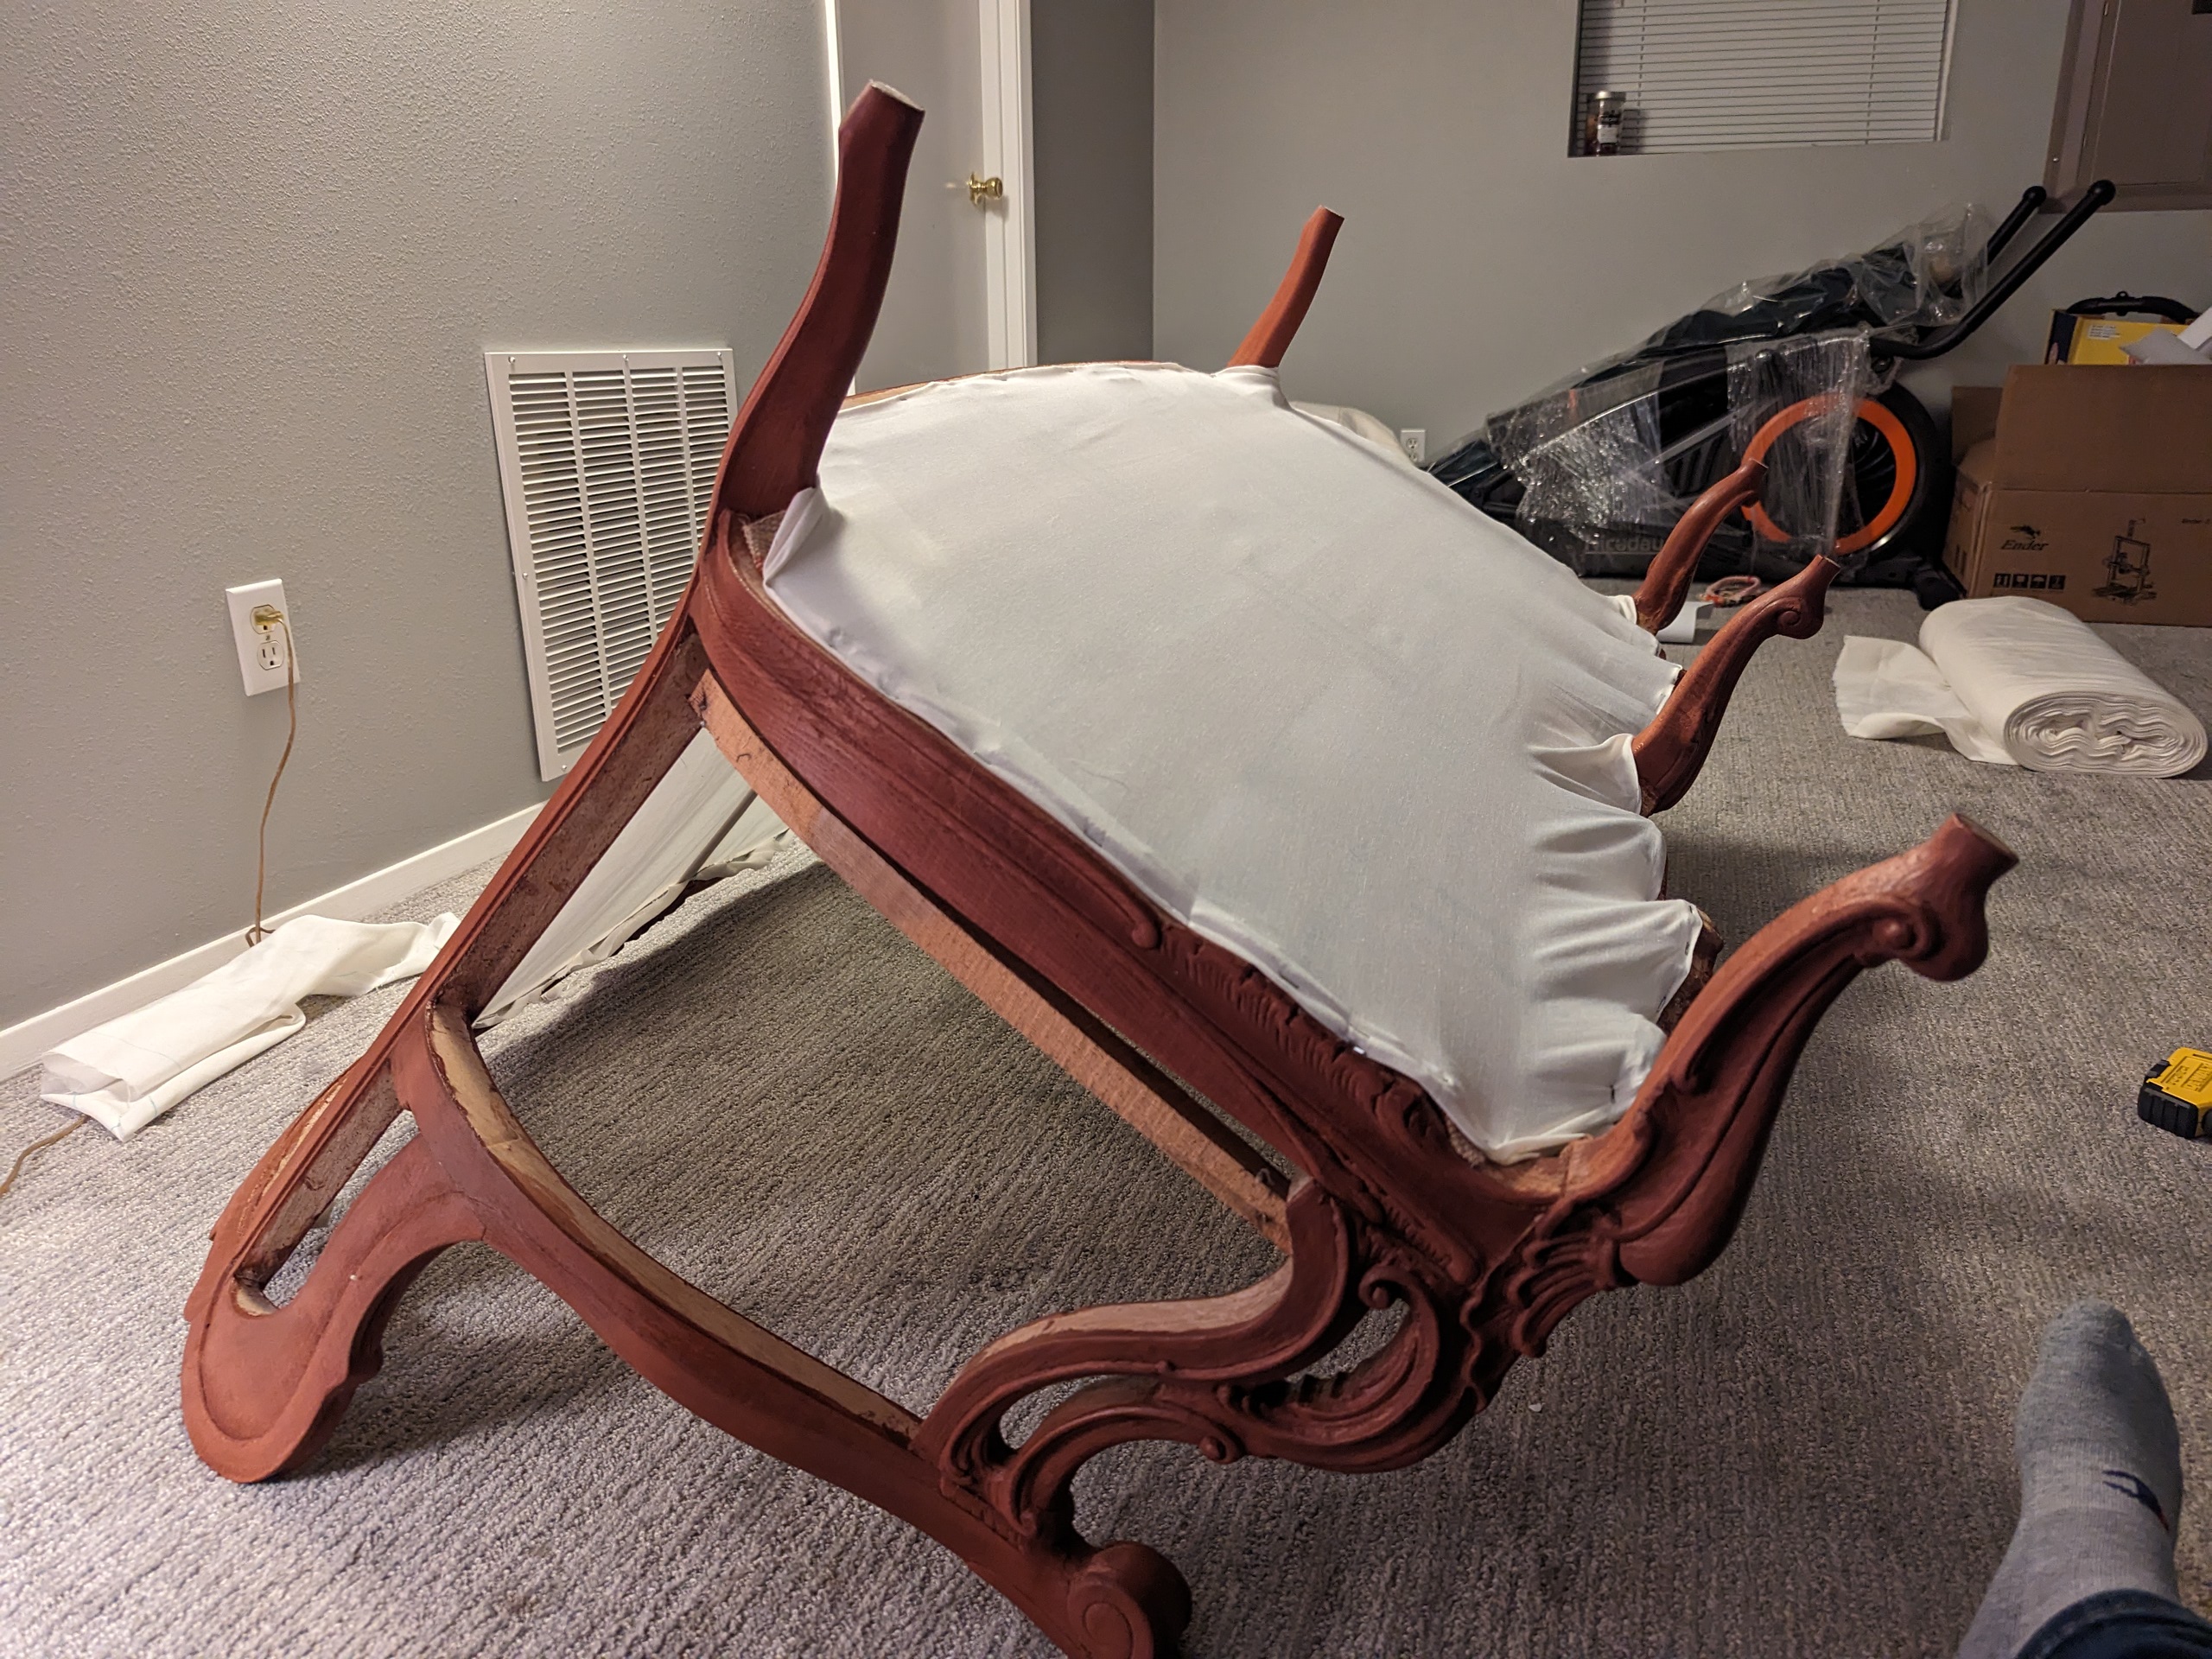
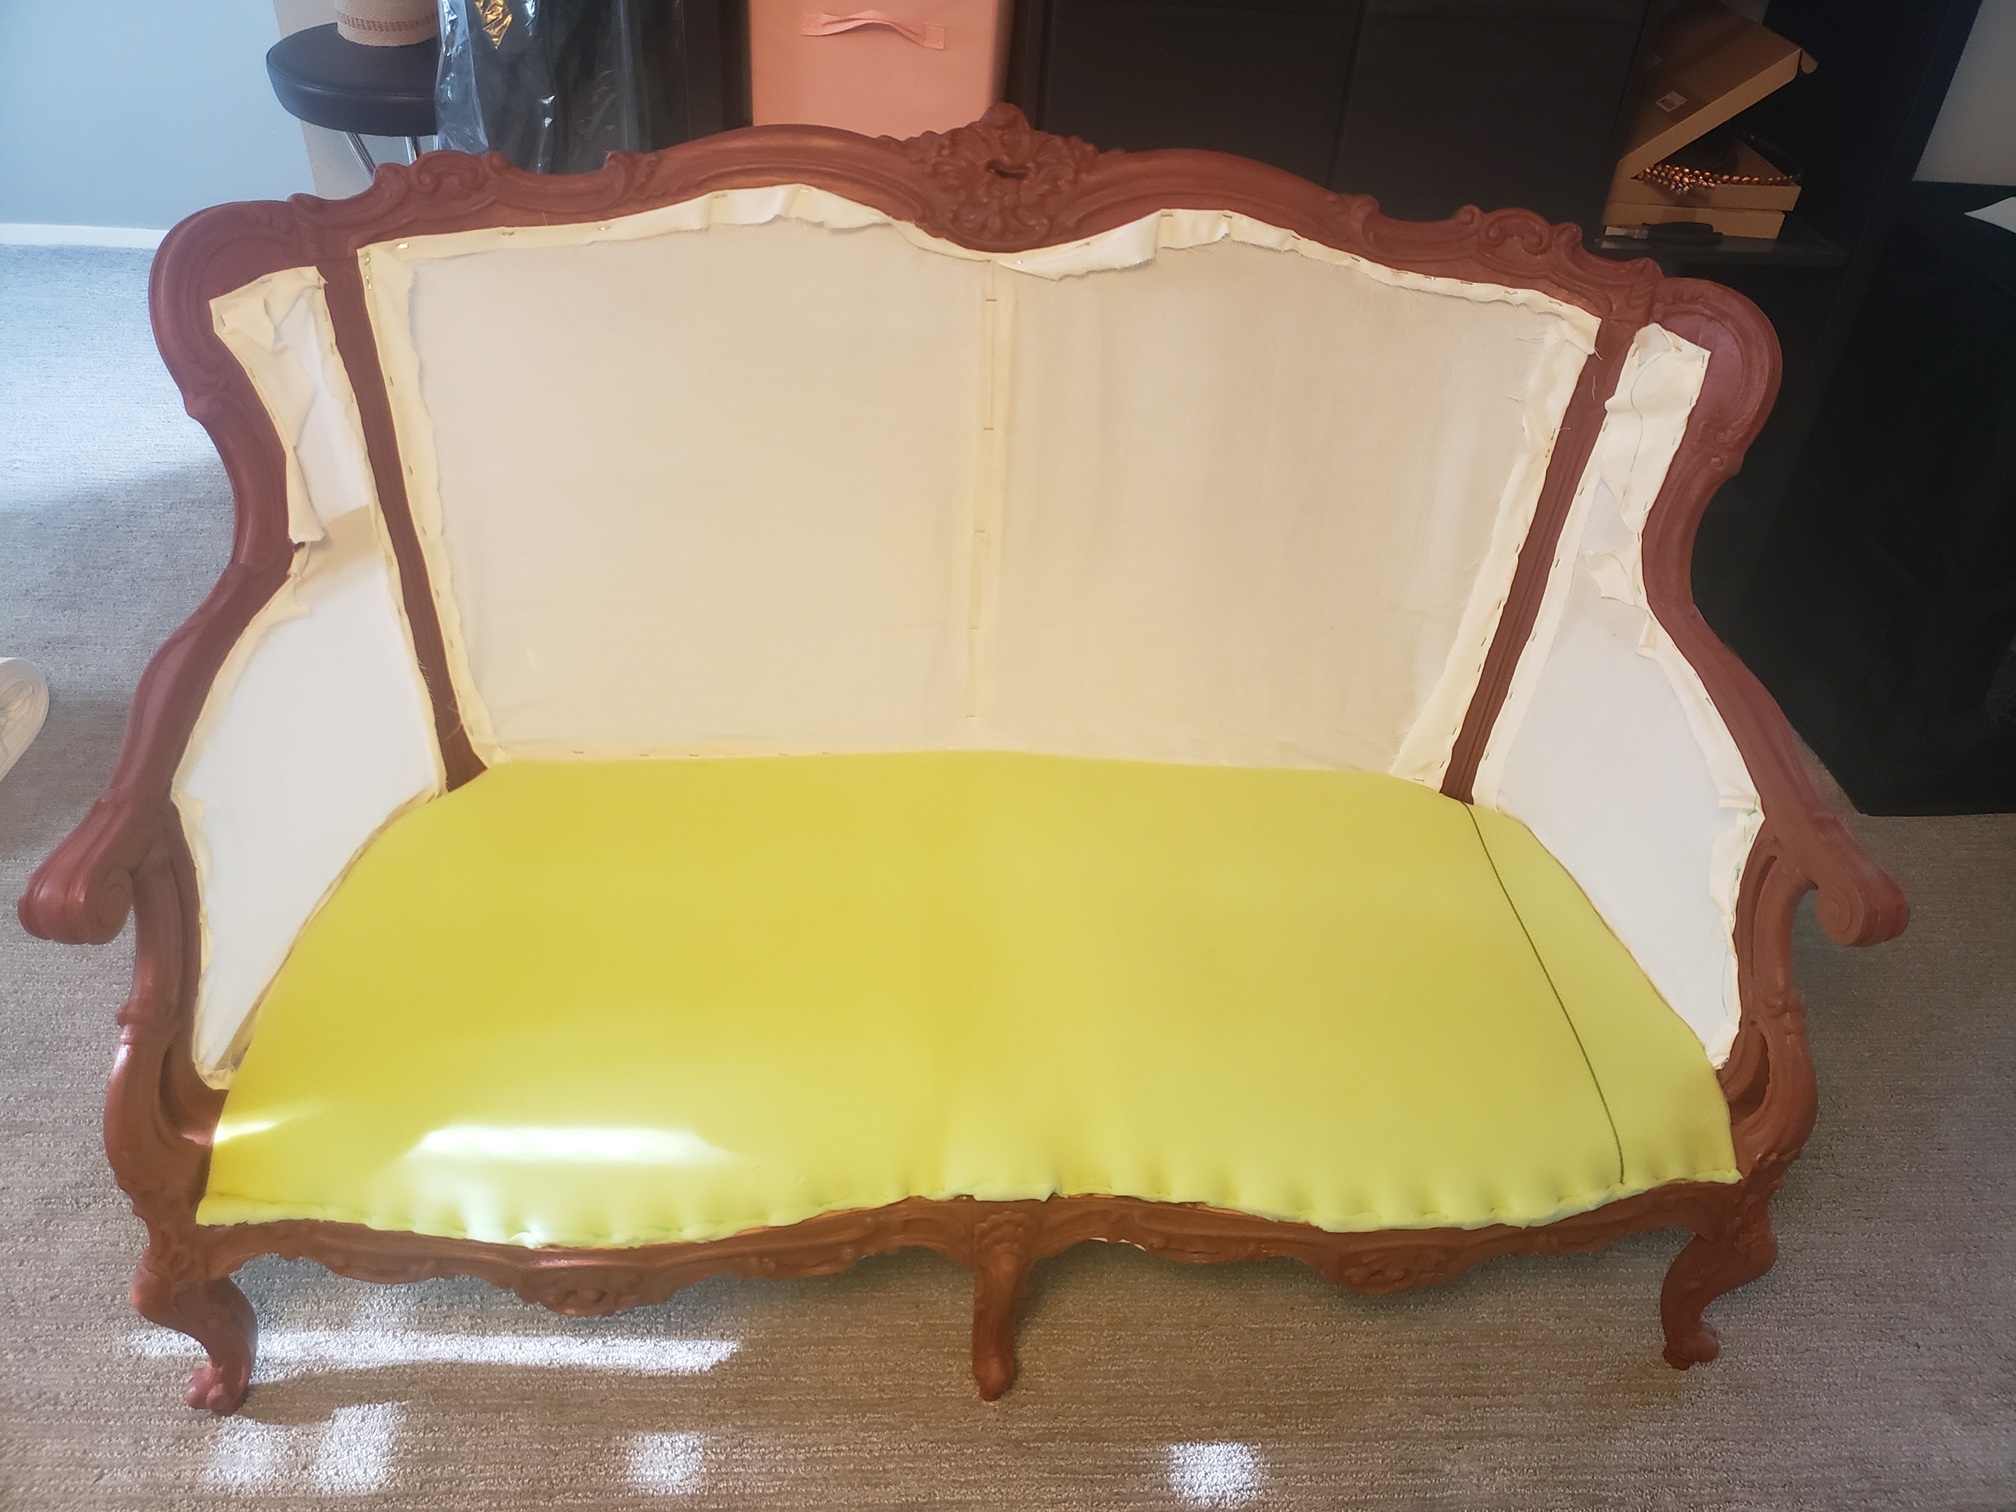
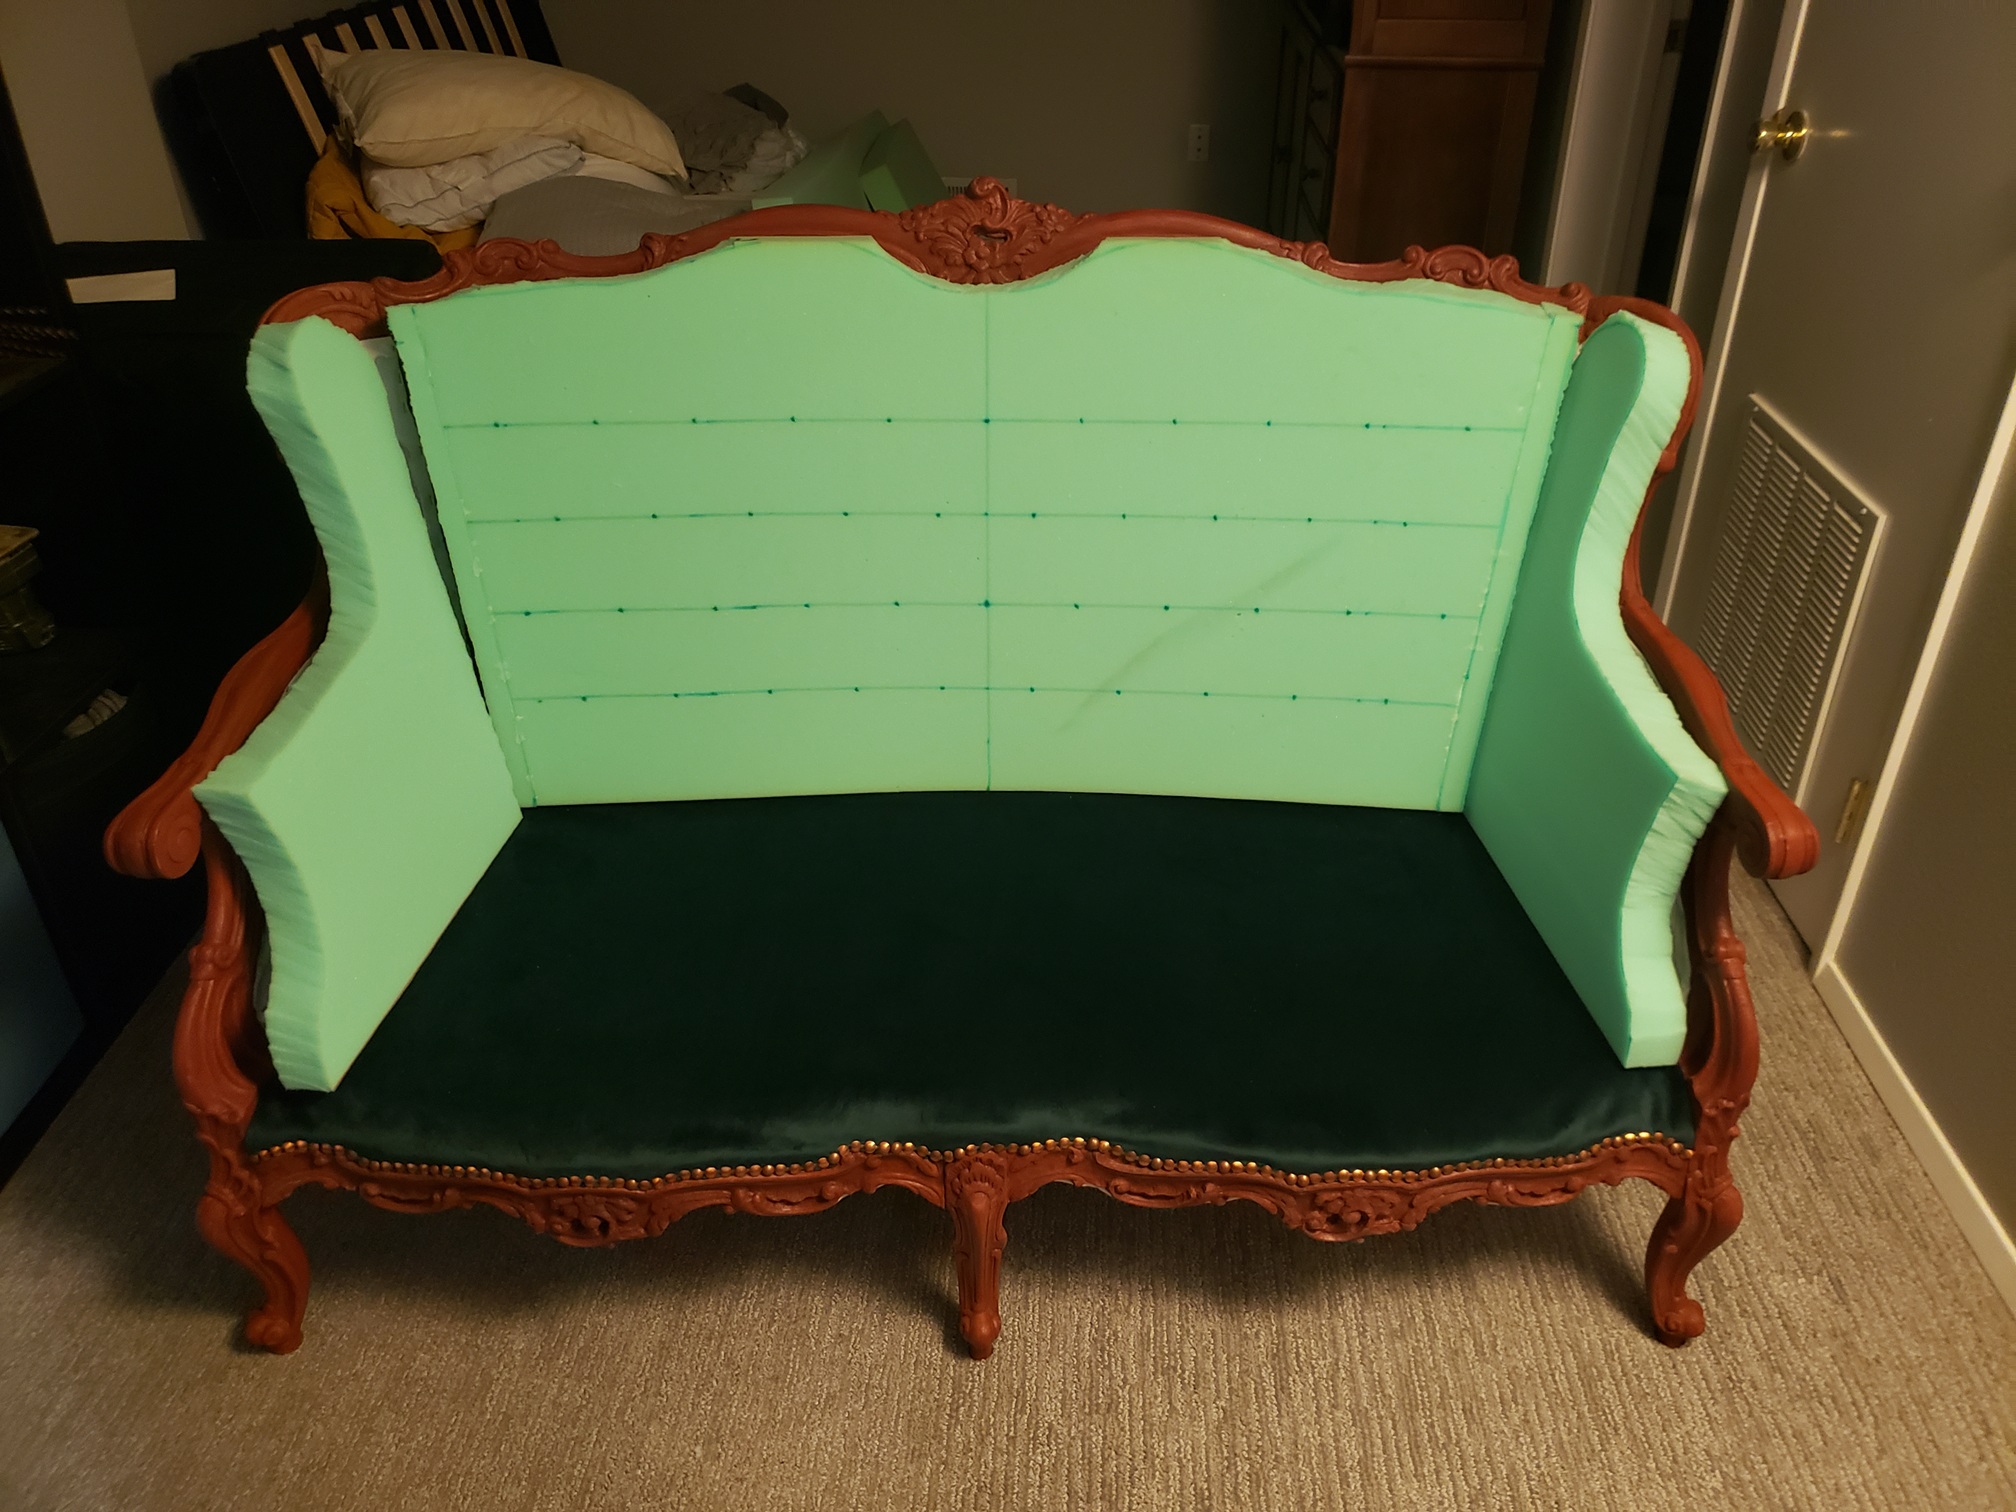
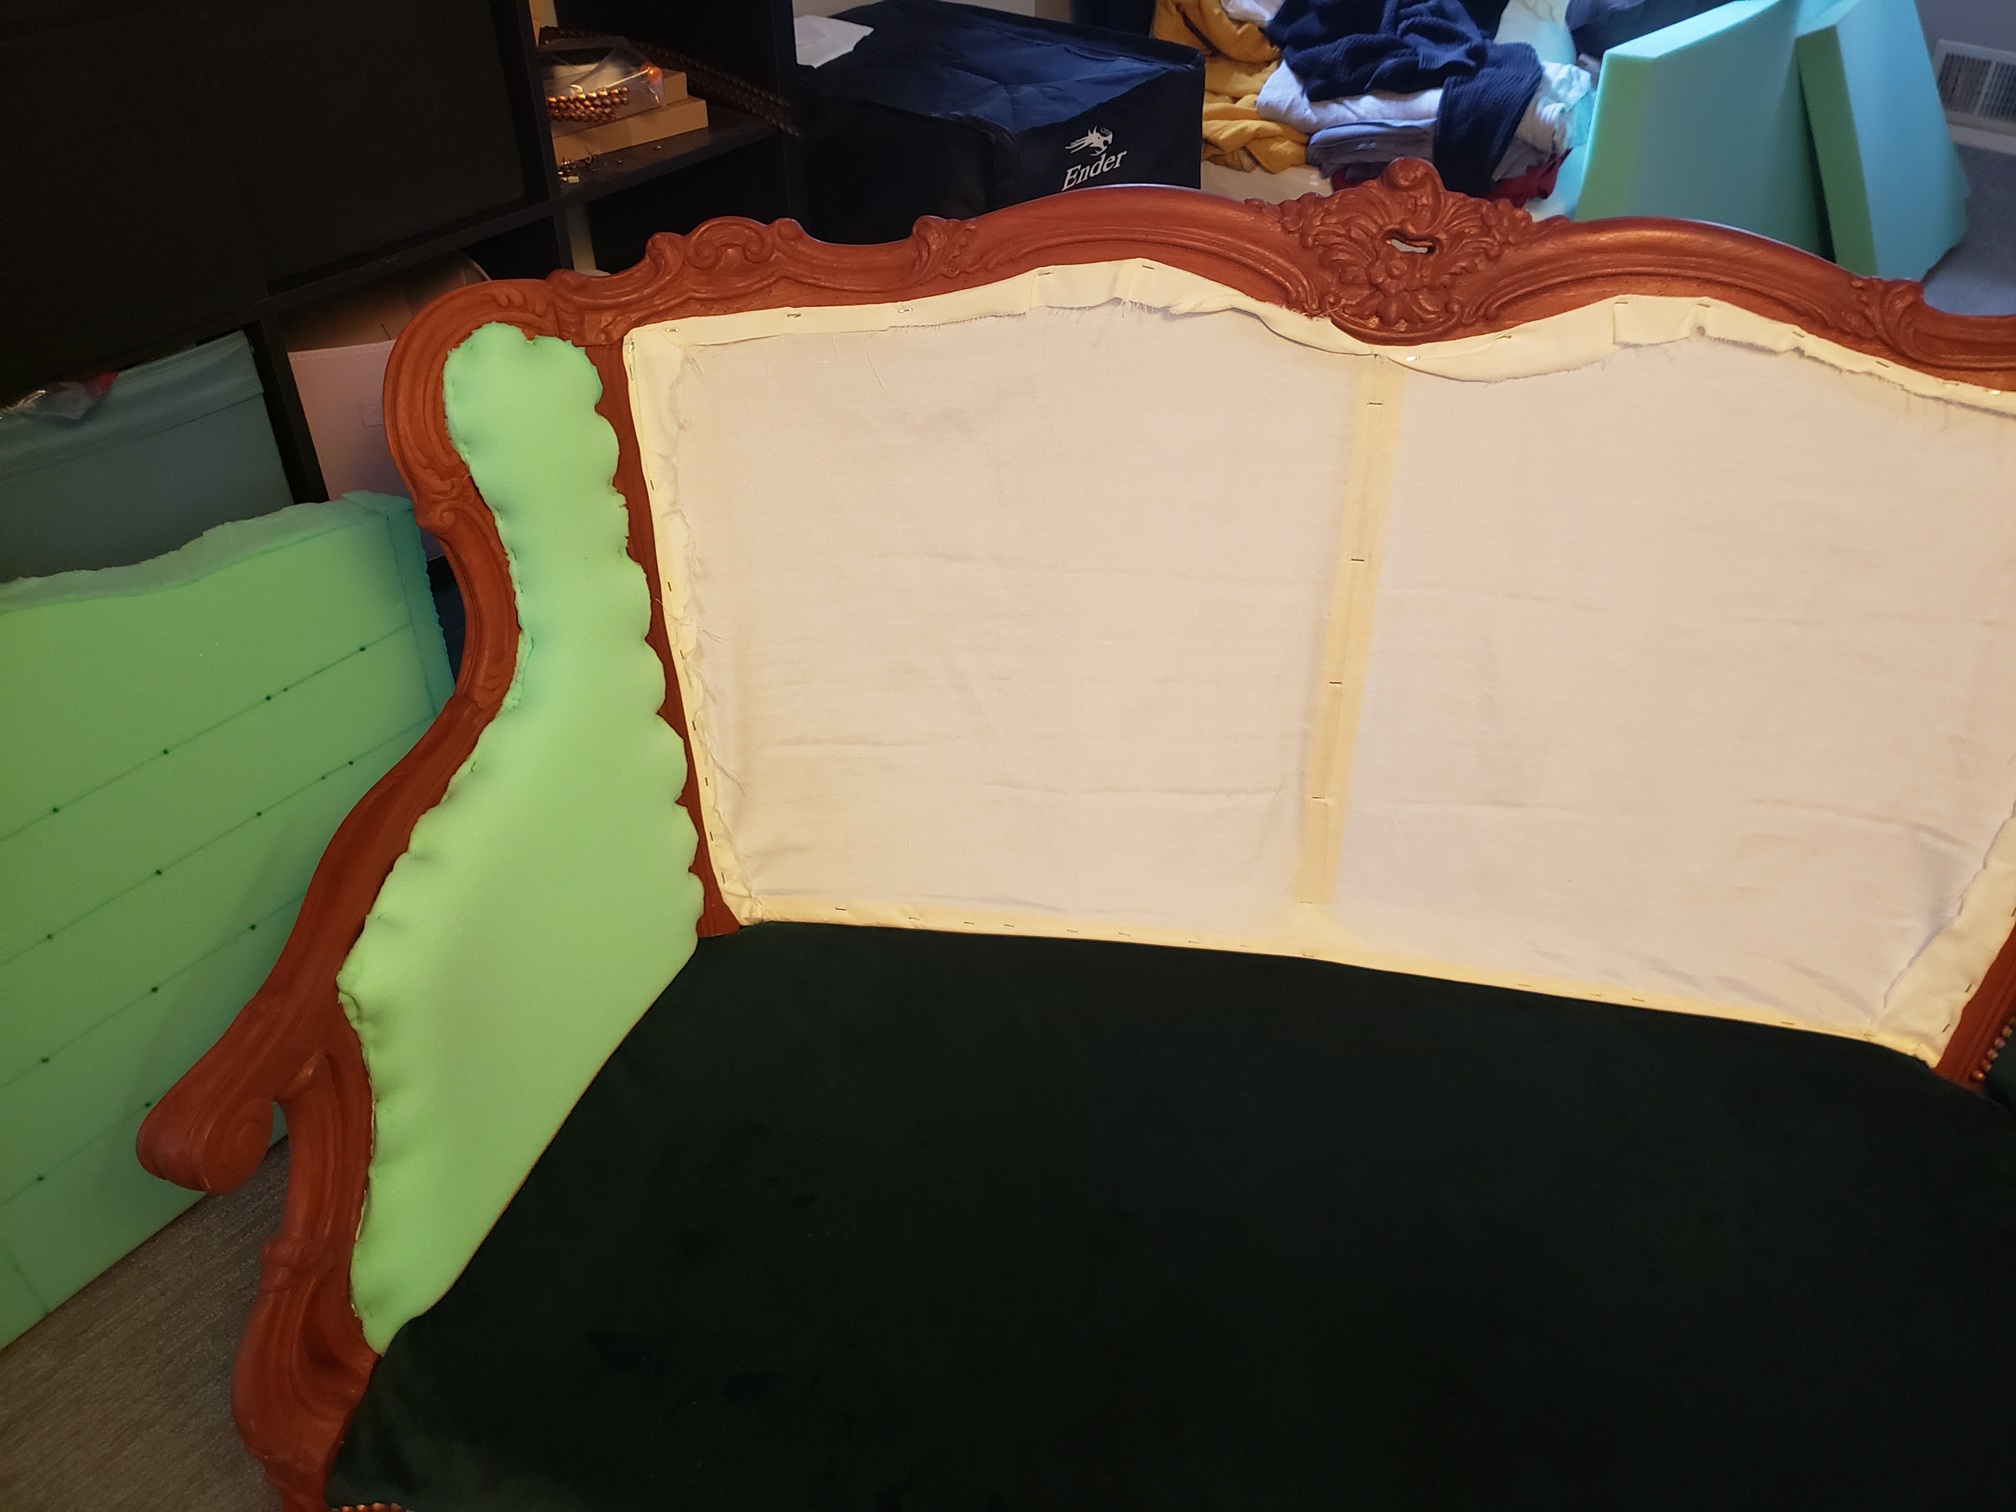
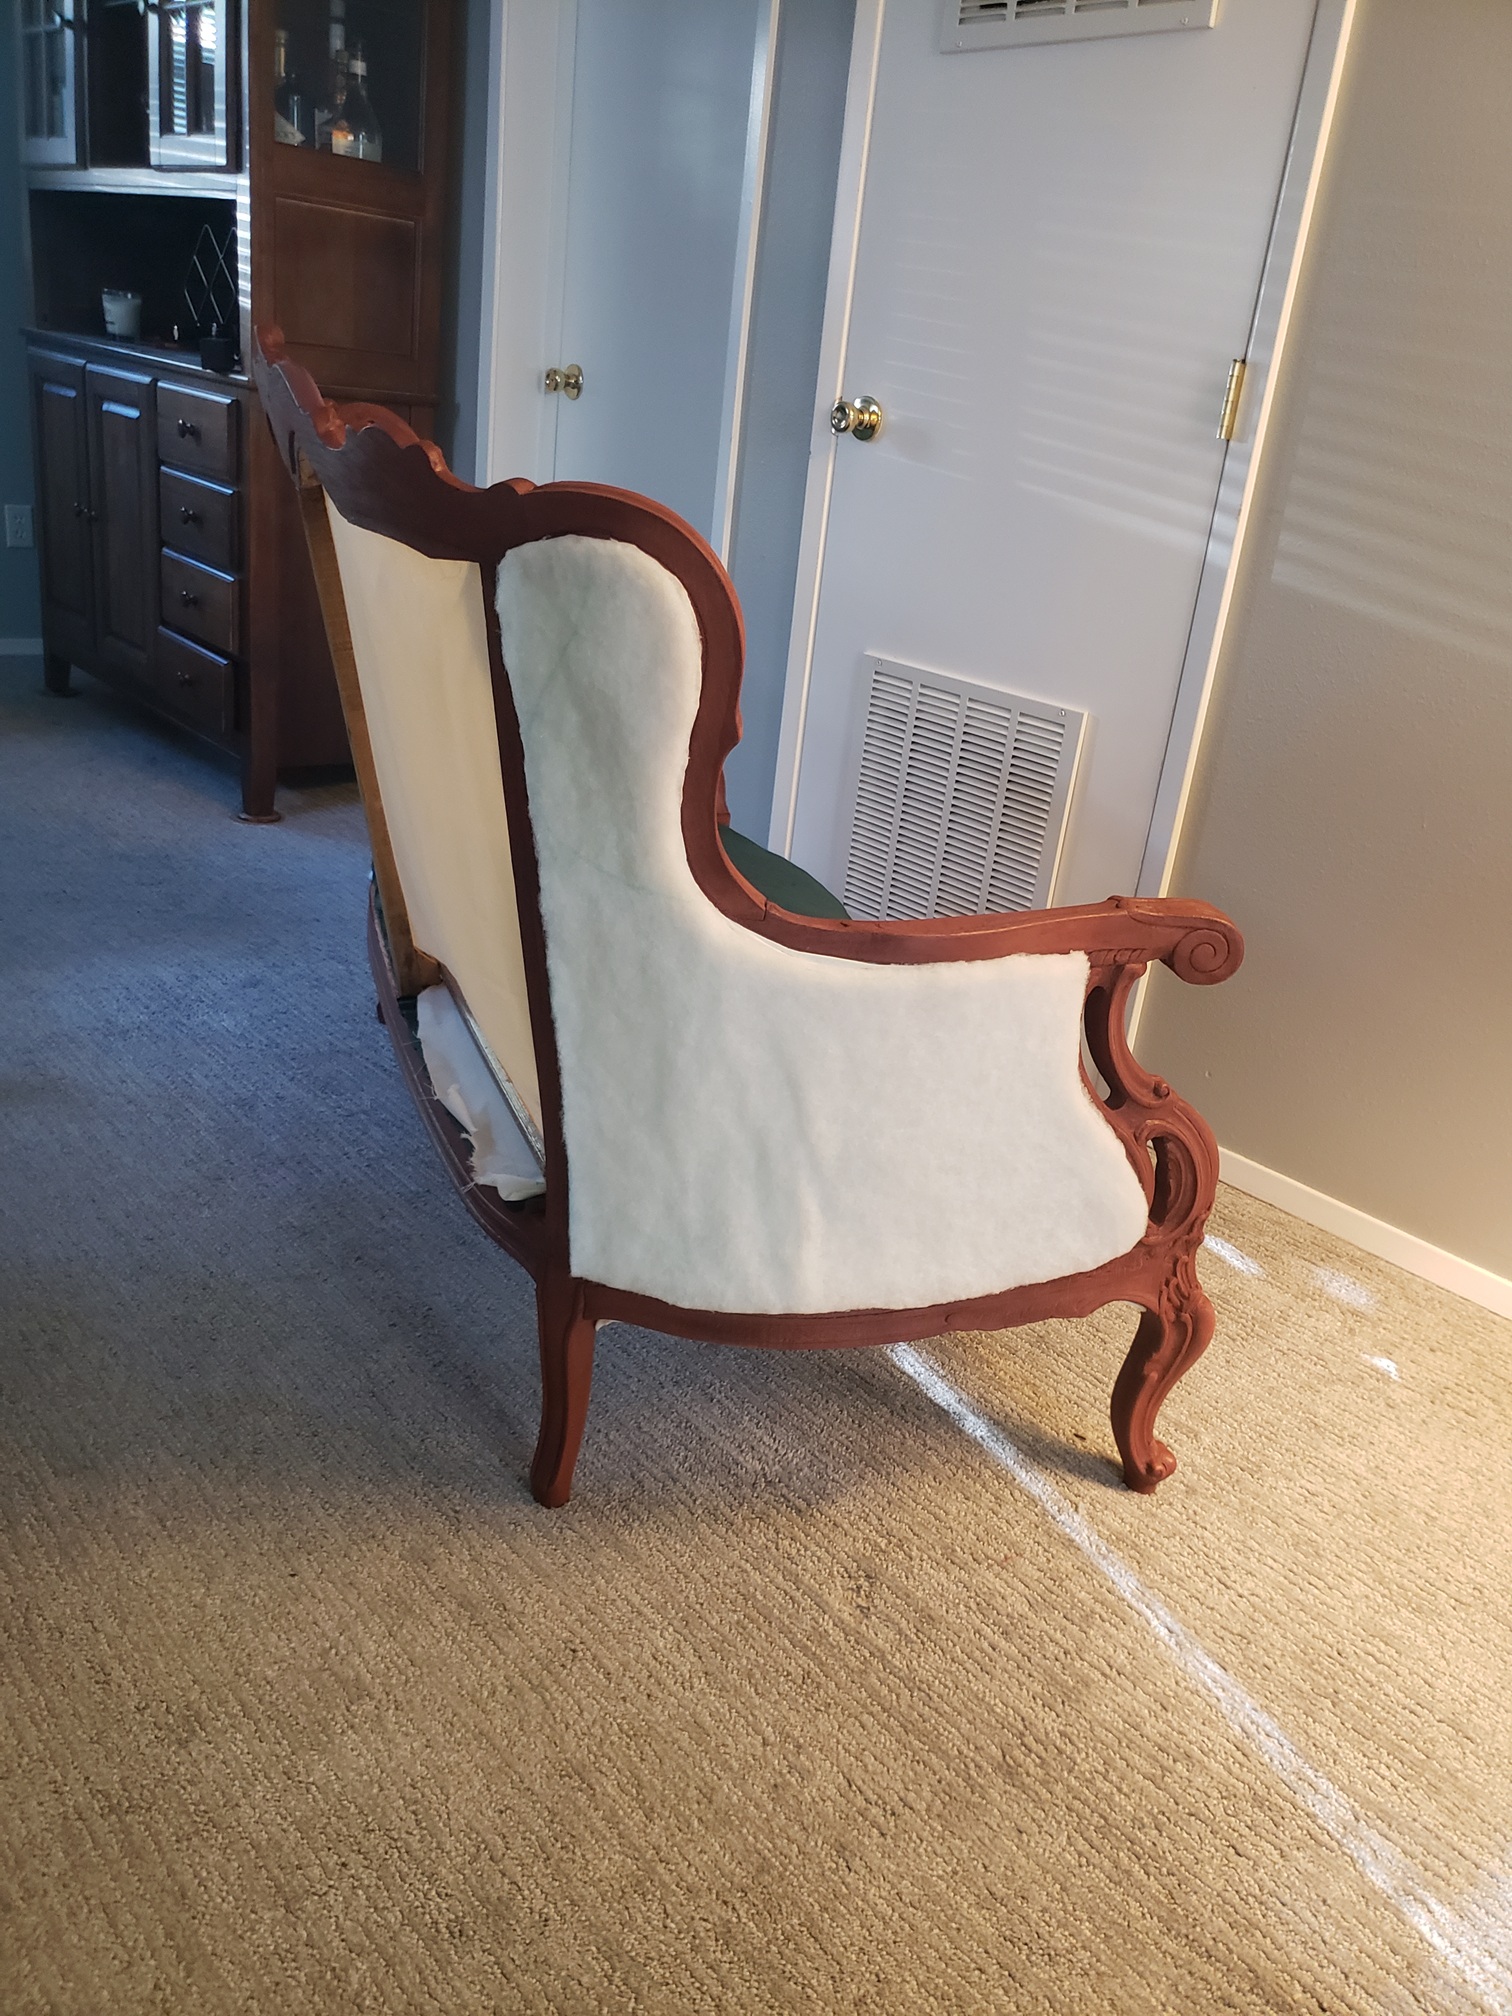
For the backs of the arms, I used poly batting instead of foam. Next, I ordered a special foam cutting tool which I covered in WD40 and drilled holes in the backrest for the button tufting.
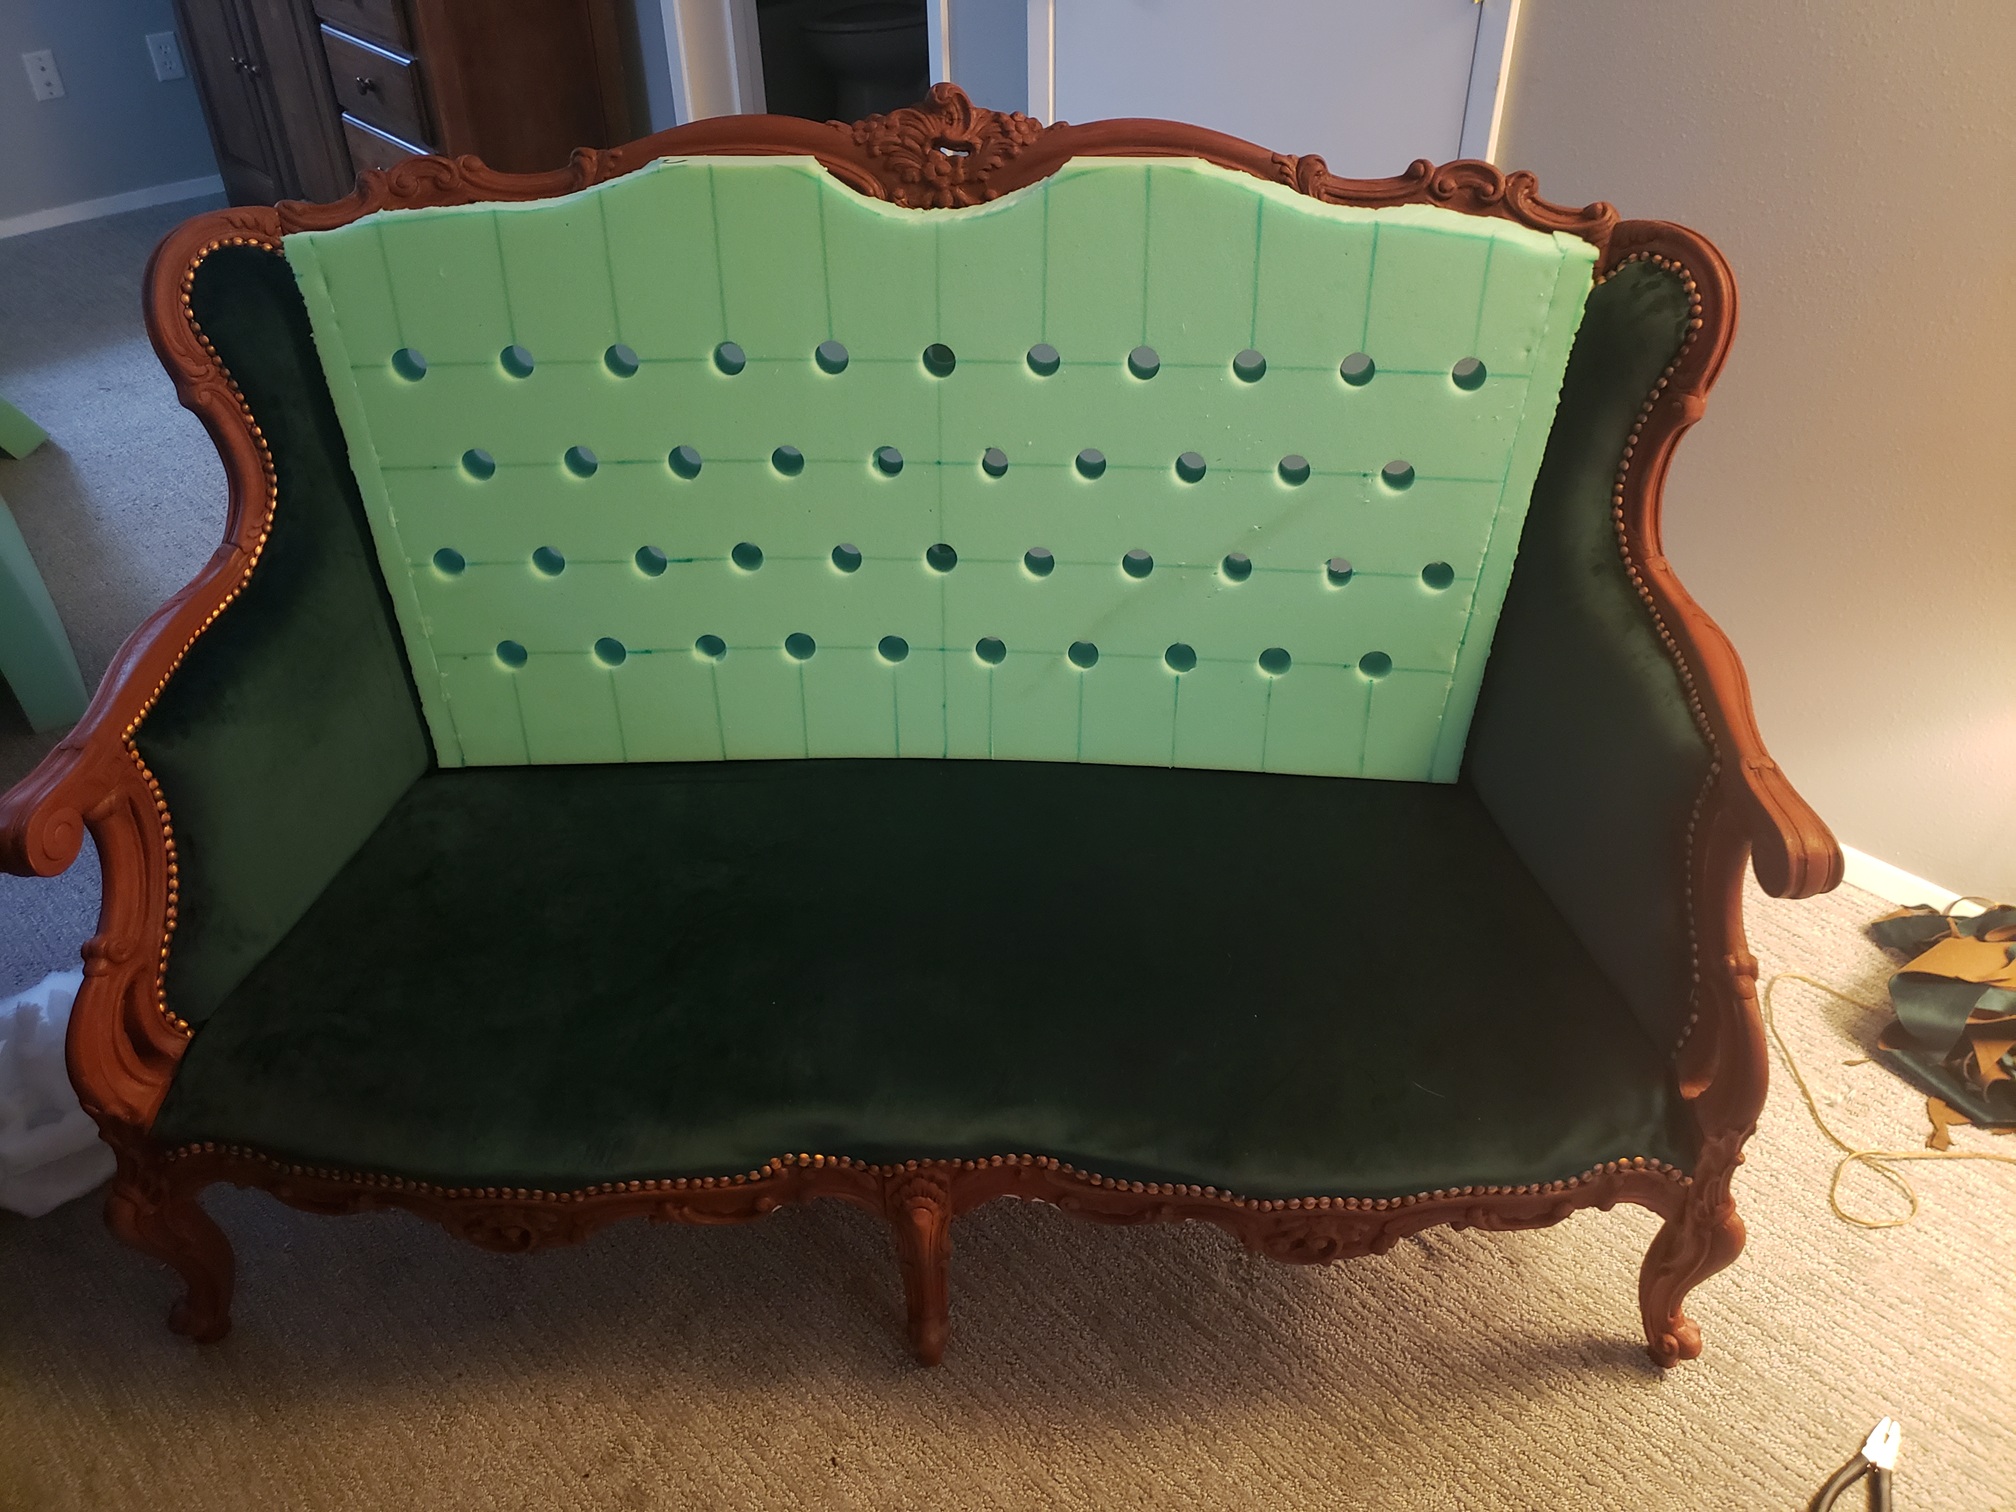
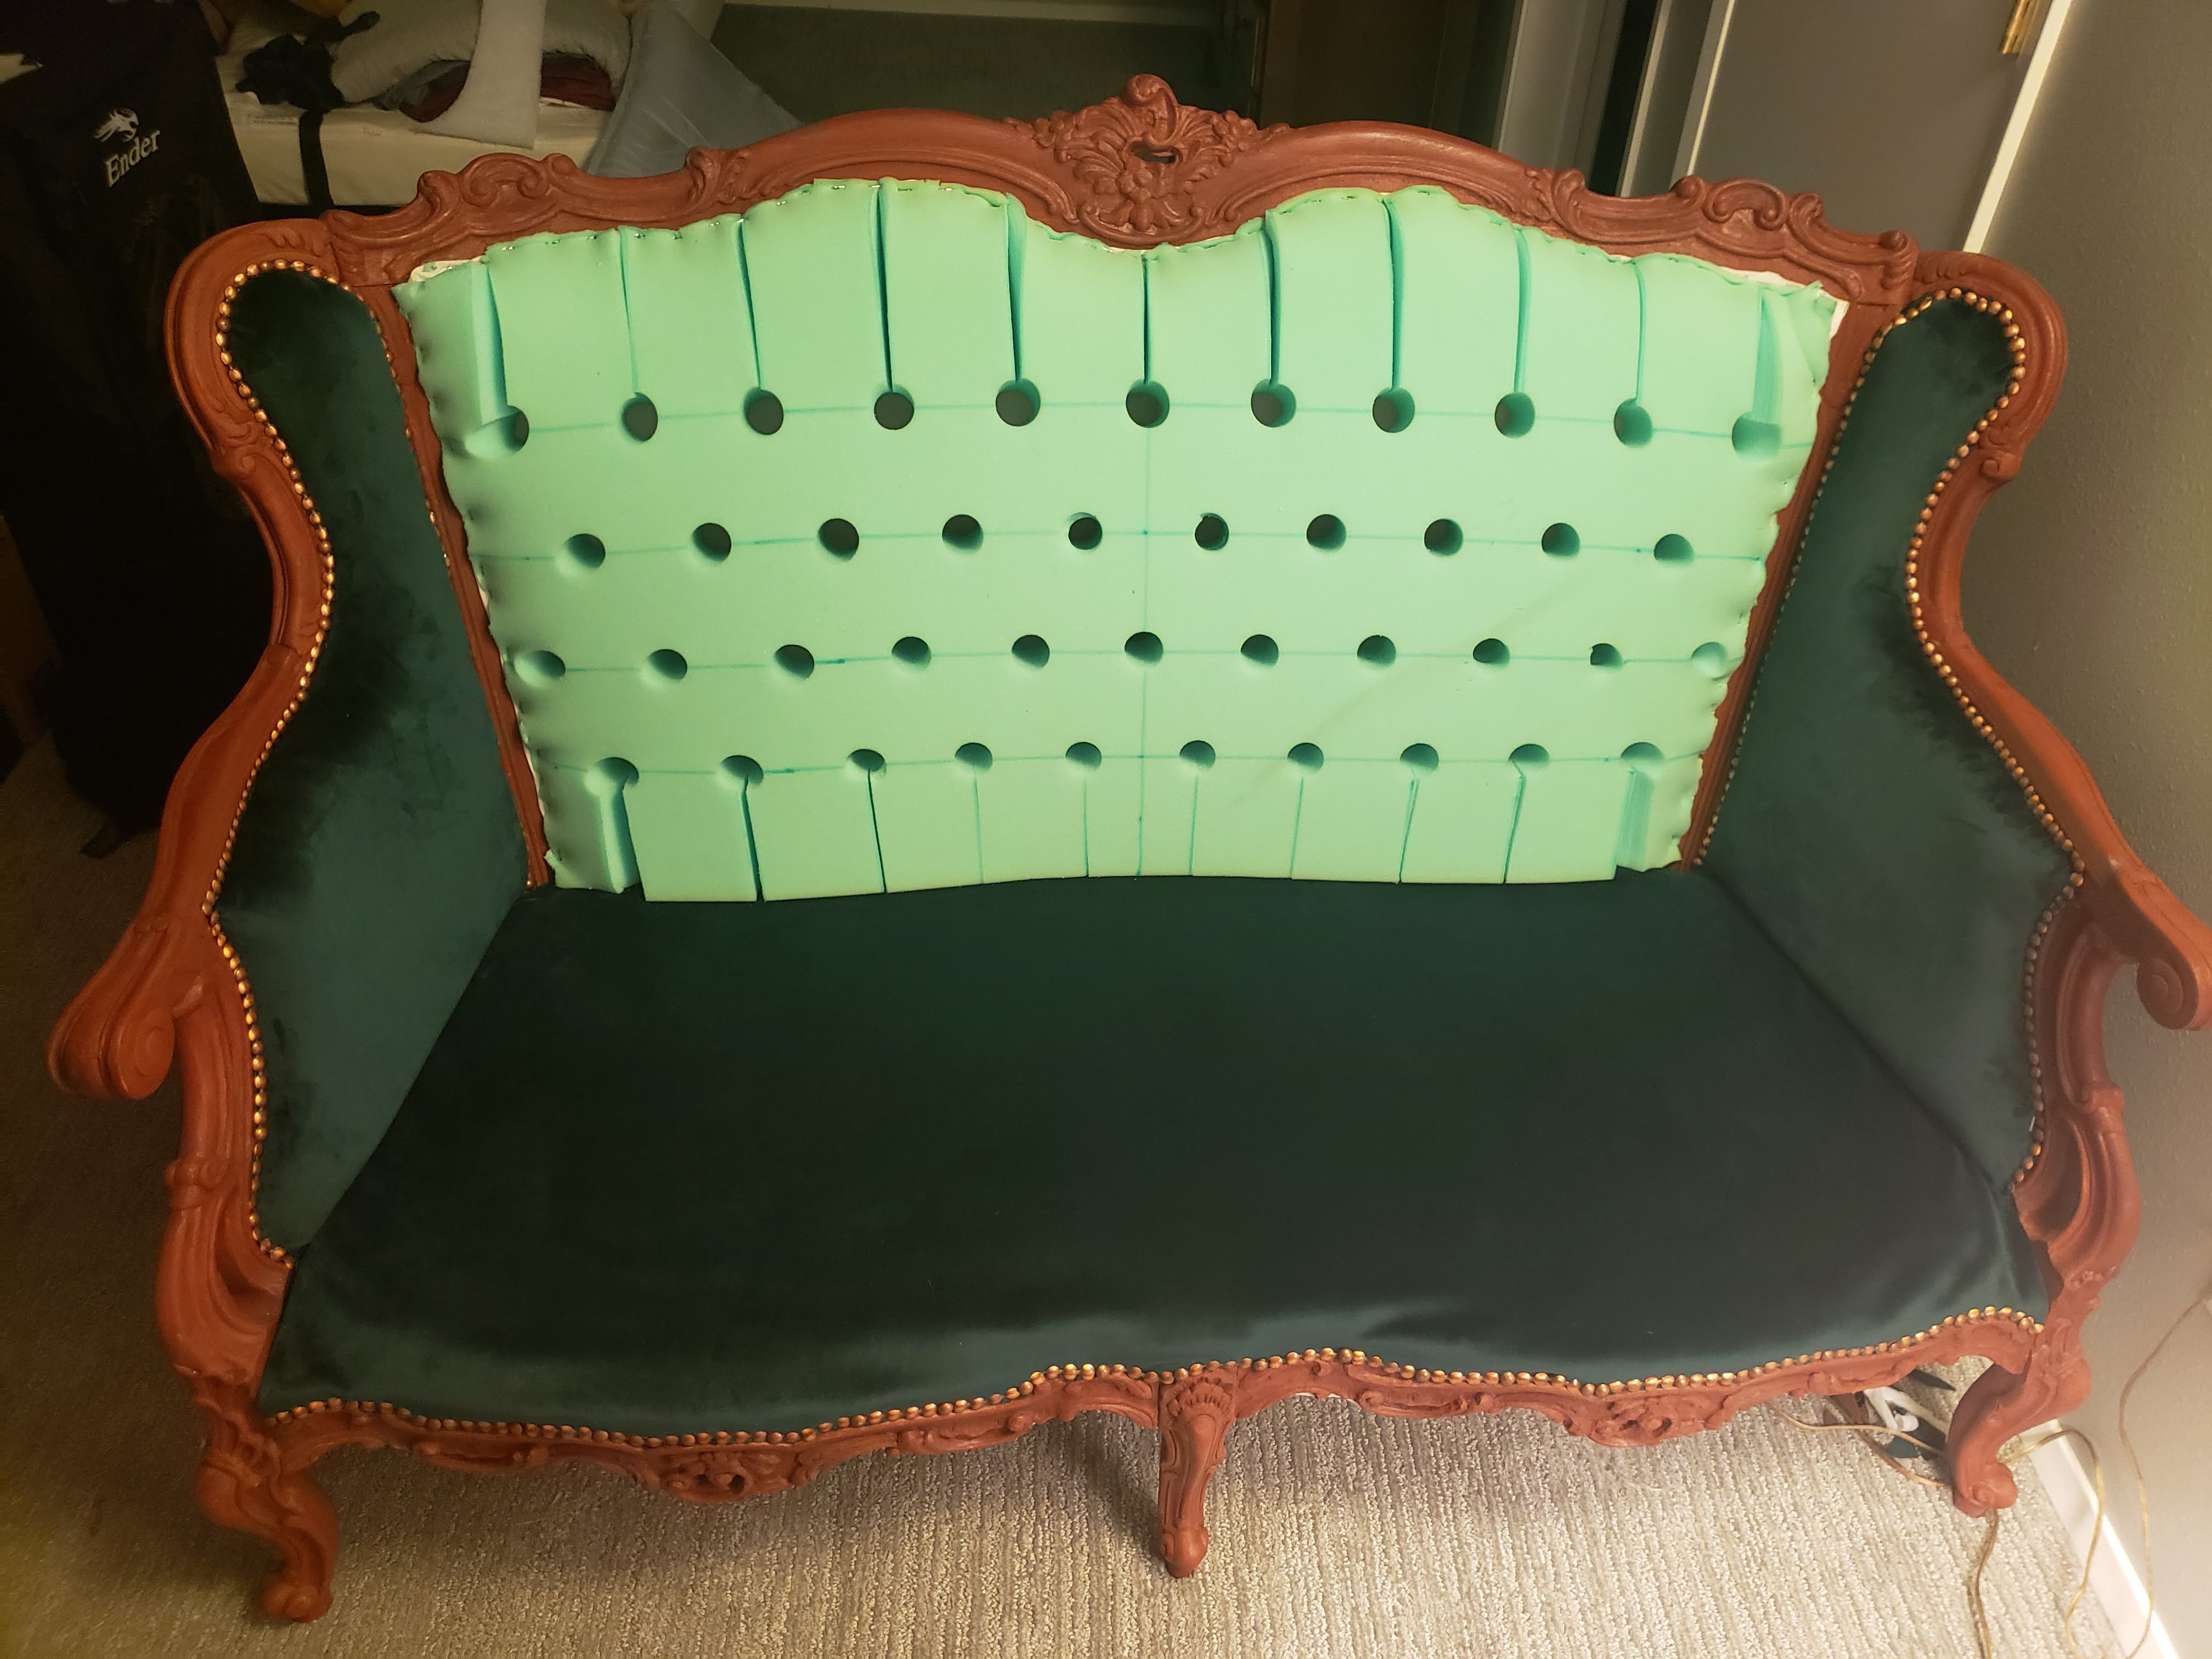
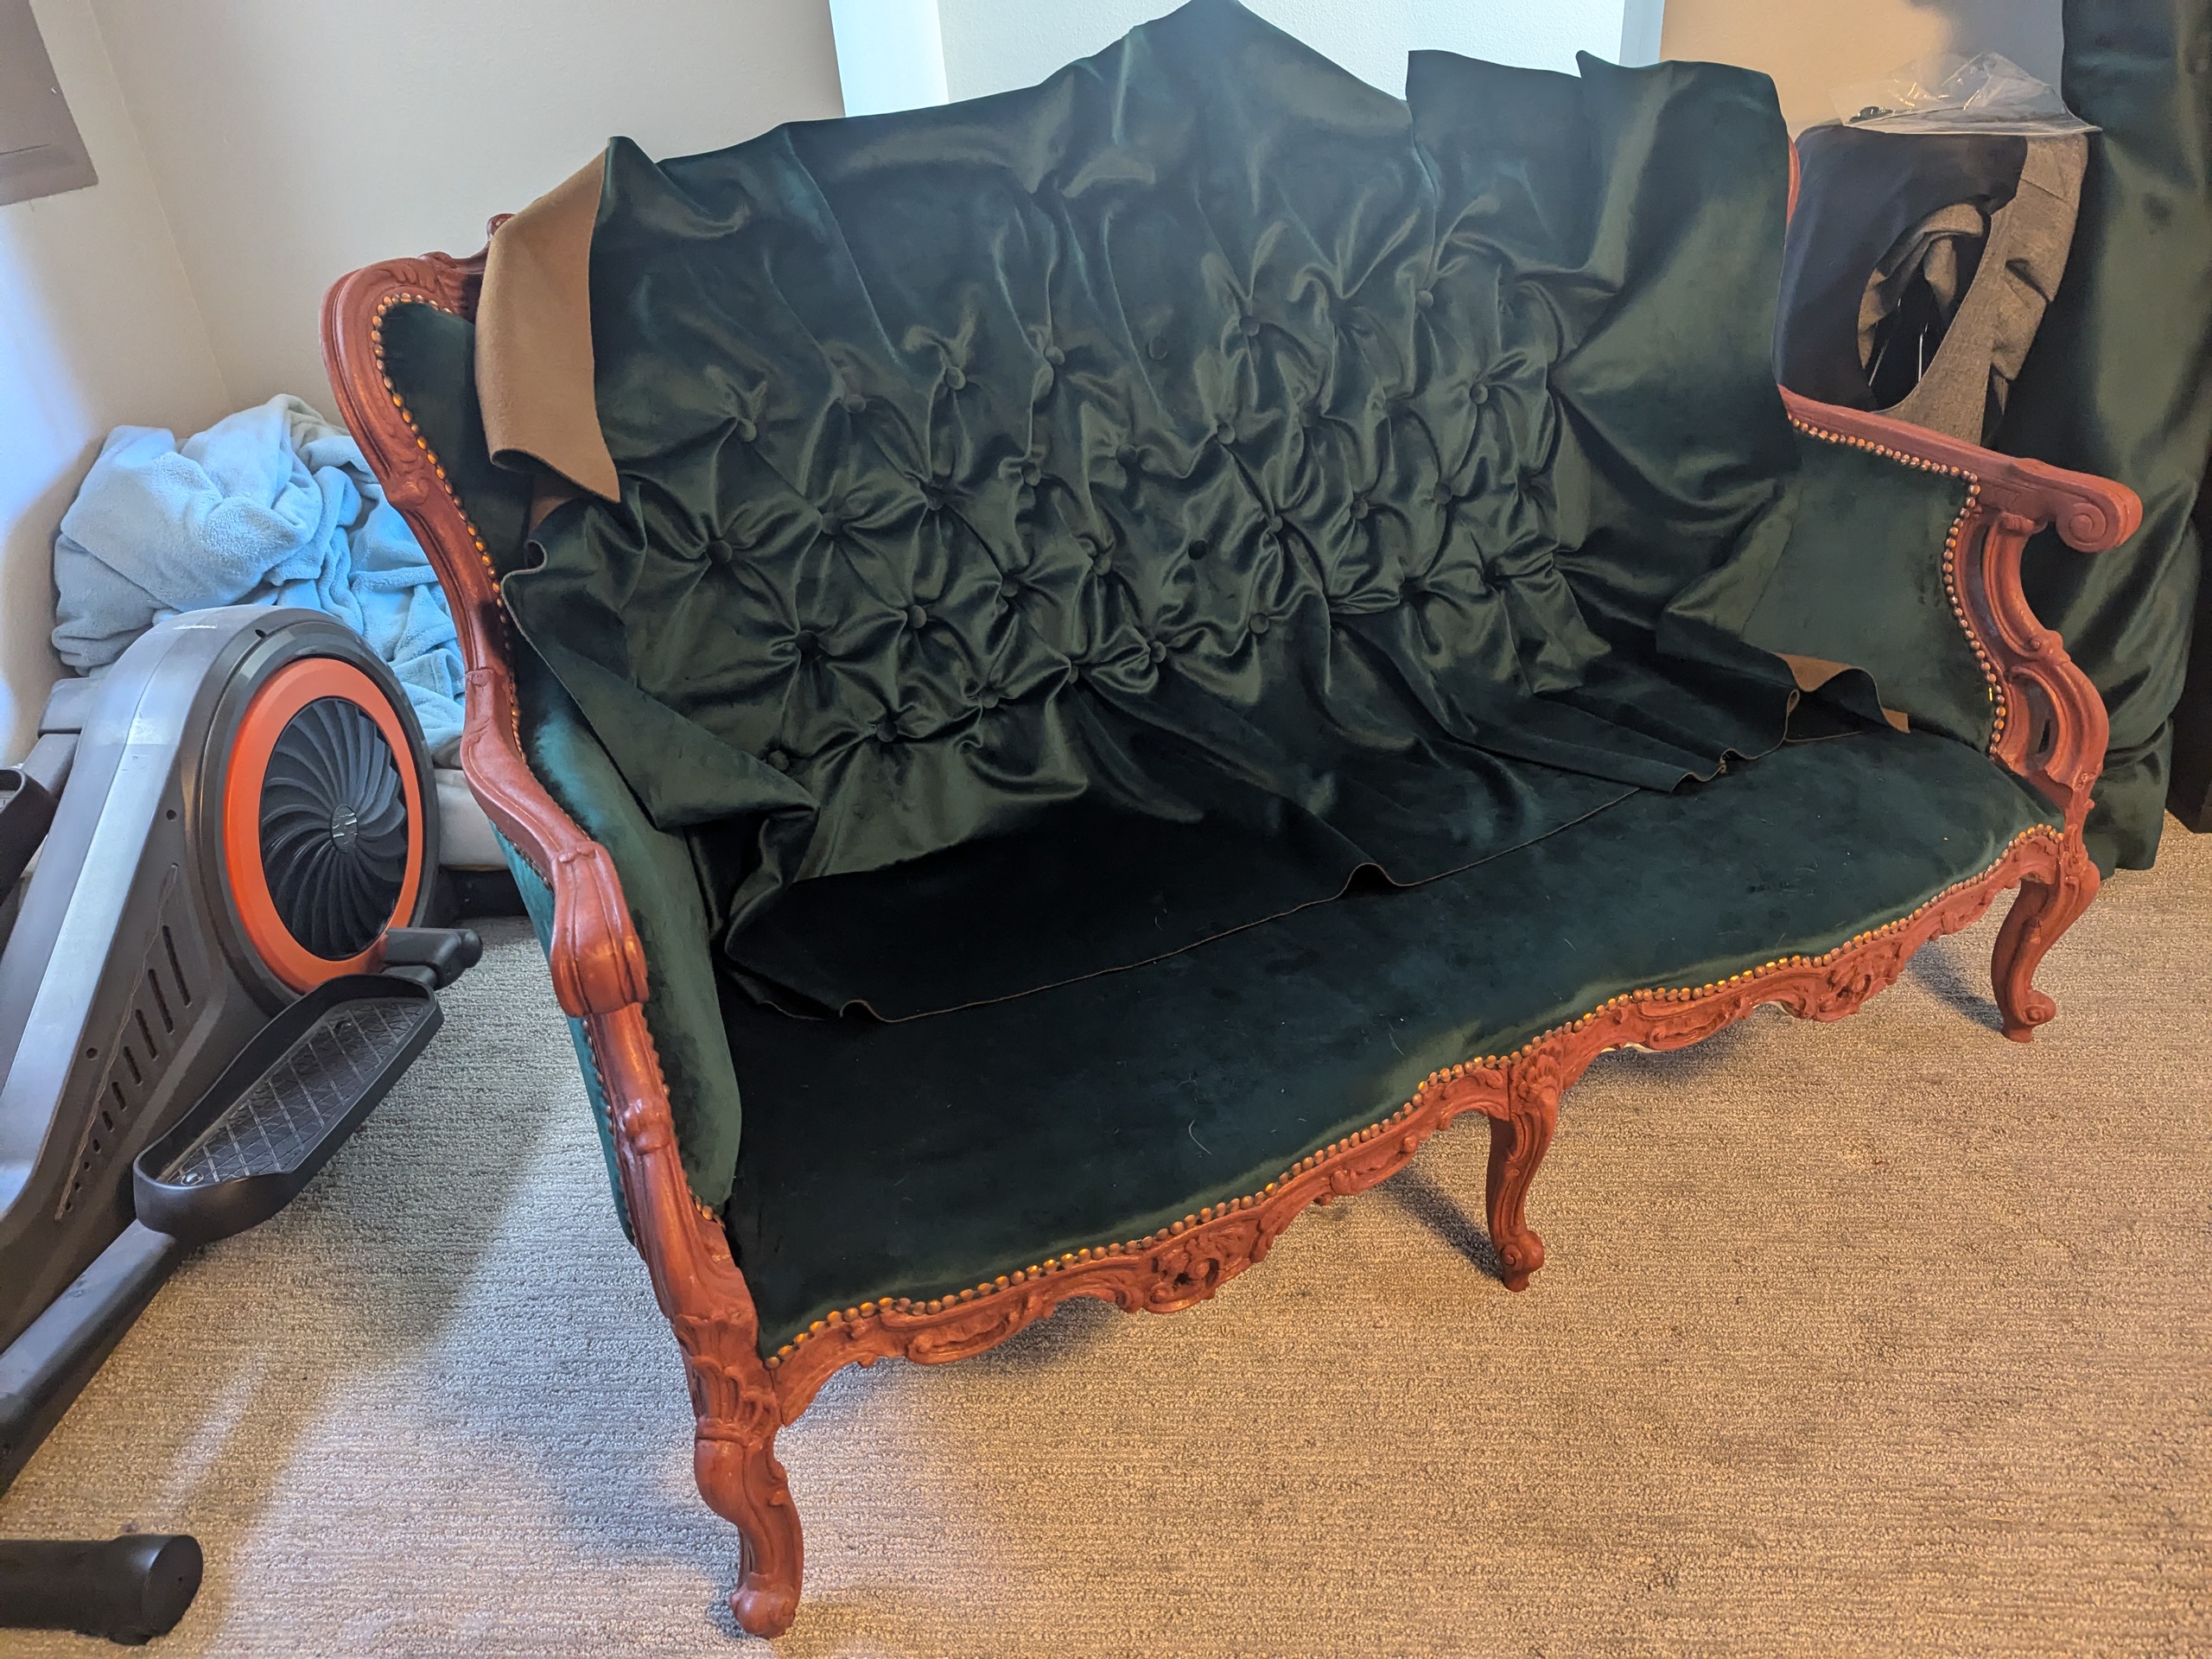
Now I had to do the part I was most dreading: the tufting. I did a couple of practice swatches to figure out how spaced out the diamonds on the fabric need to be. They had to be slightly larger than the diamonds on the foam to form pleats, but not so much that they looked baggy. (Even with these swatches, I regret to inform you, I still didn't get it right, but we'll get to that).
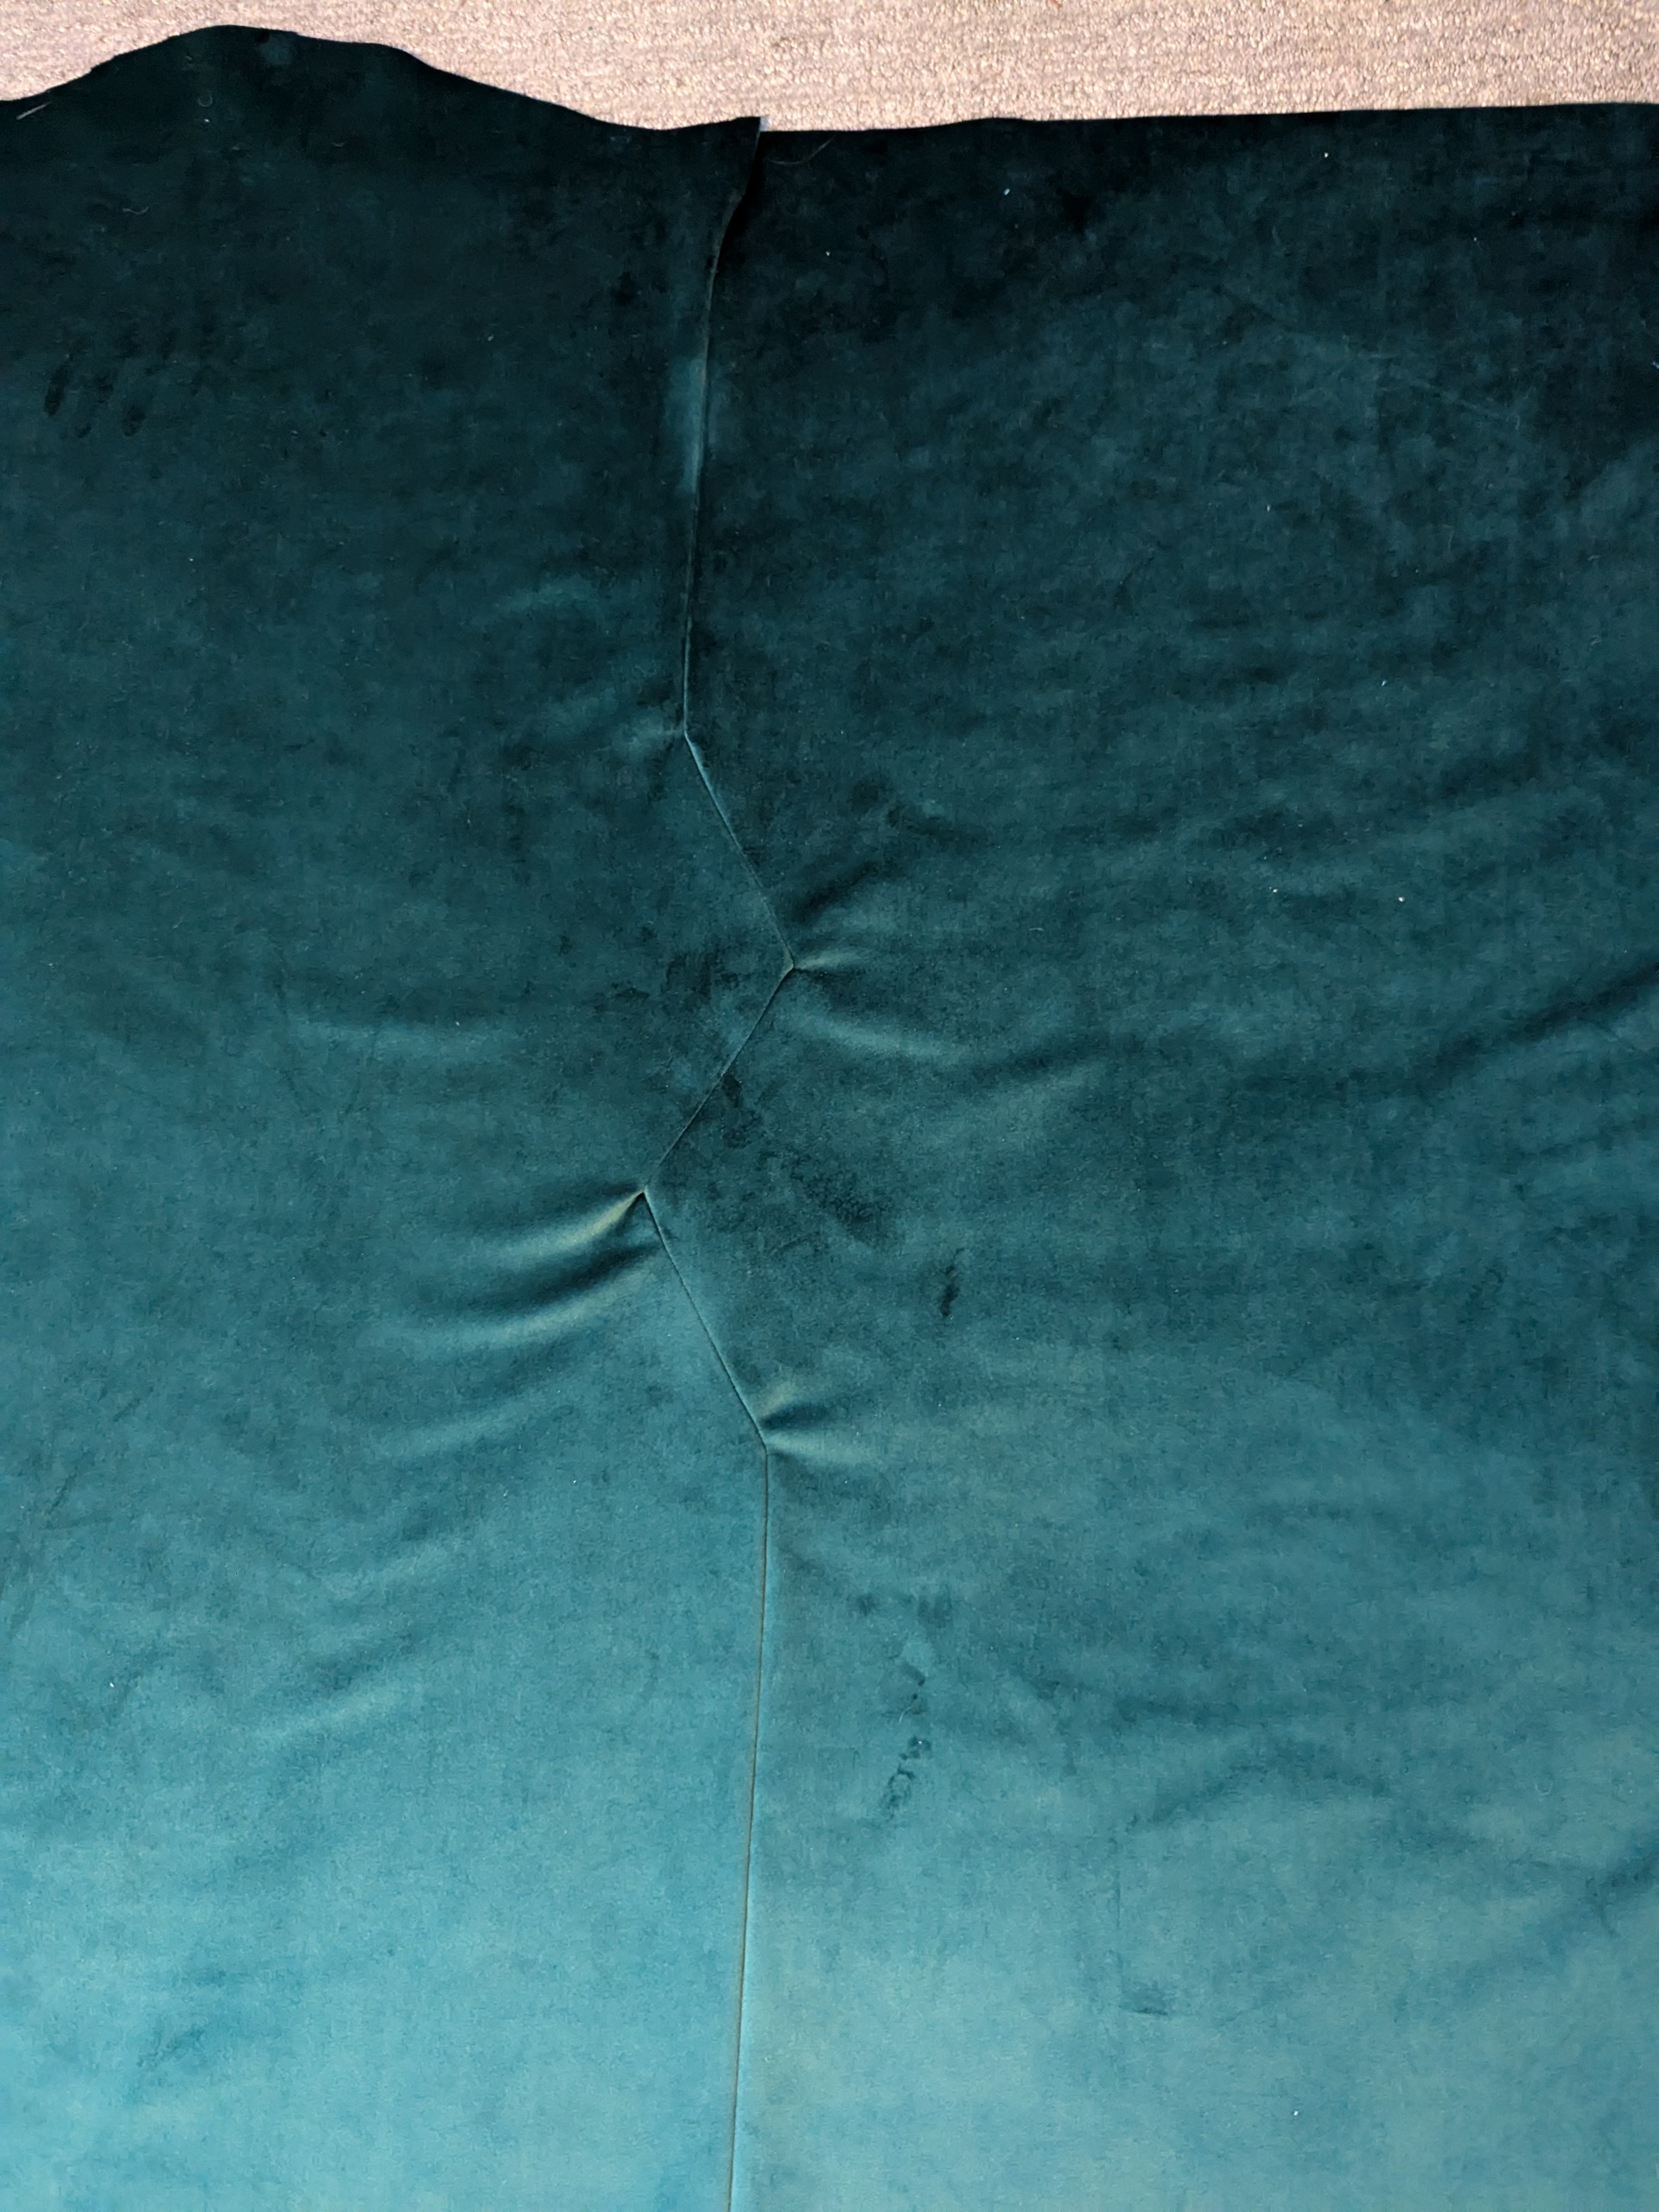
I marked out on my pattern piece where I thought each button should go, and because my fabric was not wide enough, I took a page out of the original couch's book and marked out a seam that would be hidden by the pleats.
With a giant upholstery needle, I threaded each button through the velvet, then the hole in the foam, and finally out the back. I used the foam that was cored out of the button-holes and bobbypins to tie down the buttons. My hope was that the bobbypins would distribute the weight across the foam and keep the buttons from tearing through the backing fabric.
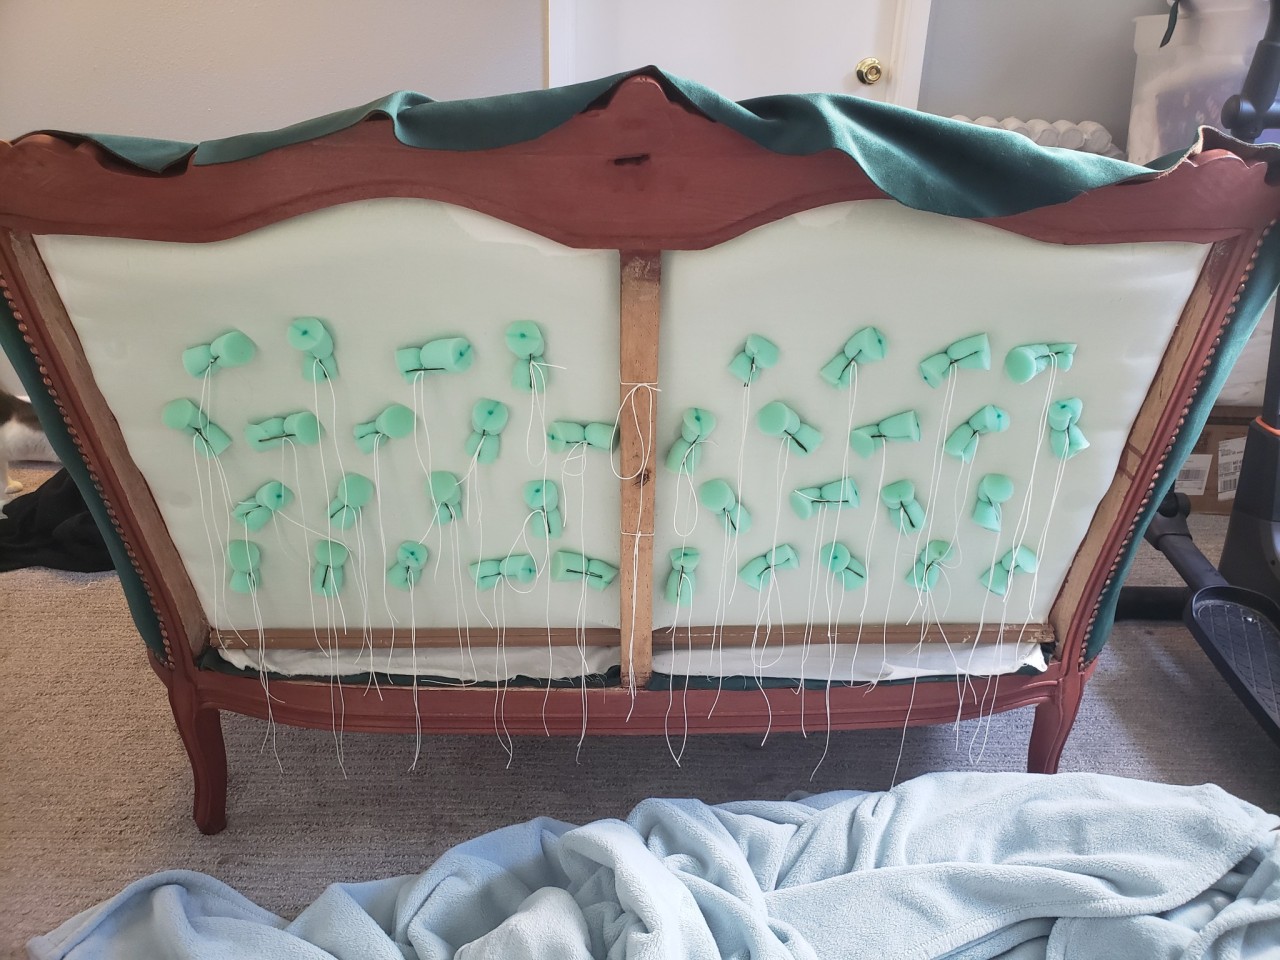
I used my large needle to run between each button and form neat pleats. Apparently, the pleats are always meant to face down so that dust doesn't get trapped in the creases. Clever!
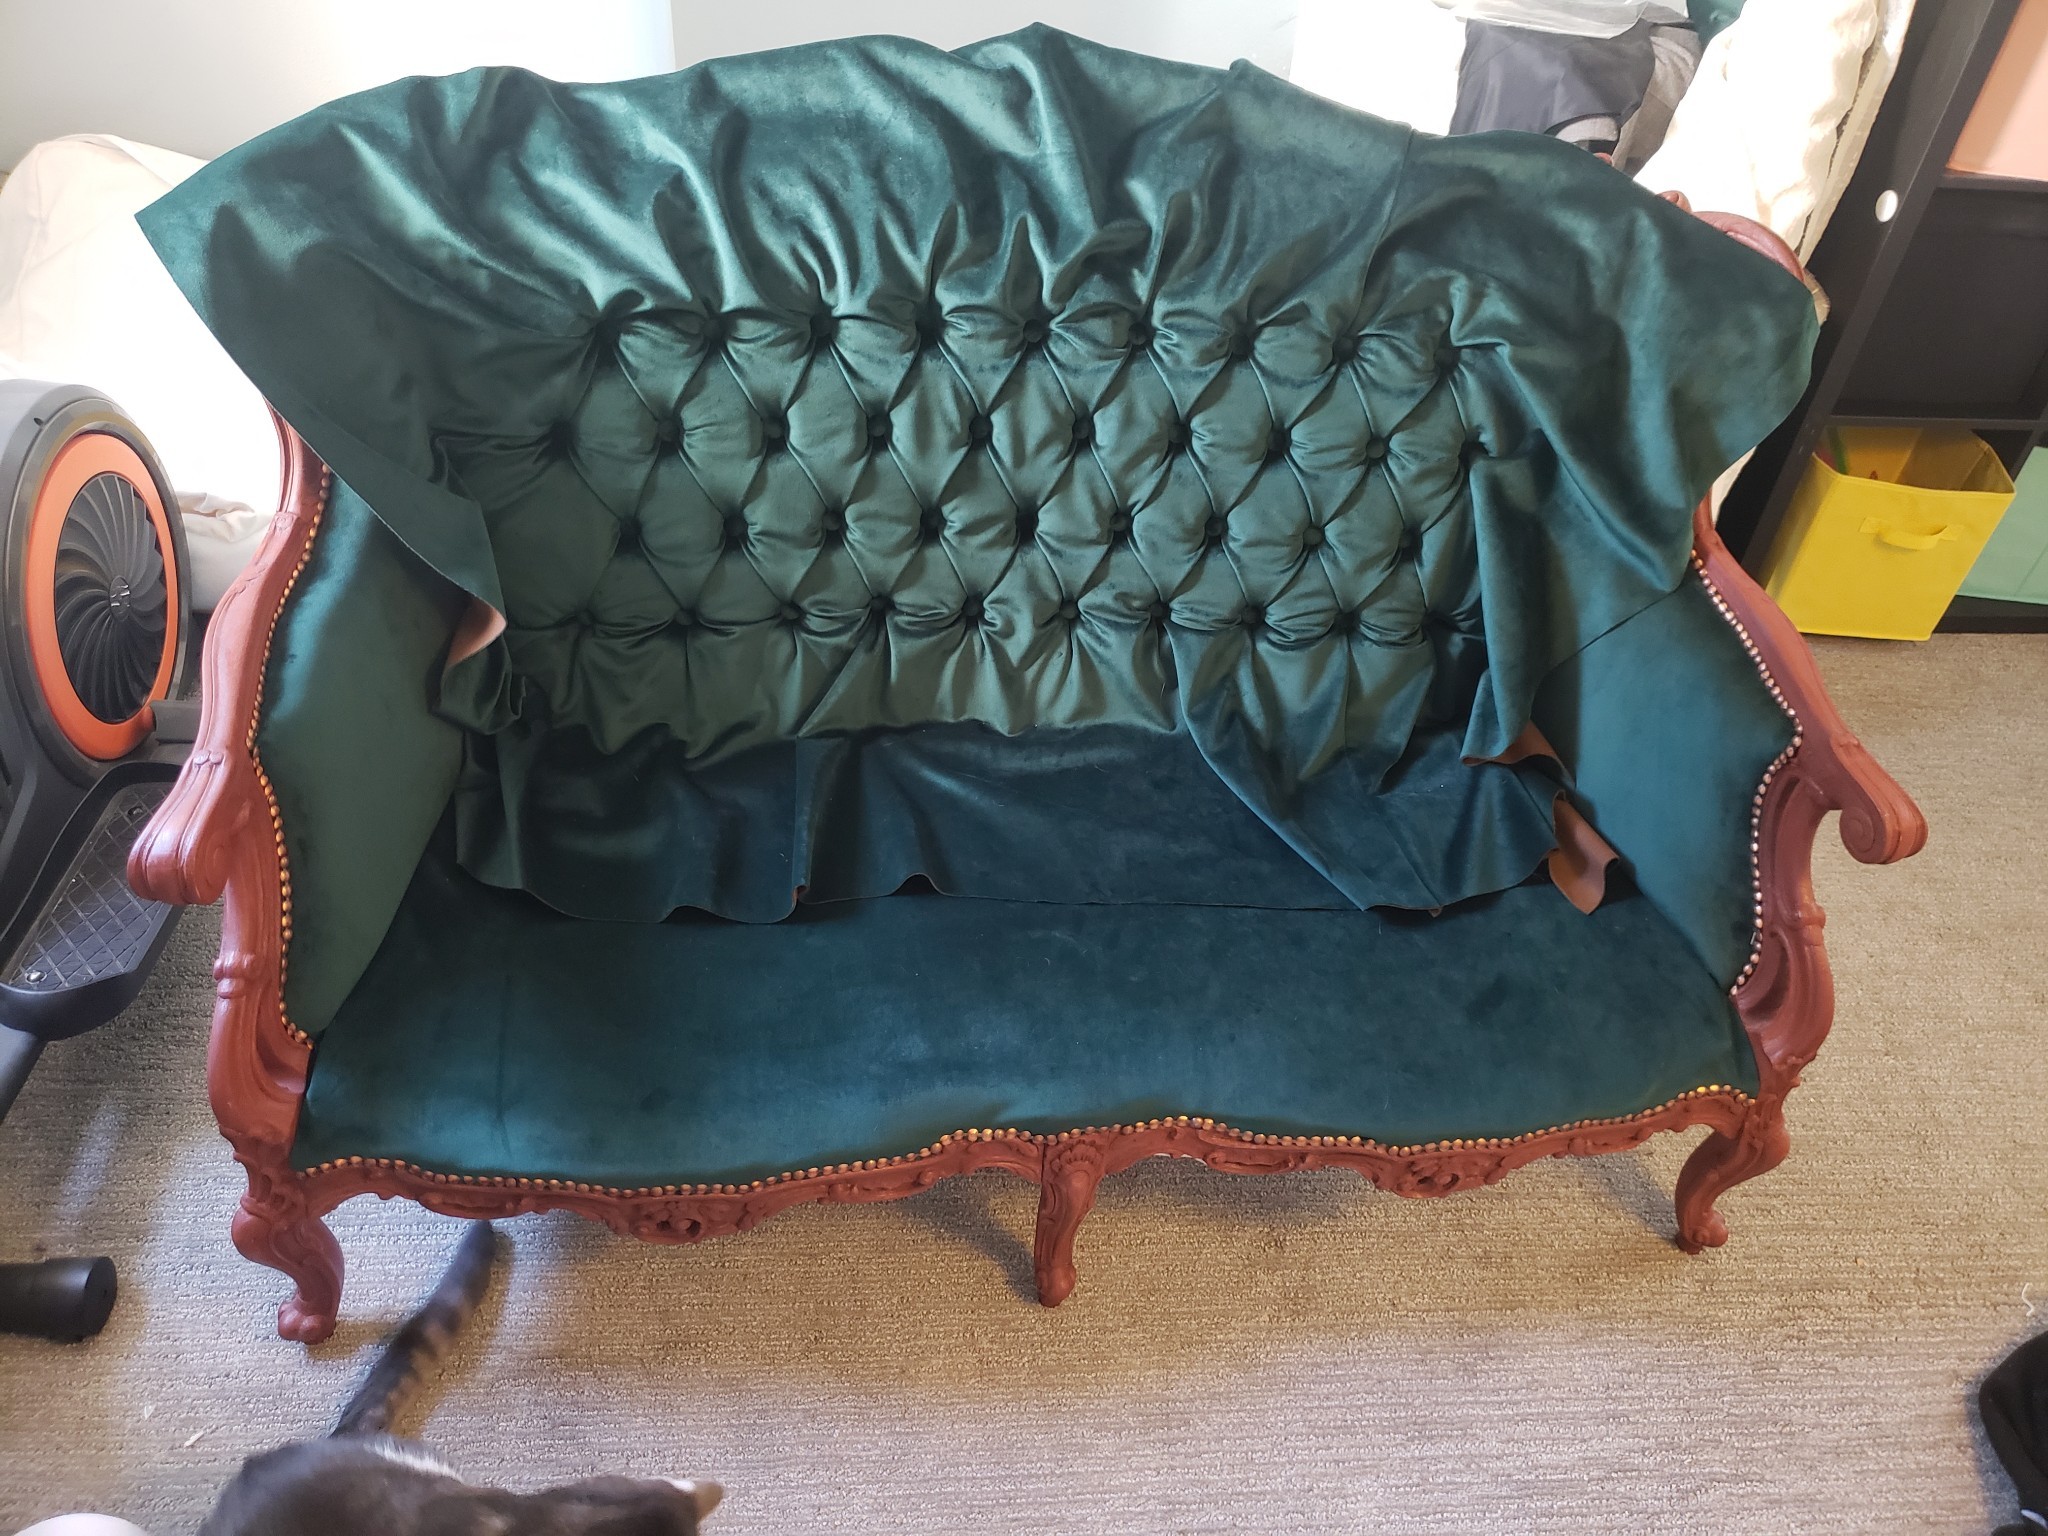
After sitting on it for a bit, I couldn't get over the somewhat baggy appearance of the diamonds. In all of the tufting reference photos I saw online, they appeared so much more taut. I found it hard to jutify spending $300+ on materials (for both couches), only to be unsatisfied with the result. And so, I removed the tufting to re-attempt another day.
What really upsets me is that if I re-do the diamond placement, the seam will no longer be in a position that can be concealed by pleats, which means I cannot re-use that piece of fabric. Not to mention, my cat PEED ON THE FABRIC BOLT. It's so ironic that I've done all this work to remove the cat urine smell, only to have it re-added by my traitor of a cat.
This was honestly the last straw. I have decided to put this project on hold indefinitely. Maybe I'll pick it up again when I'm less fed up. Sorry there's no happy conclusion, but thanks for joining me on this journey thus far!
Comments