
You've Got a Bat in the Cave

As you make your way through the forest, past the witch's hovel and siren's cove, you suddenly find yourself in a strange cave with glowing stalactites and stalagmites. You hear clicks and strange gutteral whines—something lurks within, and it doesn't want you to get close...
...a Giant Bat Creature!
When I first started designing this costume, nothing yet had been decided about the bat monster's backstory or motivation, but pretty quickly we all agreed that of all of the characters in Leave Only Footprints, this would be the most inhuman. And so the question became, "what is the most effective way to make a human look less human?" My answer: change the silhouette and gait.
And so, my goal was to imitate the way that wyverns/dragons are typically animated when walking (aka clawing) across the ground.
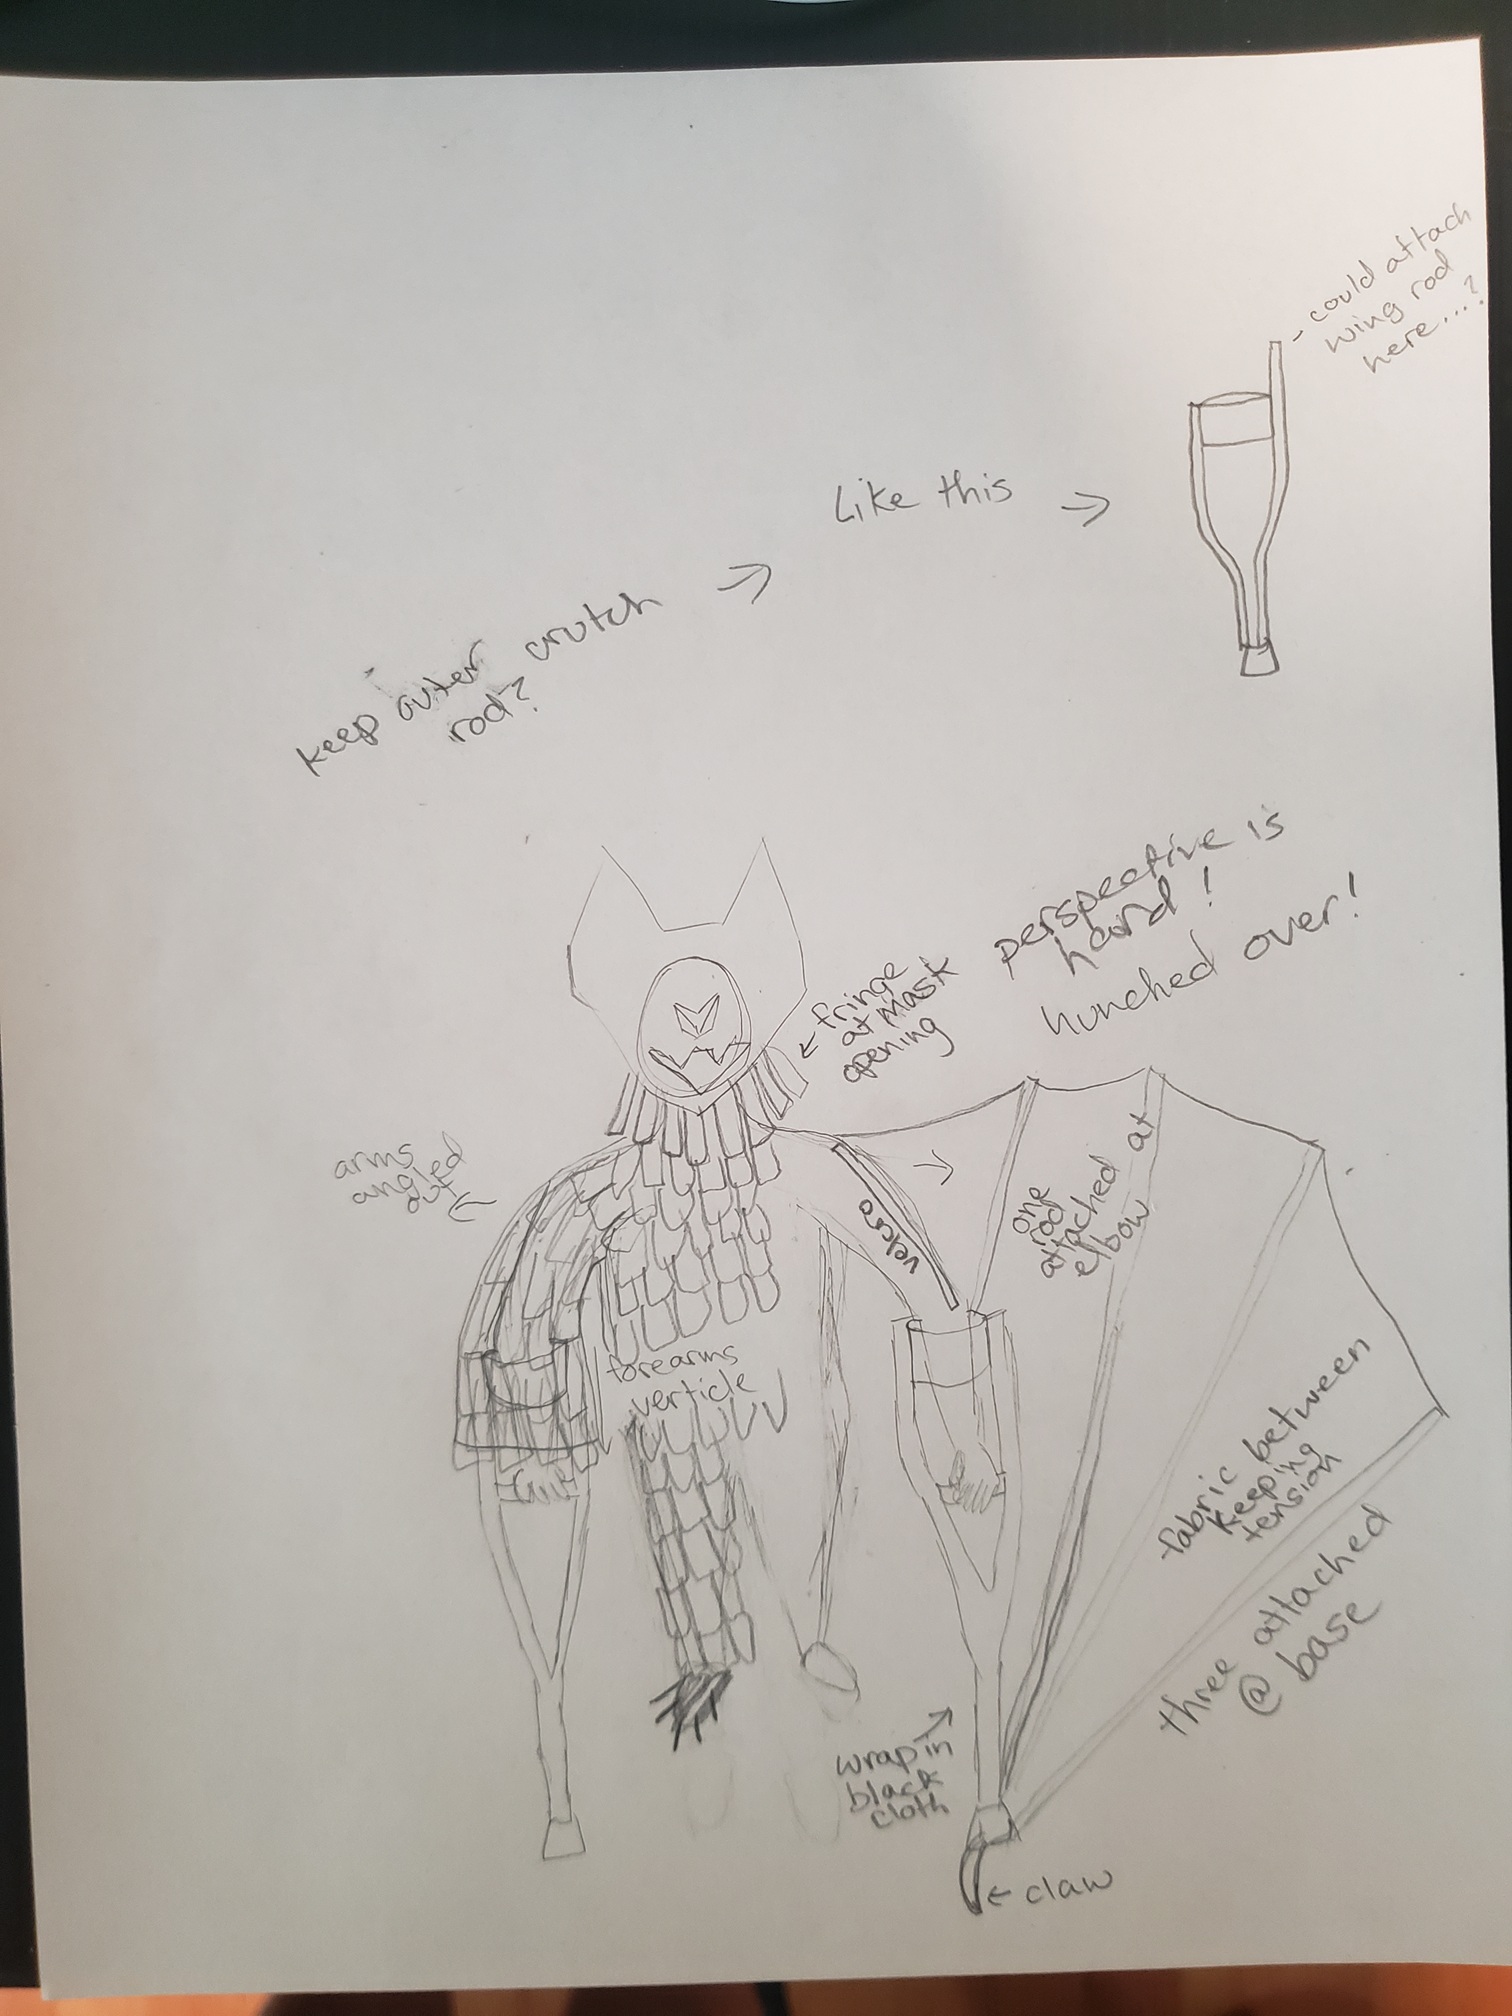
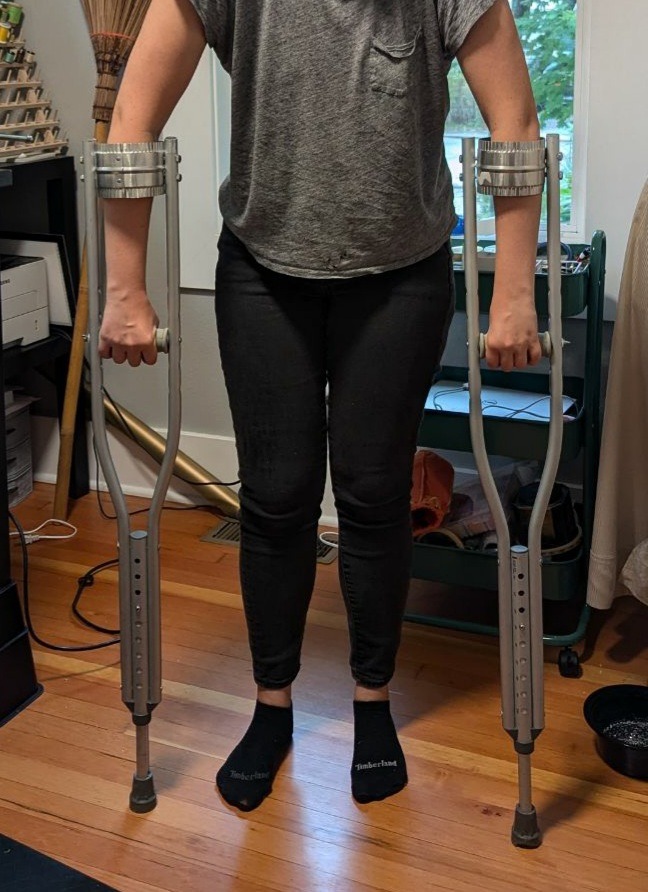
Obviously, there were constraints when it came to building a costume that someone could wear for several hours and get in and out of fairly easily—having a person crawl around on their hands and feet in a fucked up mountain pose is only possible if you are Doug Jones. I remembered seeing those freaky quadruped costumes where people walked around on crutches and leg stilts, and found a costume by pilkingtonprops on Instagram that was just the sort of thing I was looking for. From there, I came up with my first sketch (please excuse my awful drawing).
I didn't have much of a budget, so buying yards of fur fabric to cover a whole person was a no-go for me. What I did have a lot of, though, was otherwise unusable white fabric. Awhile back, I bought it in bulk online because I thought it would work as cheap muslin fabric, only to learn that it was cheap for a reason: it curls whenever you cut into it. I think the tension on the weave was wrong, which made it impossible to use for its original purpose. But for something like this, it was perfect! Bonus texture and movement.
I bought some Rit dye to color it black—filled a large pot with water, boiled it, added salt and dish soap, then submerged my fabric (2 lbs, as suggested on the bottle). But to my frustration, no matter how long it sat in the dye bath, it only ever reached a light gray. When I originally bought the fabric, it was labeled simply "cotton," I now suspect it was actually 51% cotton, and 49% polyester. So my natural fibre dye only worked on the weft threads, but left the warp white, giving the overall impression of gray fabric. I regret not doing the burn test, but at that point I had already purchased the dye and was trying to be strict with myself to stick within the budget, so I resolved to let it be. Plus, one of the bat species native to the PNW (where this was set) was gray and brown, so if anything, it was more accurate. It ended up blending in really well with the cave walls—like camouflage!
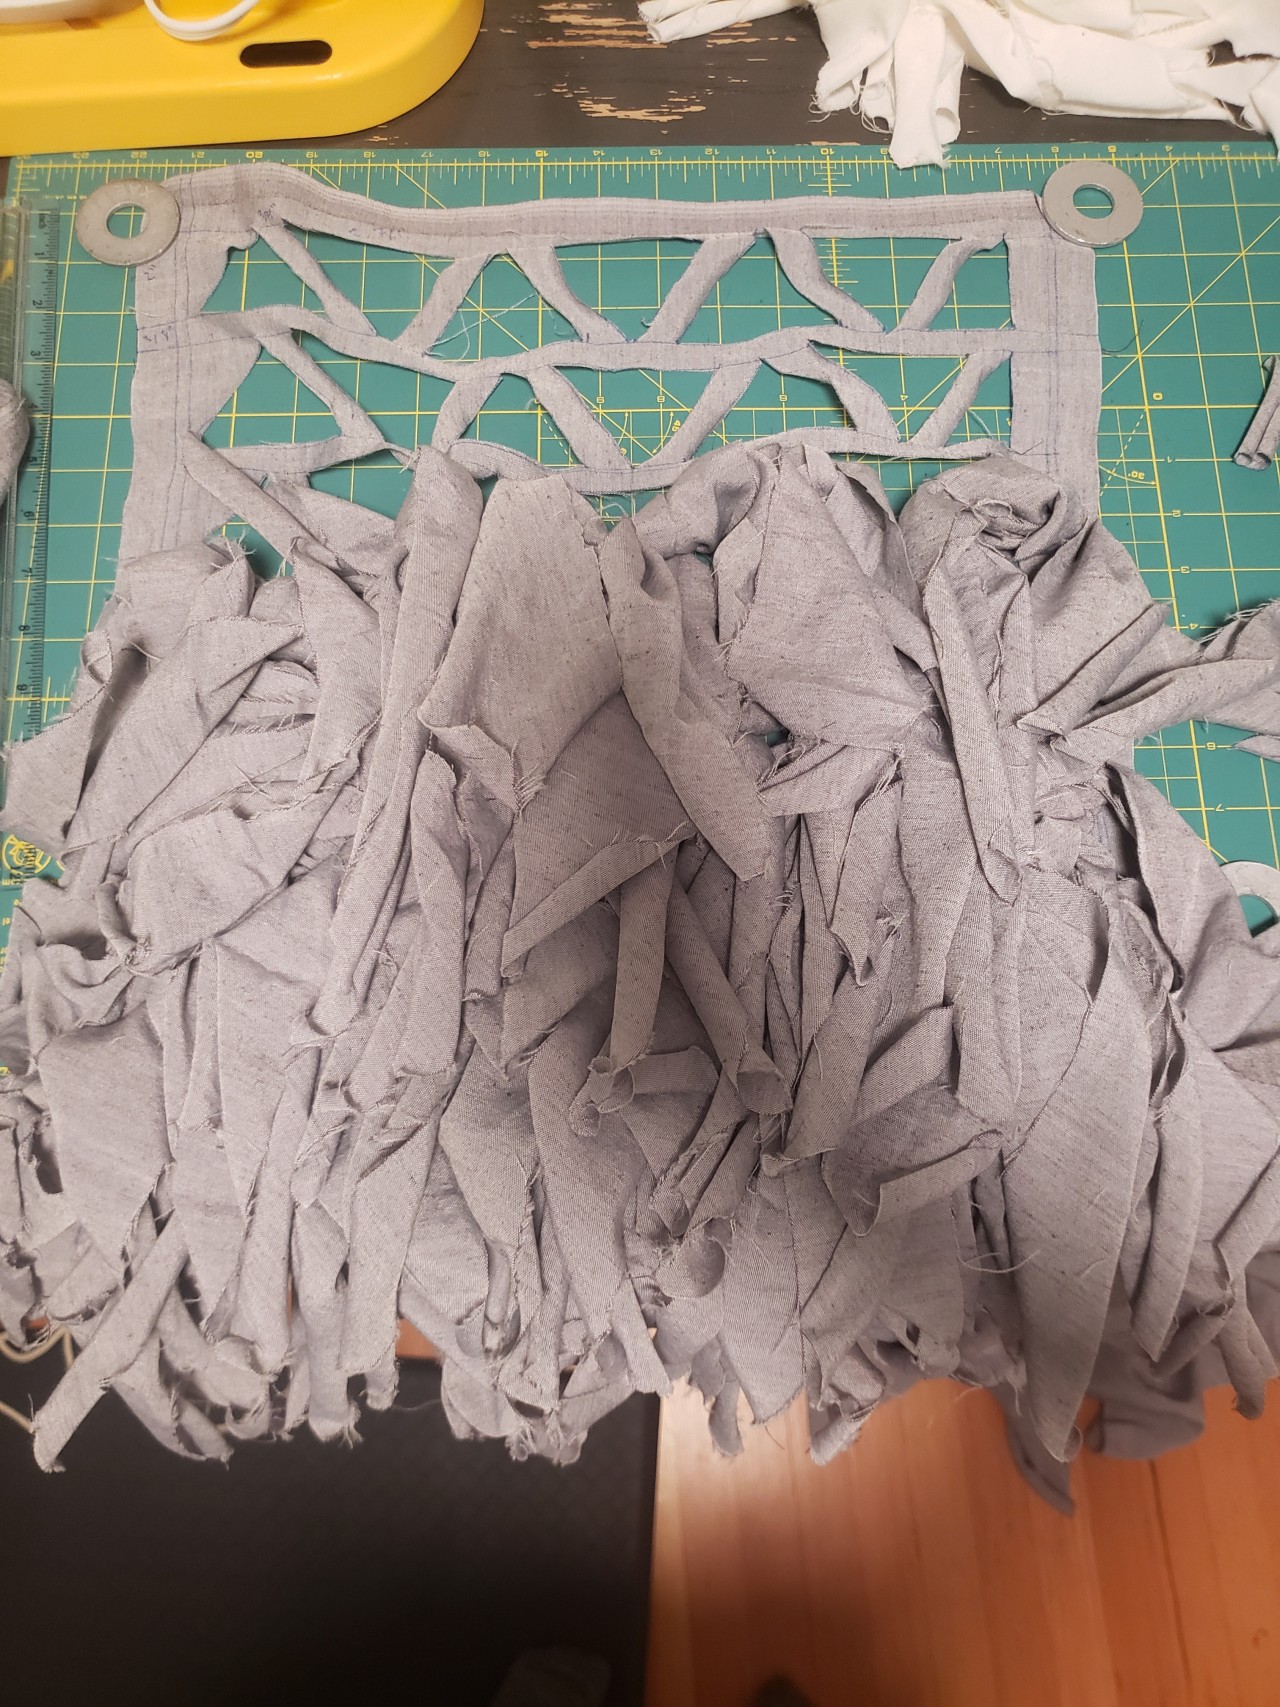
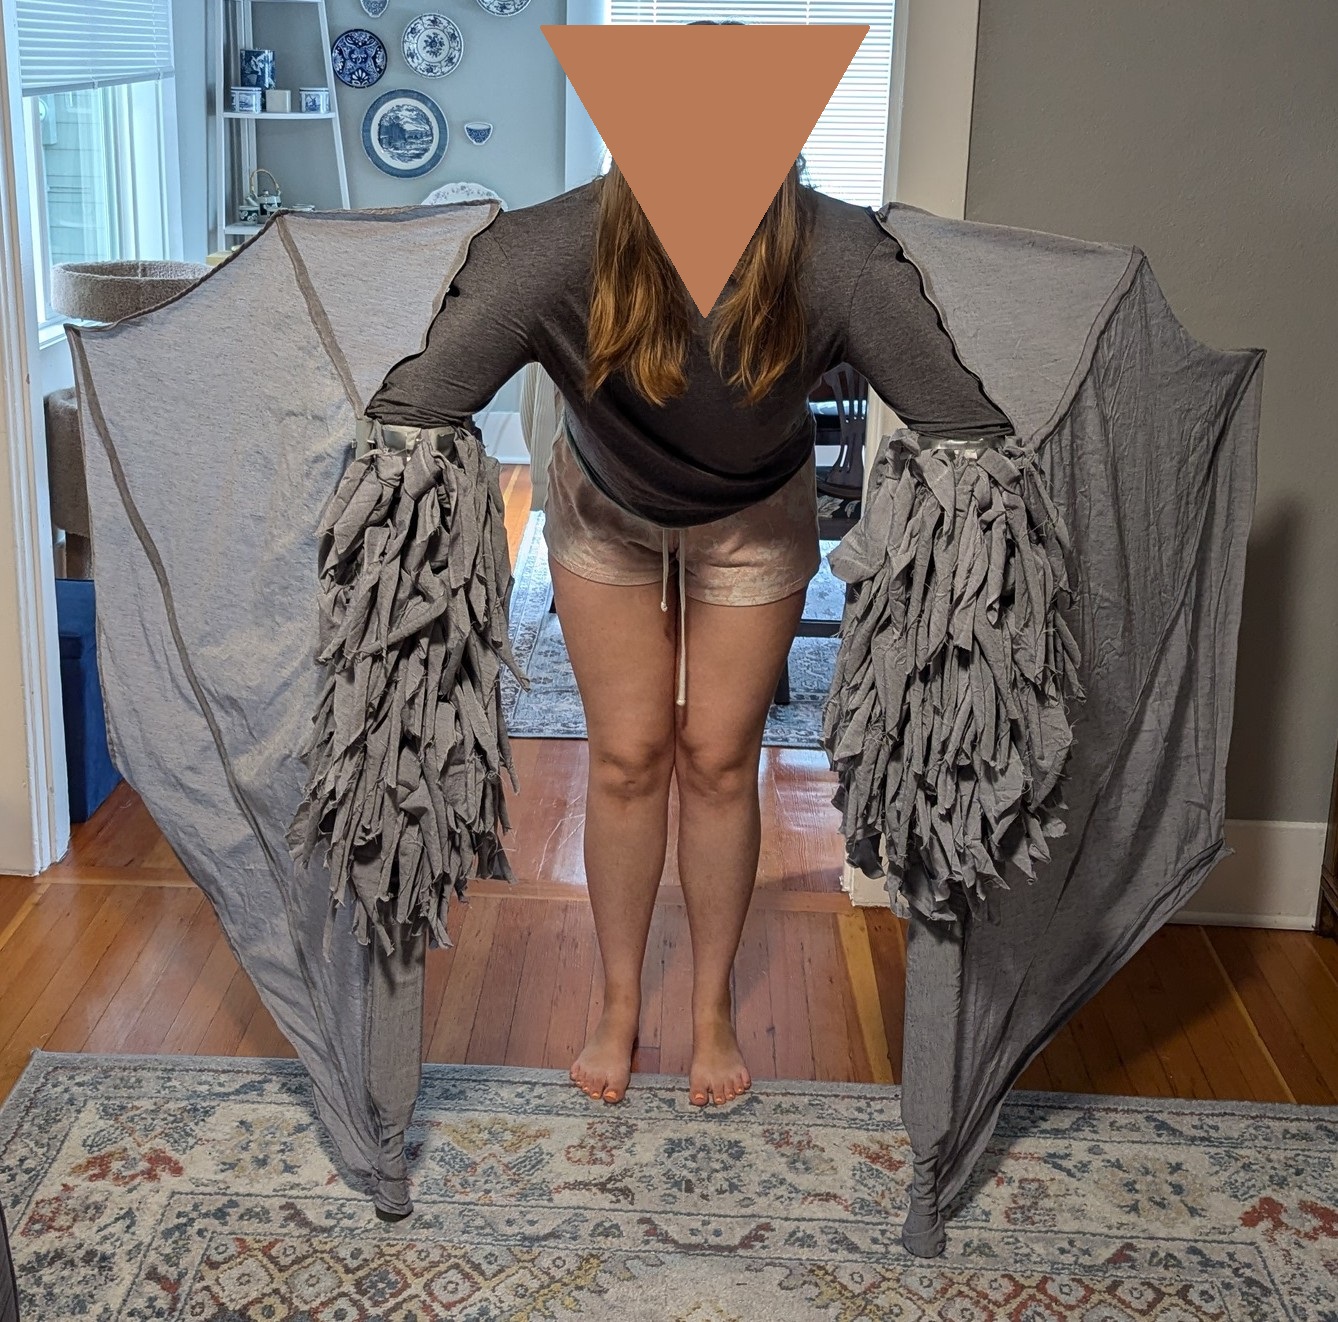
I did a swatch of fur, creating a triangle mesh of sorts from the fabric and then tying strips onto it. I thought it would save me time if I didn't have to sew it. Looking back, I don't think it saved me much time and it was prone to tearing and shedding fabric strips, so if I were to do this again, I'd probably use the same technique I ended up using on the shirt and pants.
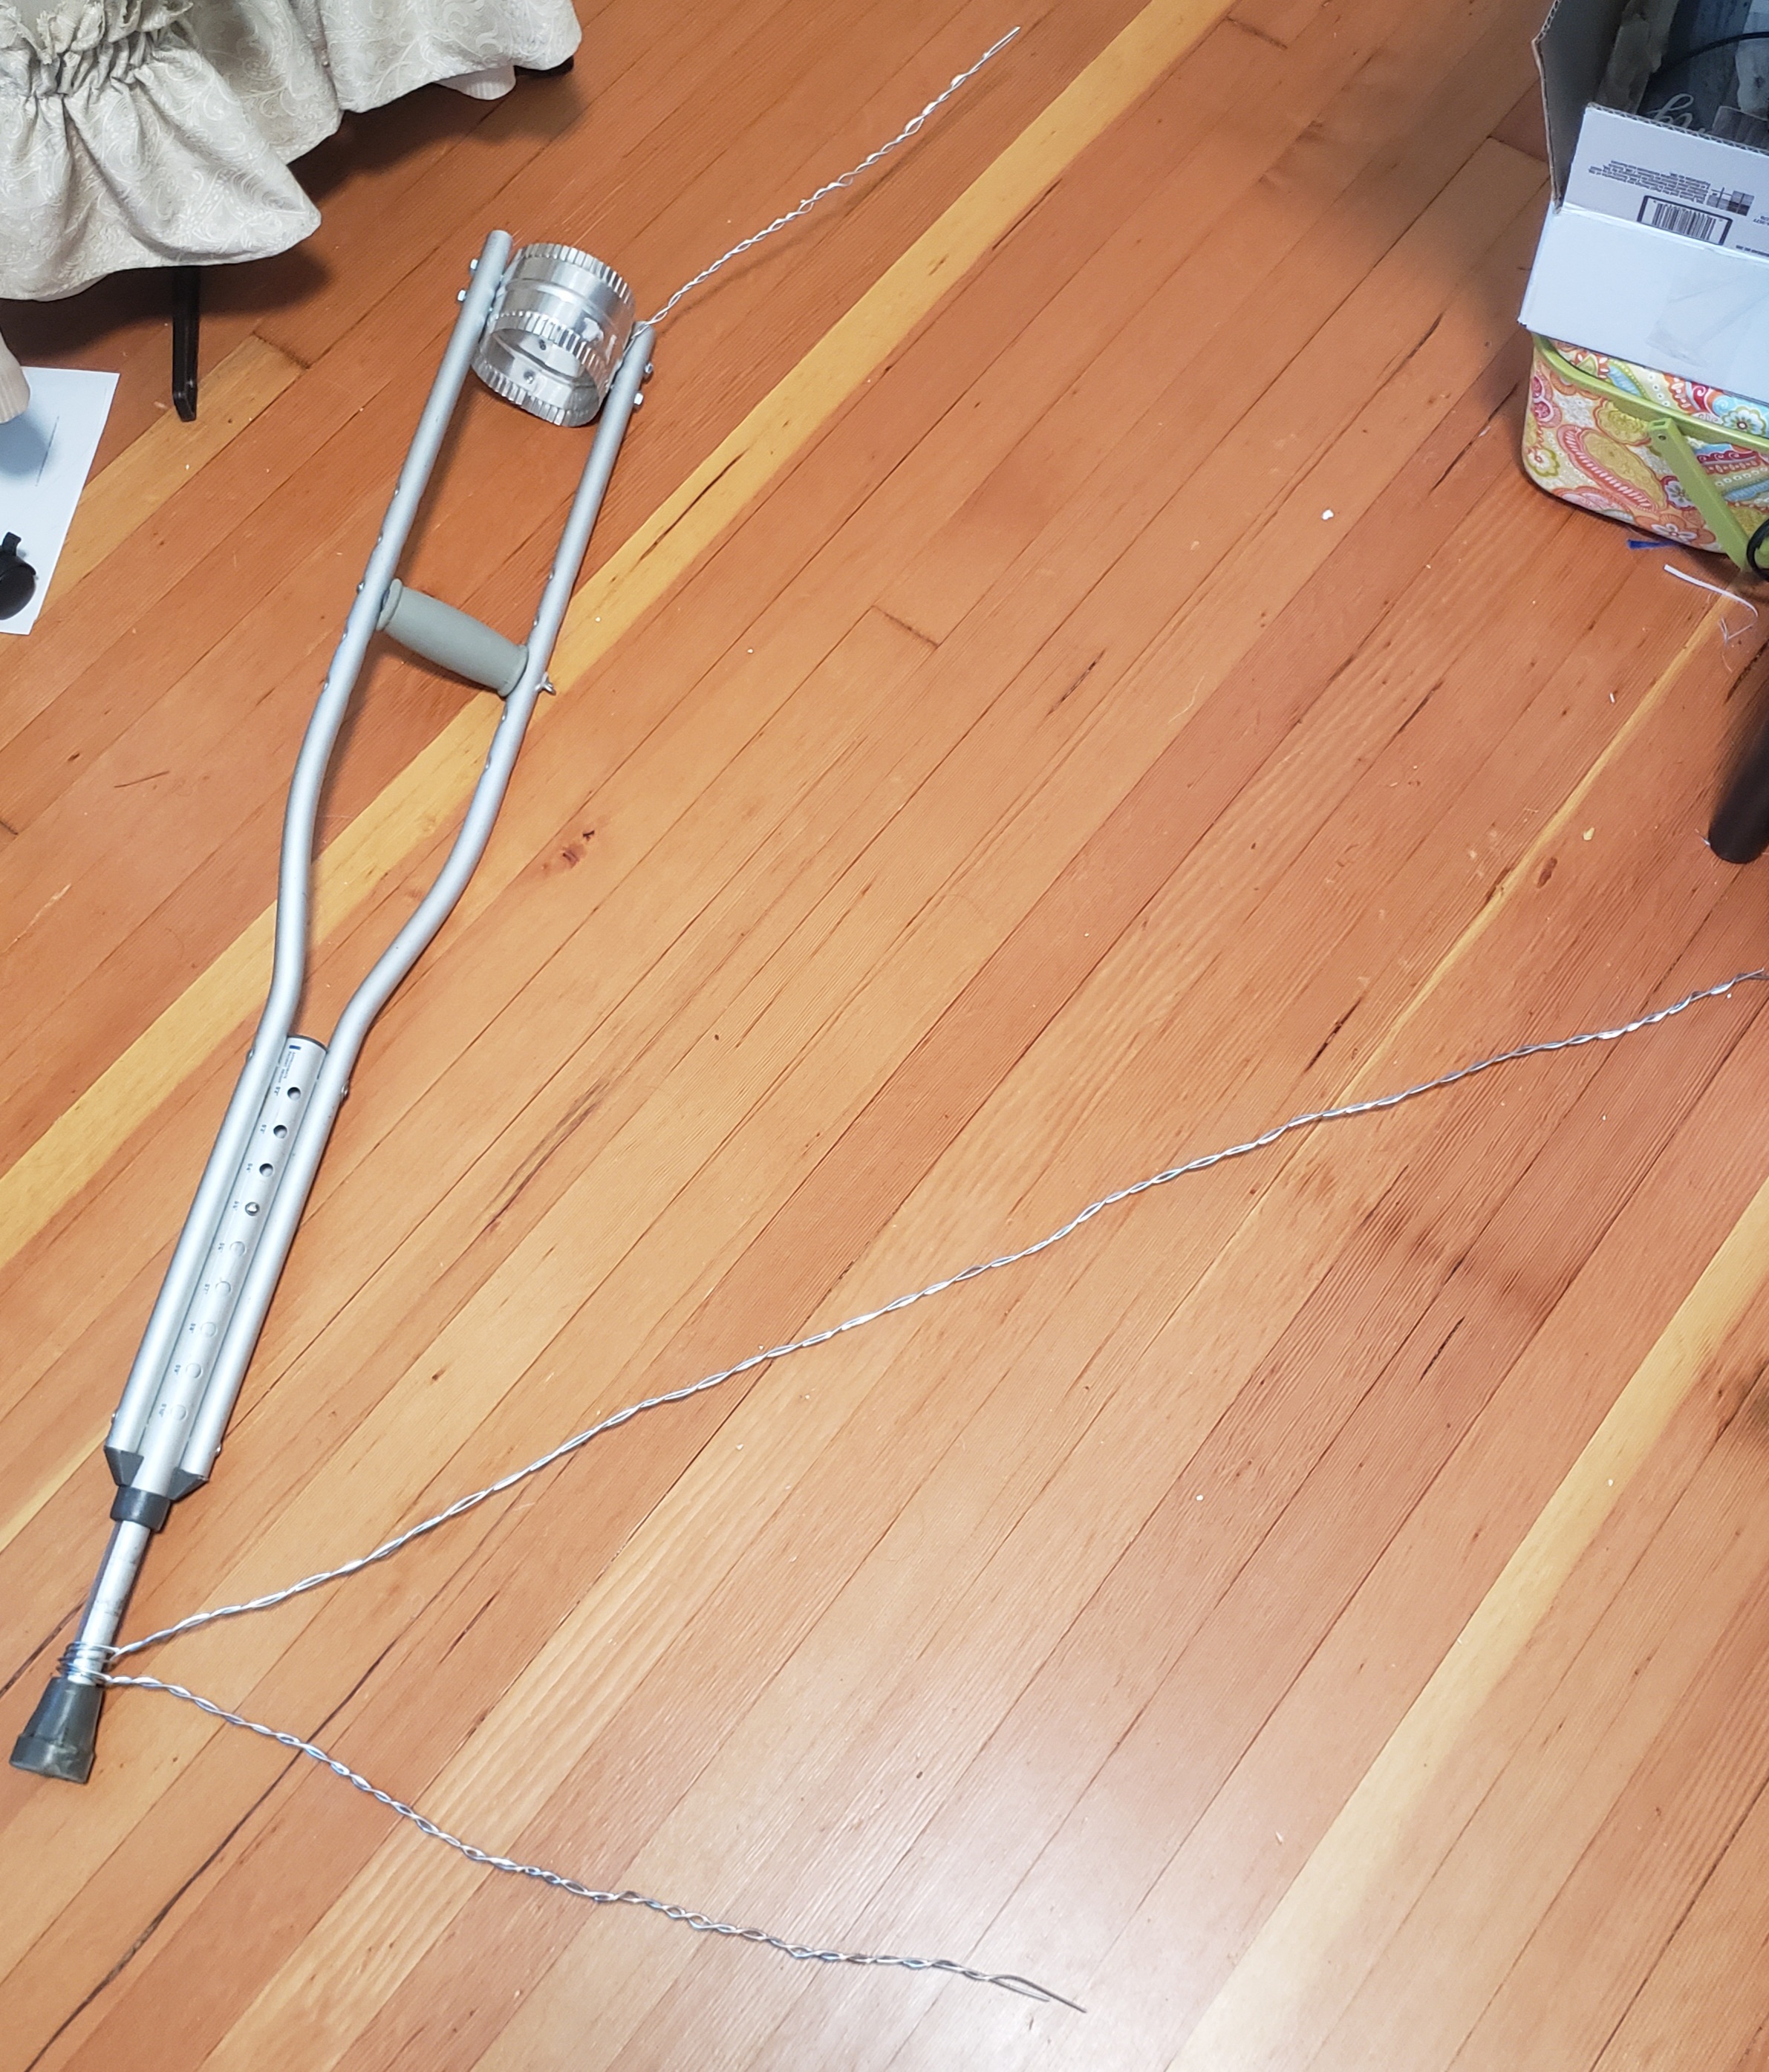
For the bat wings, at first I tried looking for a pair of free wooden crutches, which I figured would be easier to modify, but quickly learned that those aren't nearly as common as the metal ones. So I got a pair of aluminum crutches off of Buy Nothing after doing some research and determining that, since it was a soft metal, I didn't need any special equipment to cut or drill into it.
I cut off the tops with a hack saw, got some metal ducting that was about the right height and width to act as braces on the arms, and some nuts and bolts to attach it. After that came adding the wire to act as wing armature. I basically cut lengths of wire that were double of what I wanted the "bones" of the wing to be, and then wrapped them around the crutches and twisted them together.
I covered the ends of the wire with shrink tubing to prevent them from tearing the fabric, and then used a length of string to temporarily keep them in the position I wanted them in. Then it was just a matter of draping the fabric over them and marking out where the boning channels would go.
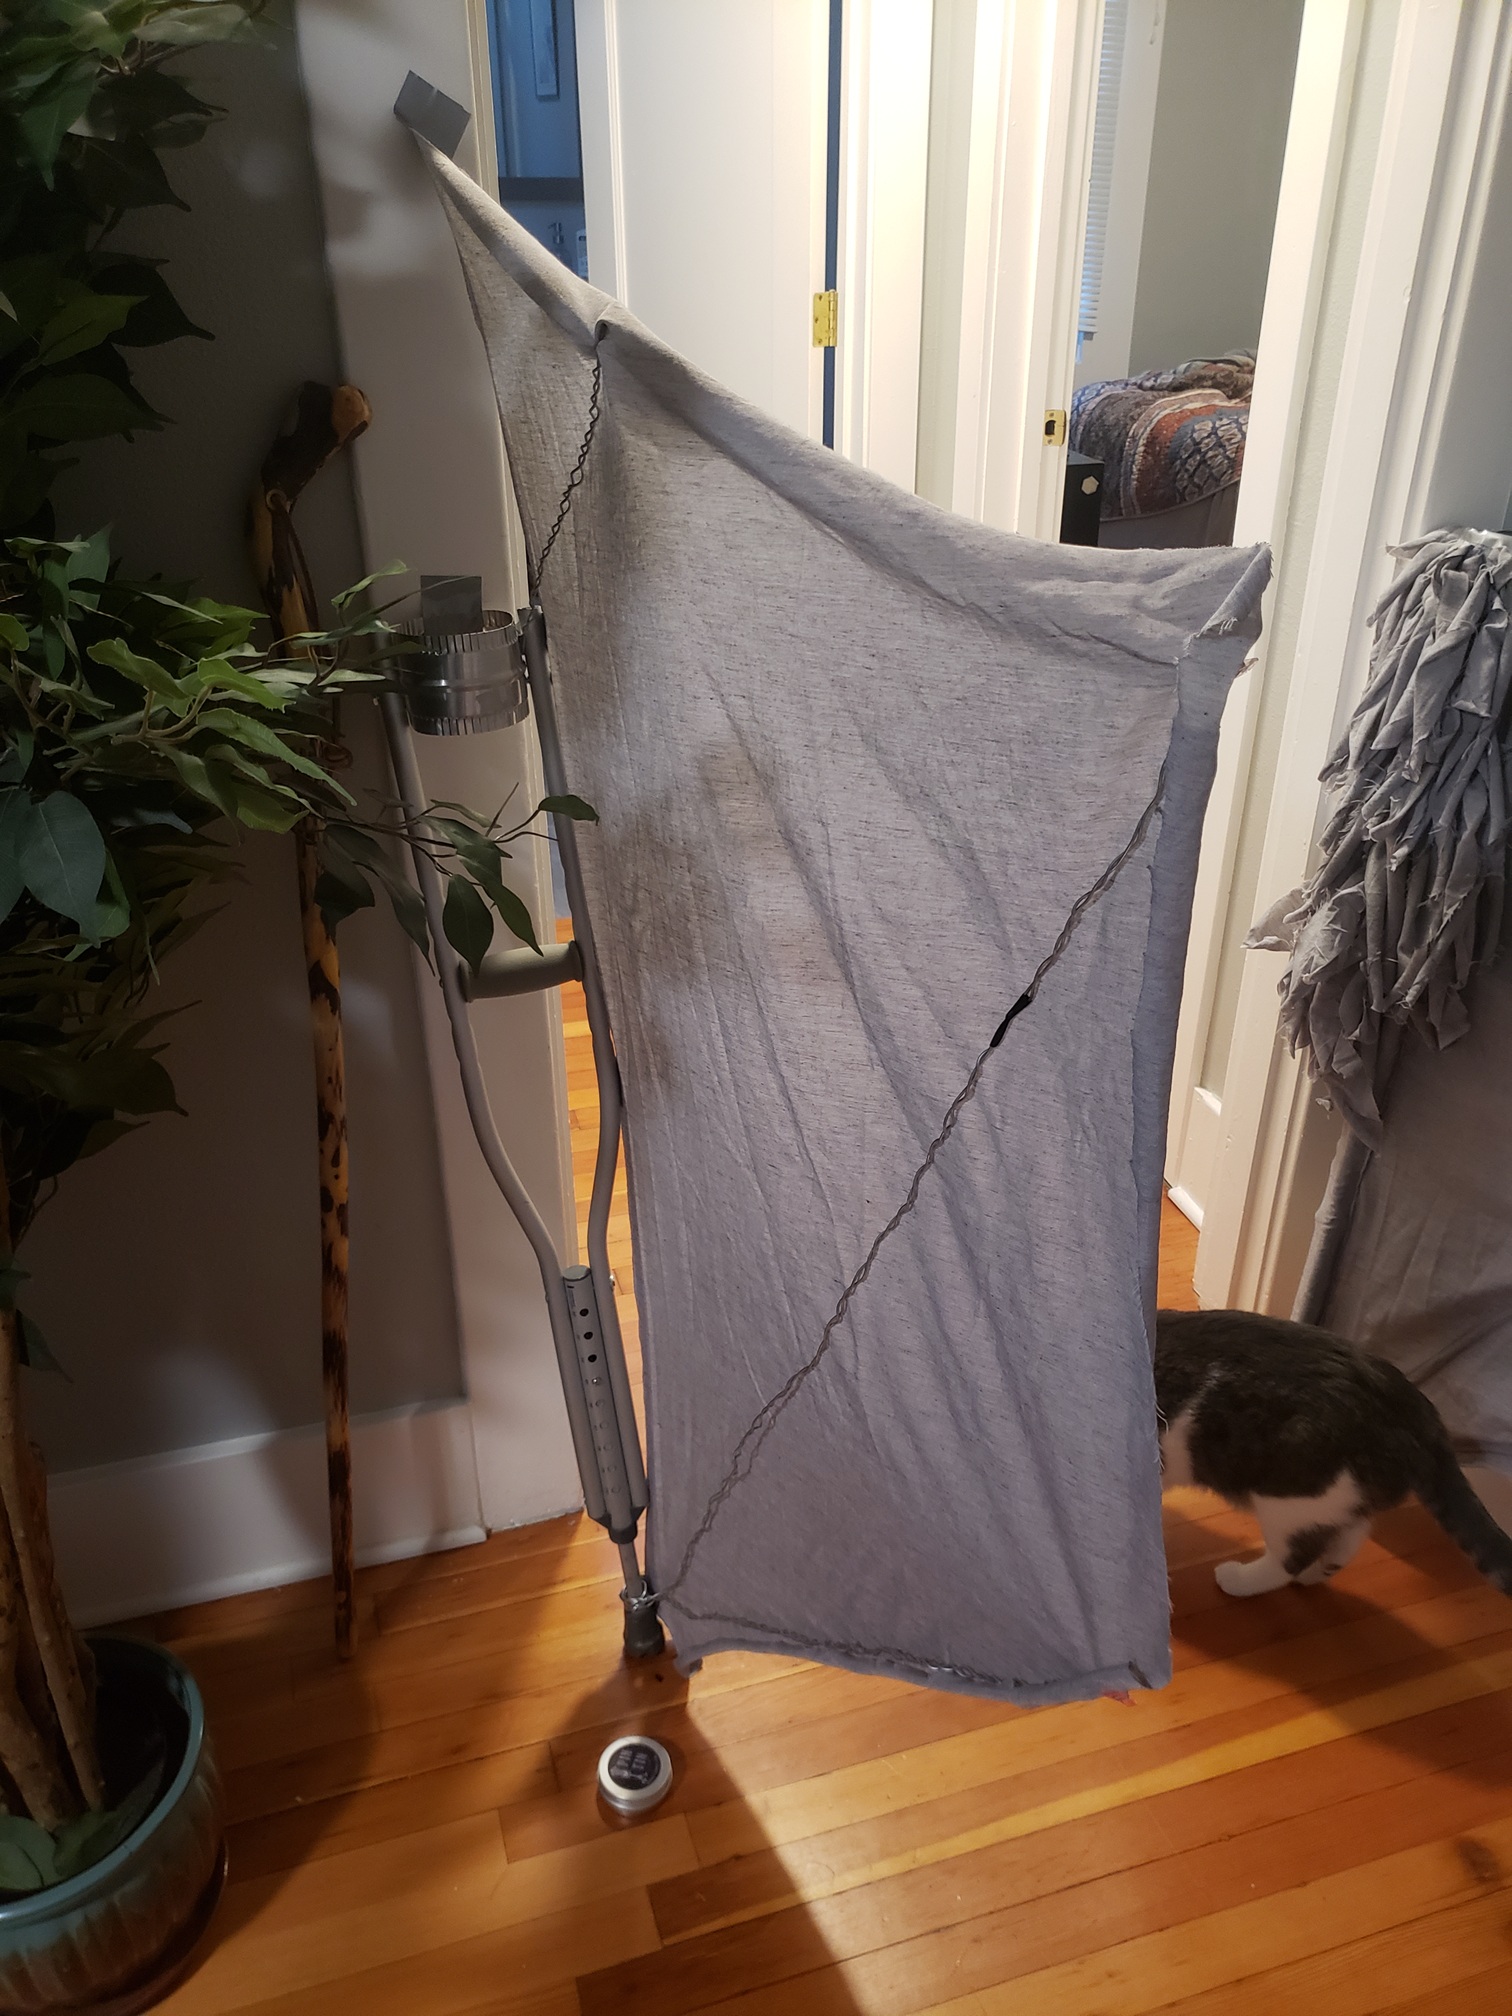
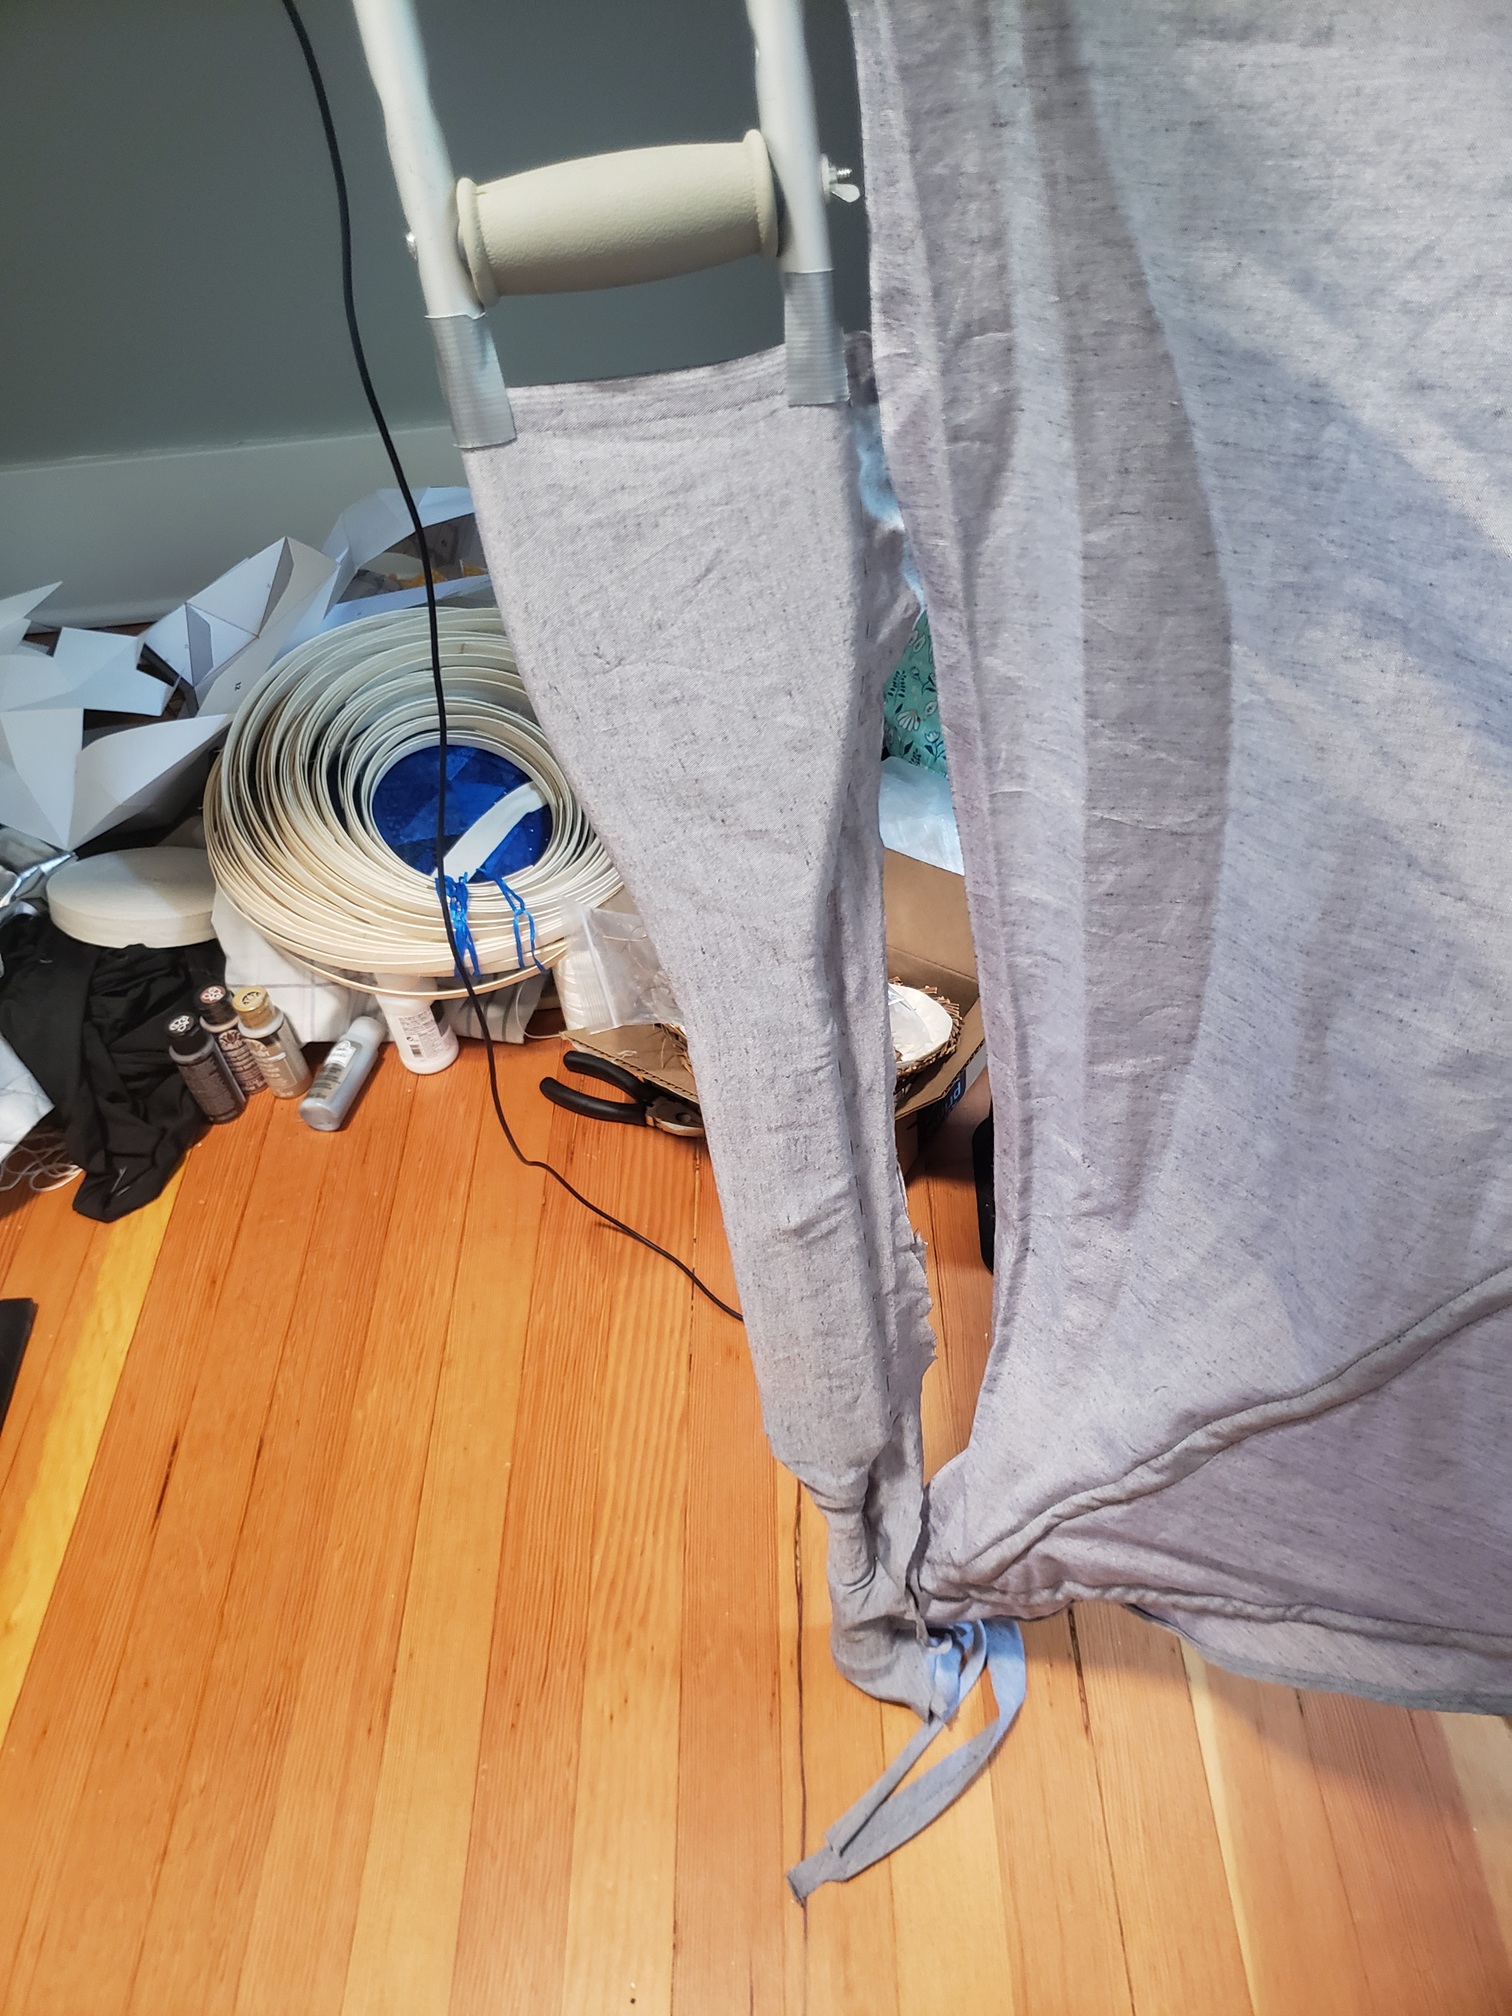
I made bias tape to use as the boning channels, sewed them in place, hemmed the raw edges of the wing, and attached Velcro to the tops so that they could be easily taken on and off, while still appearing to be attached at the shoulders. After slipping the bones through, I started the work of wrapping the bottom of the crutch in fabric and attaching the wing by sandwiching it in between the seam. It had to be hand sewn, and I chose to do a back stitch with doubled-up thread for strength. Kind of messy, but no one would be looking that closely. The braces were lined with a quilted batting for comfort.


Lastly, I covered the upper "arm" with my fringe-fur, and voila! They were done! The tops of the arm braces were a little messy, but they would be covered by the shirt fringe when that was finished.
Here is a movement test I recorded after I finished the first wing:
Now that the wings were complete, I had to do the shirt and pants. Because two different actors would be trading off each night, I needed to make the shirt large enough to fit them both, and pants adjustable with a draw string. I used a basic large t-shirt pattern I already had in my stash, but this was a mistake. It was meant for knit fabrics, which have a bit of stretch, but I was using a woven fabric for my shirt, and so ended up having to add an extra panel down the back for a better fit. Luckily, all my sins were covered by the fur.
The fur was basically large strips of 6 inch wide fabric that I then made cuts into every two inches with some clearance at the top where I would sew it onto the flat shirt and pant pattern pieces in tiered rows.
Once all the pieces were complete, including the mask, I was done! There were some things I didn't manage to finish in time, such as claws that would attach to the actor's shoes, or a headband built into the mask to keep it stable. Plus the wings weren't as easily removeable as I originally intended. I wanted the actor to be able to take the wings on and off by themselves, but they needed assistance for both. In hindsight, I should have had a slit in the back of the fur that went around their forearms. This way, the actor could poke their hand out and remove the velcro from their upper arm to get out.
I was the only costumer on this production, and the timeline was considerably shorter than is normal—I first signed up to work on this project in mid August, actors weren't finalized until around September 1, I took actor measurements ASAP during that first week of September, Load-in started September 14, and then Opening Night was October 4. So yeah, I was rushing. Plus, this was my first time costuming ever. Talk about out of the frying pan and into the fire.
All this to say, a lot of these mistakes I might not have made had I had more time to plan, but it seemed like I couldn't afford to think about things for too long, and just had to execute. It was a make-first, fix-later kind of pace.
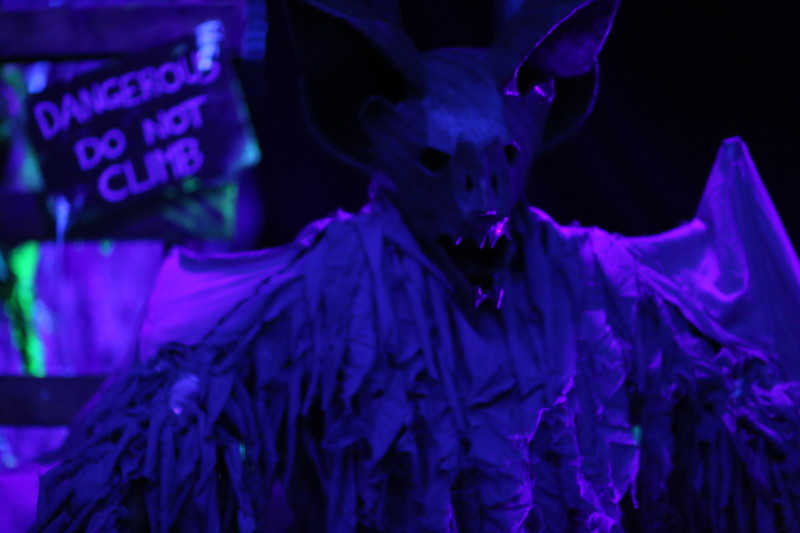
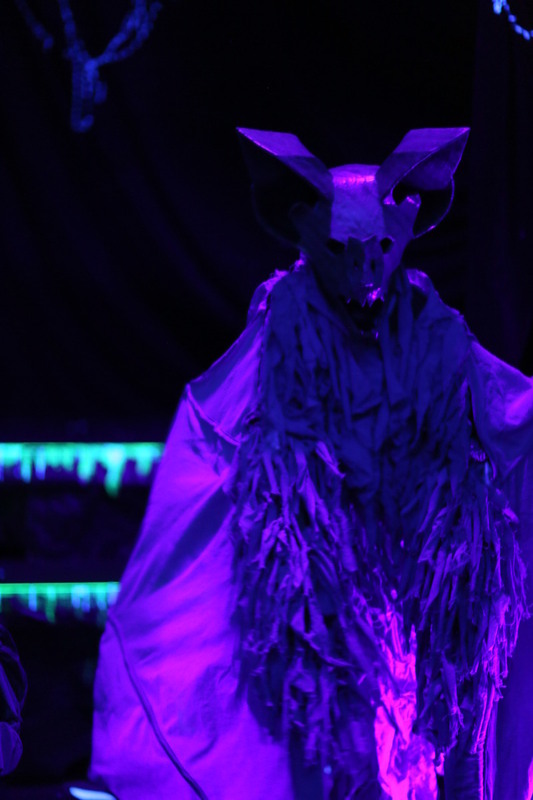
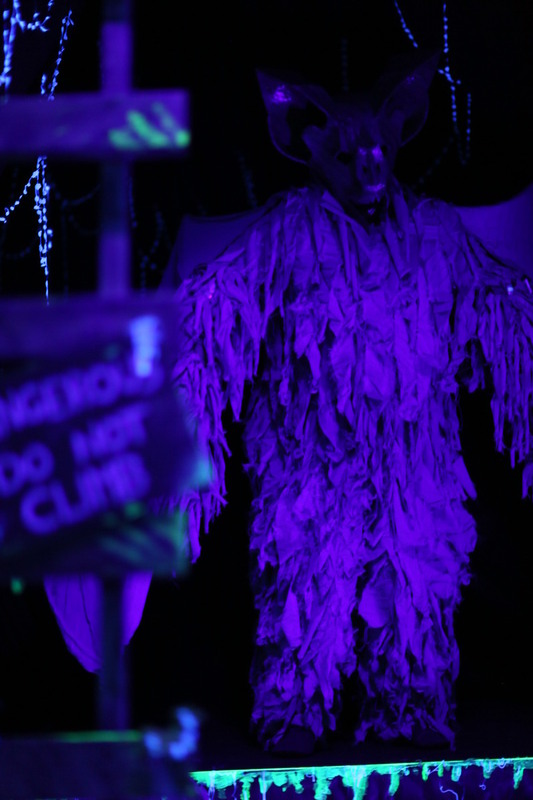
But all in all, I'm very proud of what I achieved in such a short time on such a small budget! The set, lighting, and actors helped a lot to really sell it. Here are some photos taken by Laura Johnston of the final result:

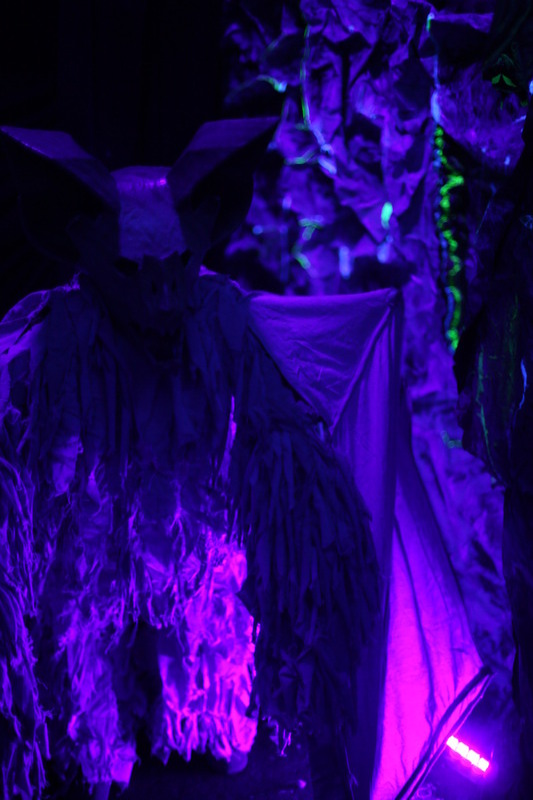
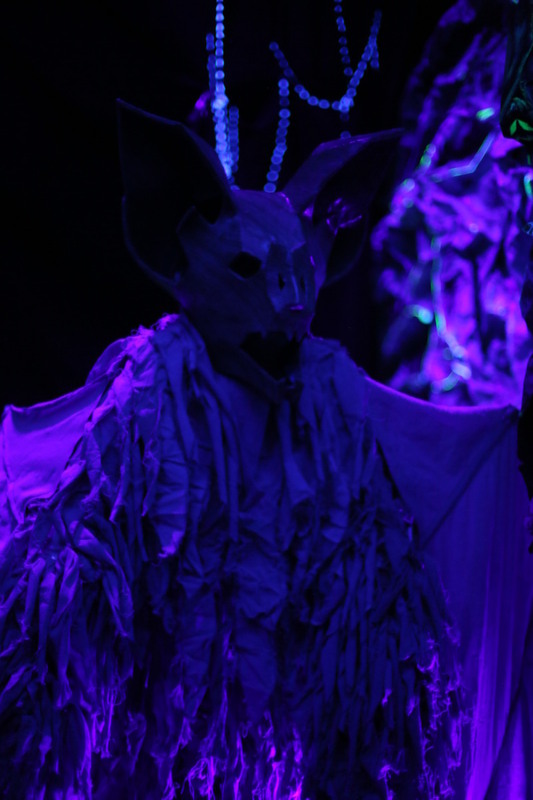
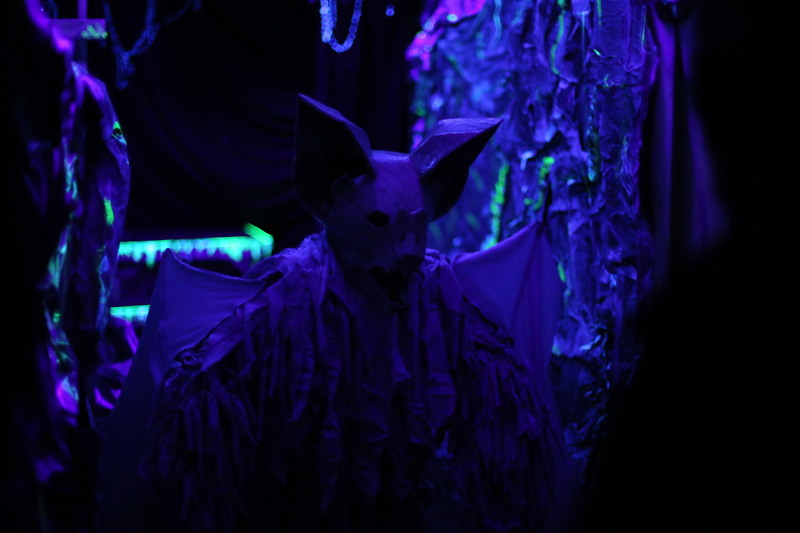

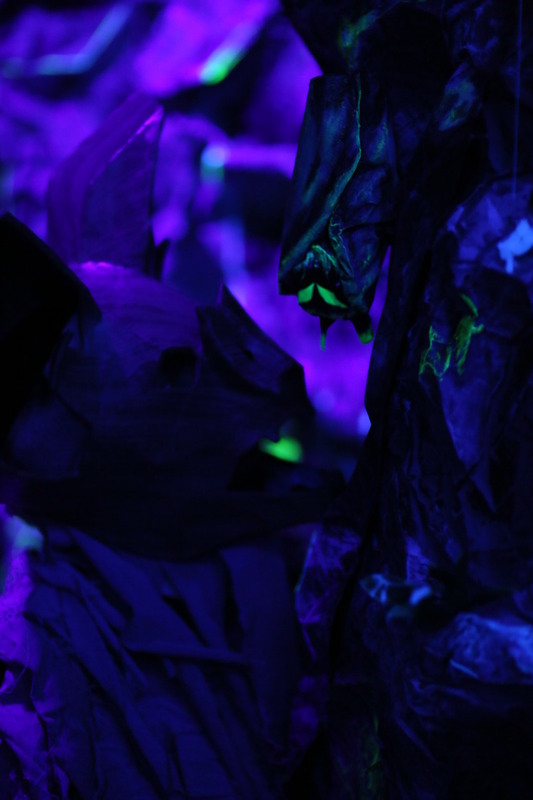
Comments